Grades of Maple Syrup- Golden, Amber, Dark and Very Dark
When you live where fresh maple syrup is produced (like I do), you look forward to the month of March. Roadside stands advertise fresh maple syrup, and the pancake houses are open!
Earlier this month, I had the pleasure of visiting my friend Jim Lumsden and his son Mike at their farm, Lumsden Brothers Maple Syrup ,to see first hand how his family makes this golden Canadian treasure. Situated on 20 acres of land, his family has been making maple syrup for over 100 years, and, as I saw, they have it down to a science!
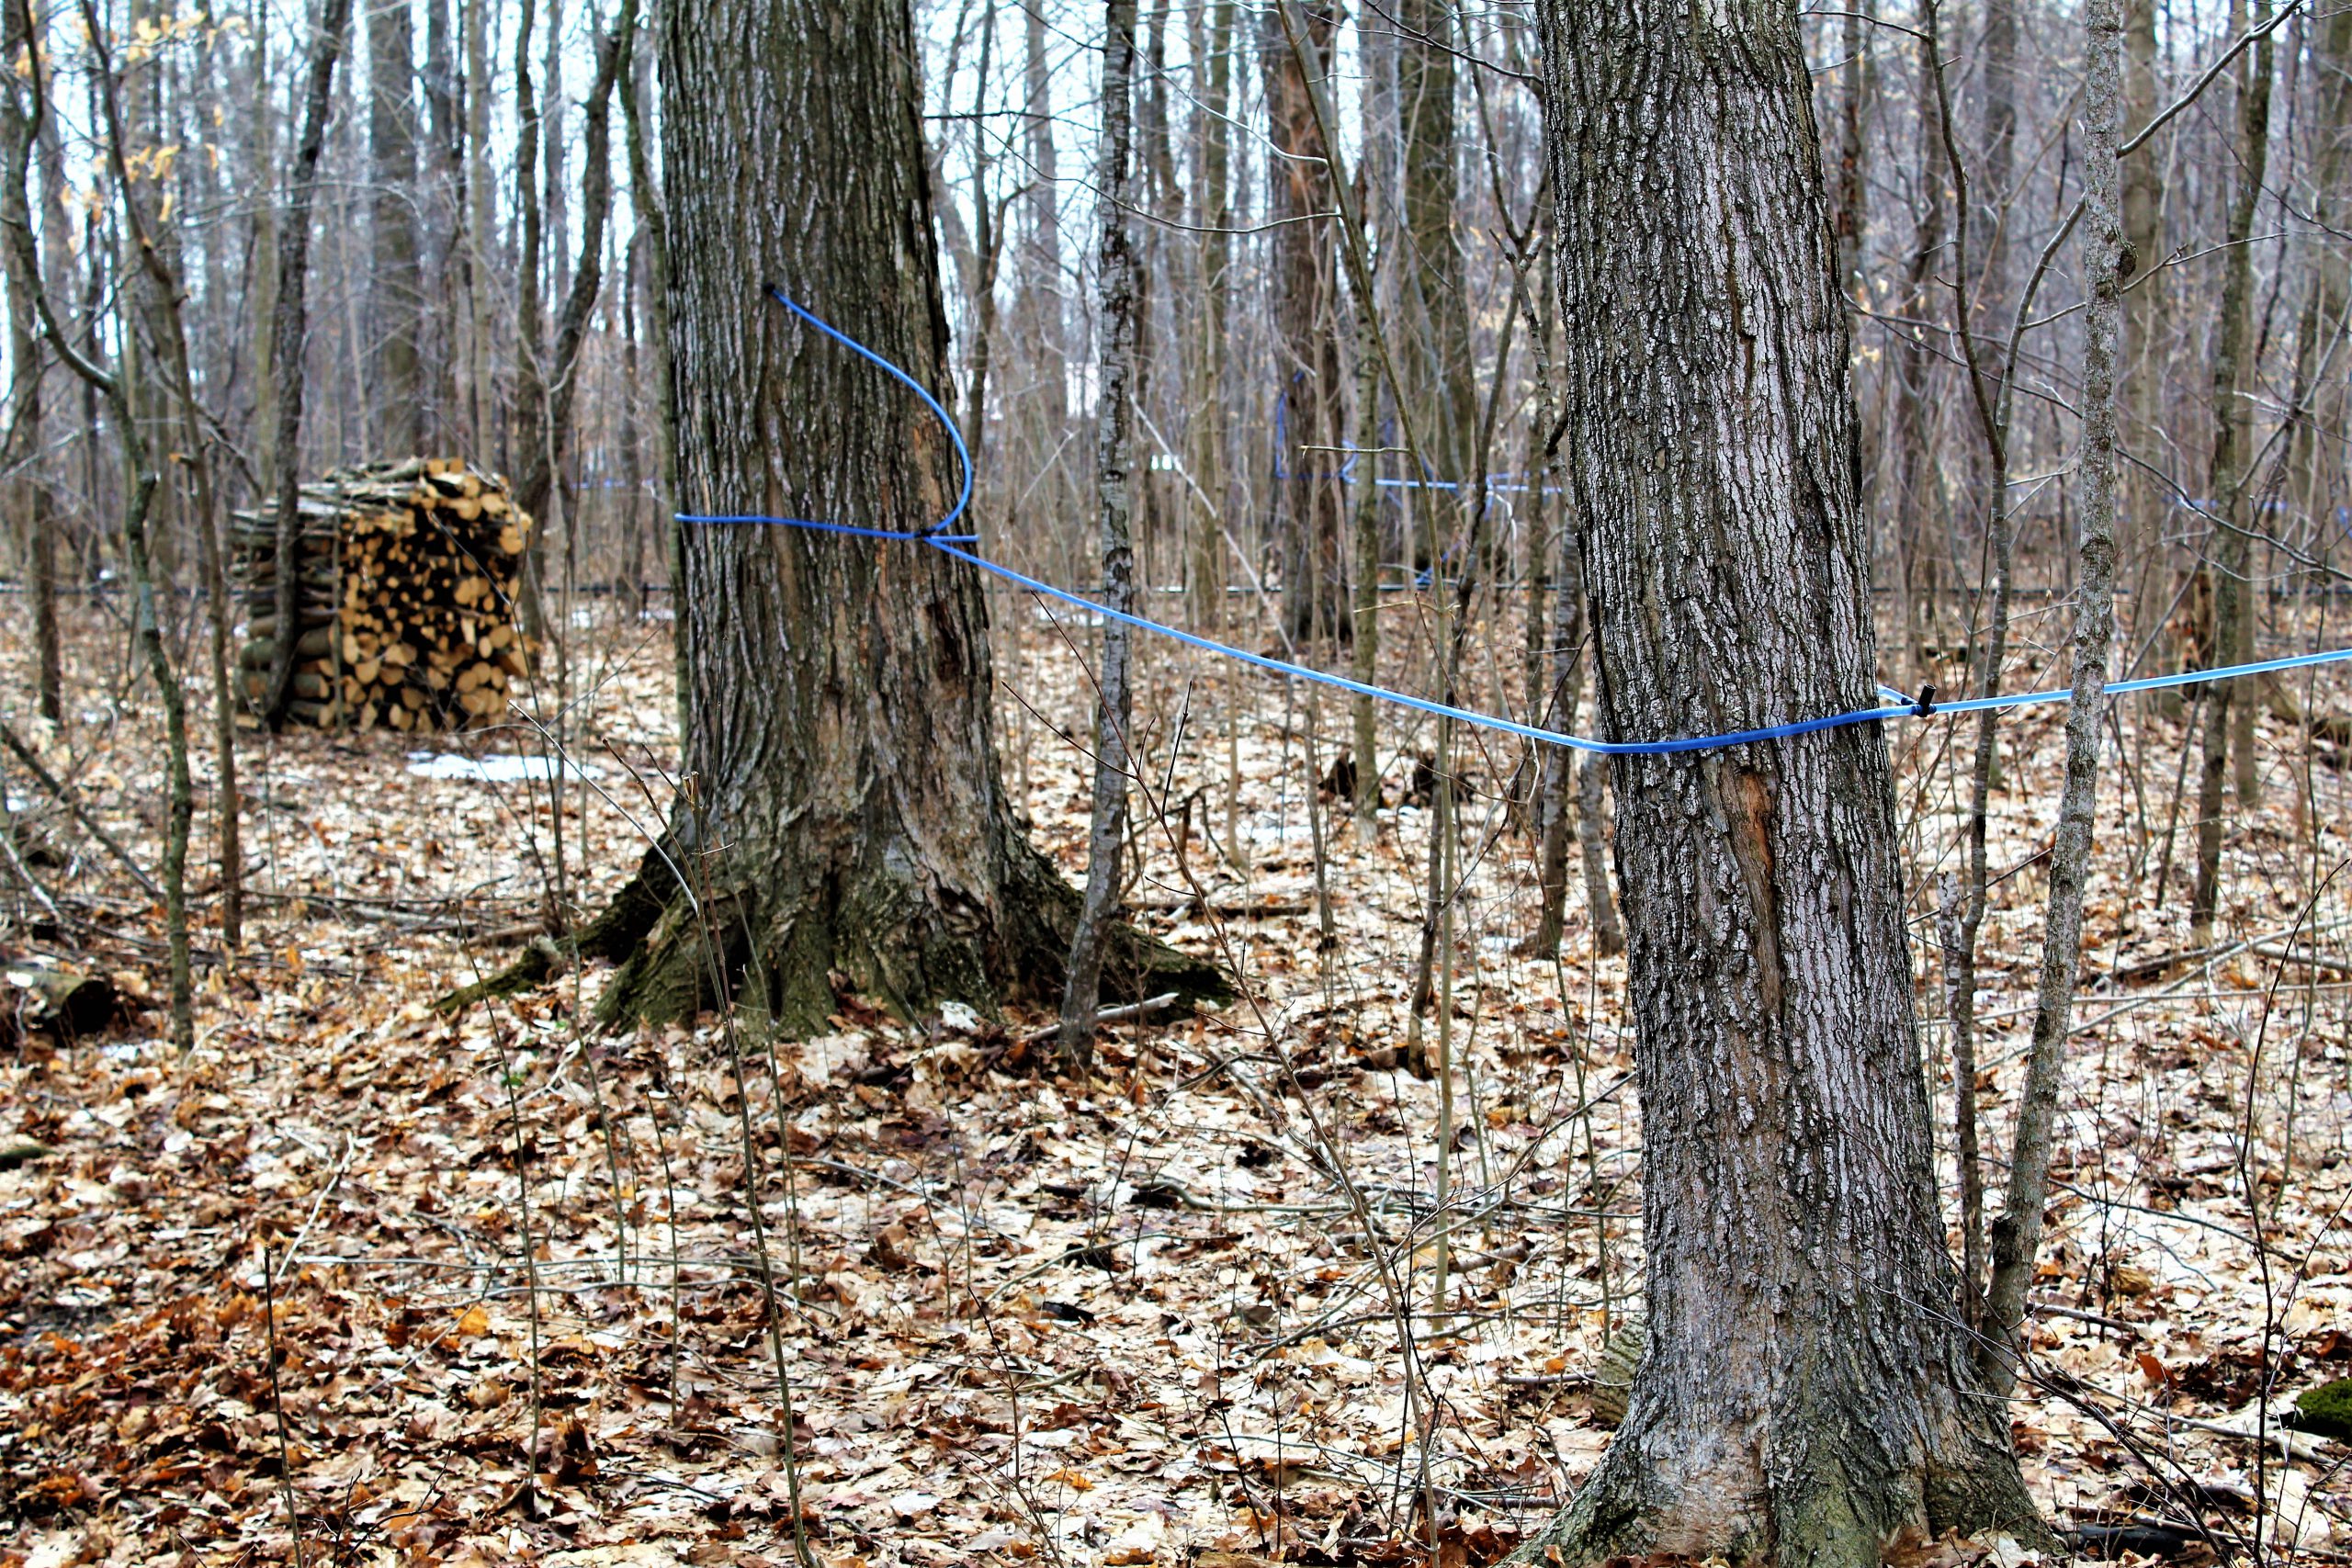
The set up of the production actually starts in January with the unravelling of 18,000 feet (3.4 miles) of four seasons tubing, which is made out of 100% resin. Each piece of tubing is numbered and labeled and is attached to a specific tree in the maple sugarbush. These lines are cleaned out with a solution of 70/30 alcohol to water each year and reused, making this an environmentally friendly operation. This complex maze of tubing, in the case of Lumsden Brothers Maple Syrup farm, includes specific hookups to about 1,100 trees.
Maple tree with two taps at Lumsden Brothers Maple Syrup Farm
A tree can be tapped when its diameter of the tree reaches 10″, and when the diameter is 18″, the tree can support two taps. For the health of any tree over 18″, at most two taps can be installed each year. So, in the case of Jim’s maple farm, he installs 1,435 taps!
To keep the tree nice and healthy, it is important that the taps occur in a different spot on the tree each year. In fact, you would have to wait about 50 years before you can tap into the same spot.
Once the overnight temperature does not go below -4°C and the daytime temperature stays above 5°C, the sap will flow and the process of collecting the sap can start.
The system used to collect the sap is quite nifty. Collection is by vacuum and the pump is set to pull 25 lbs. of sap and is set to operate as long as the tree’s sap is running. The vacuum pump is set to turn off automatically when the air temperature hits 0°C .
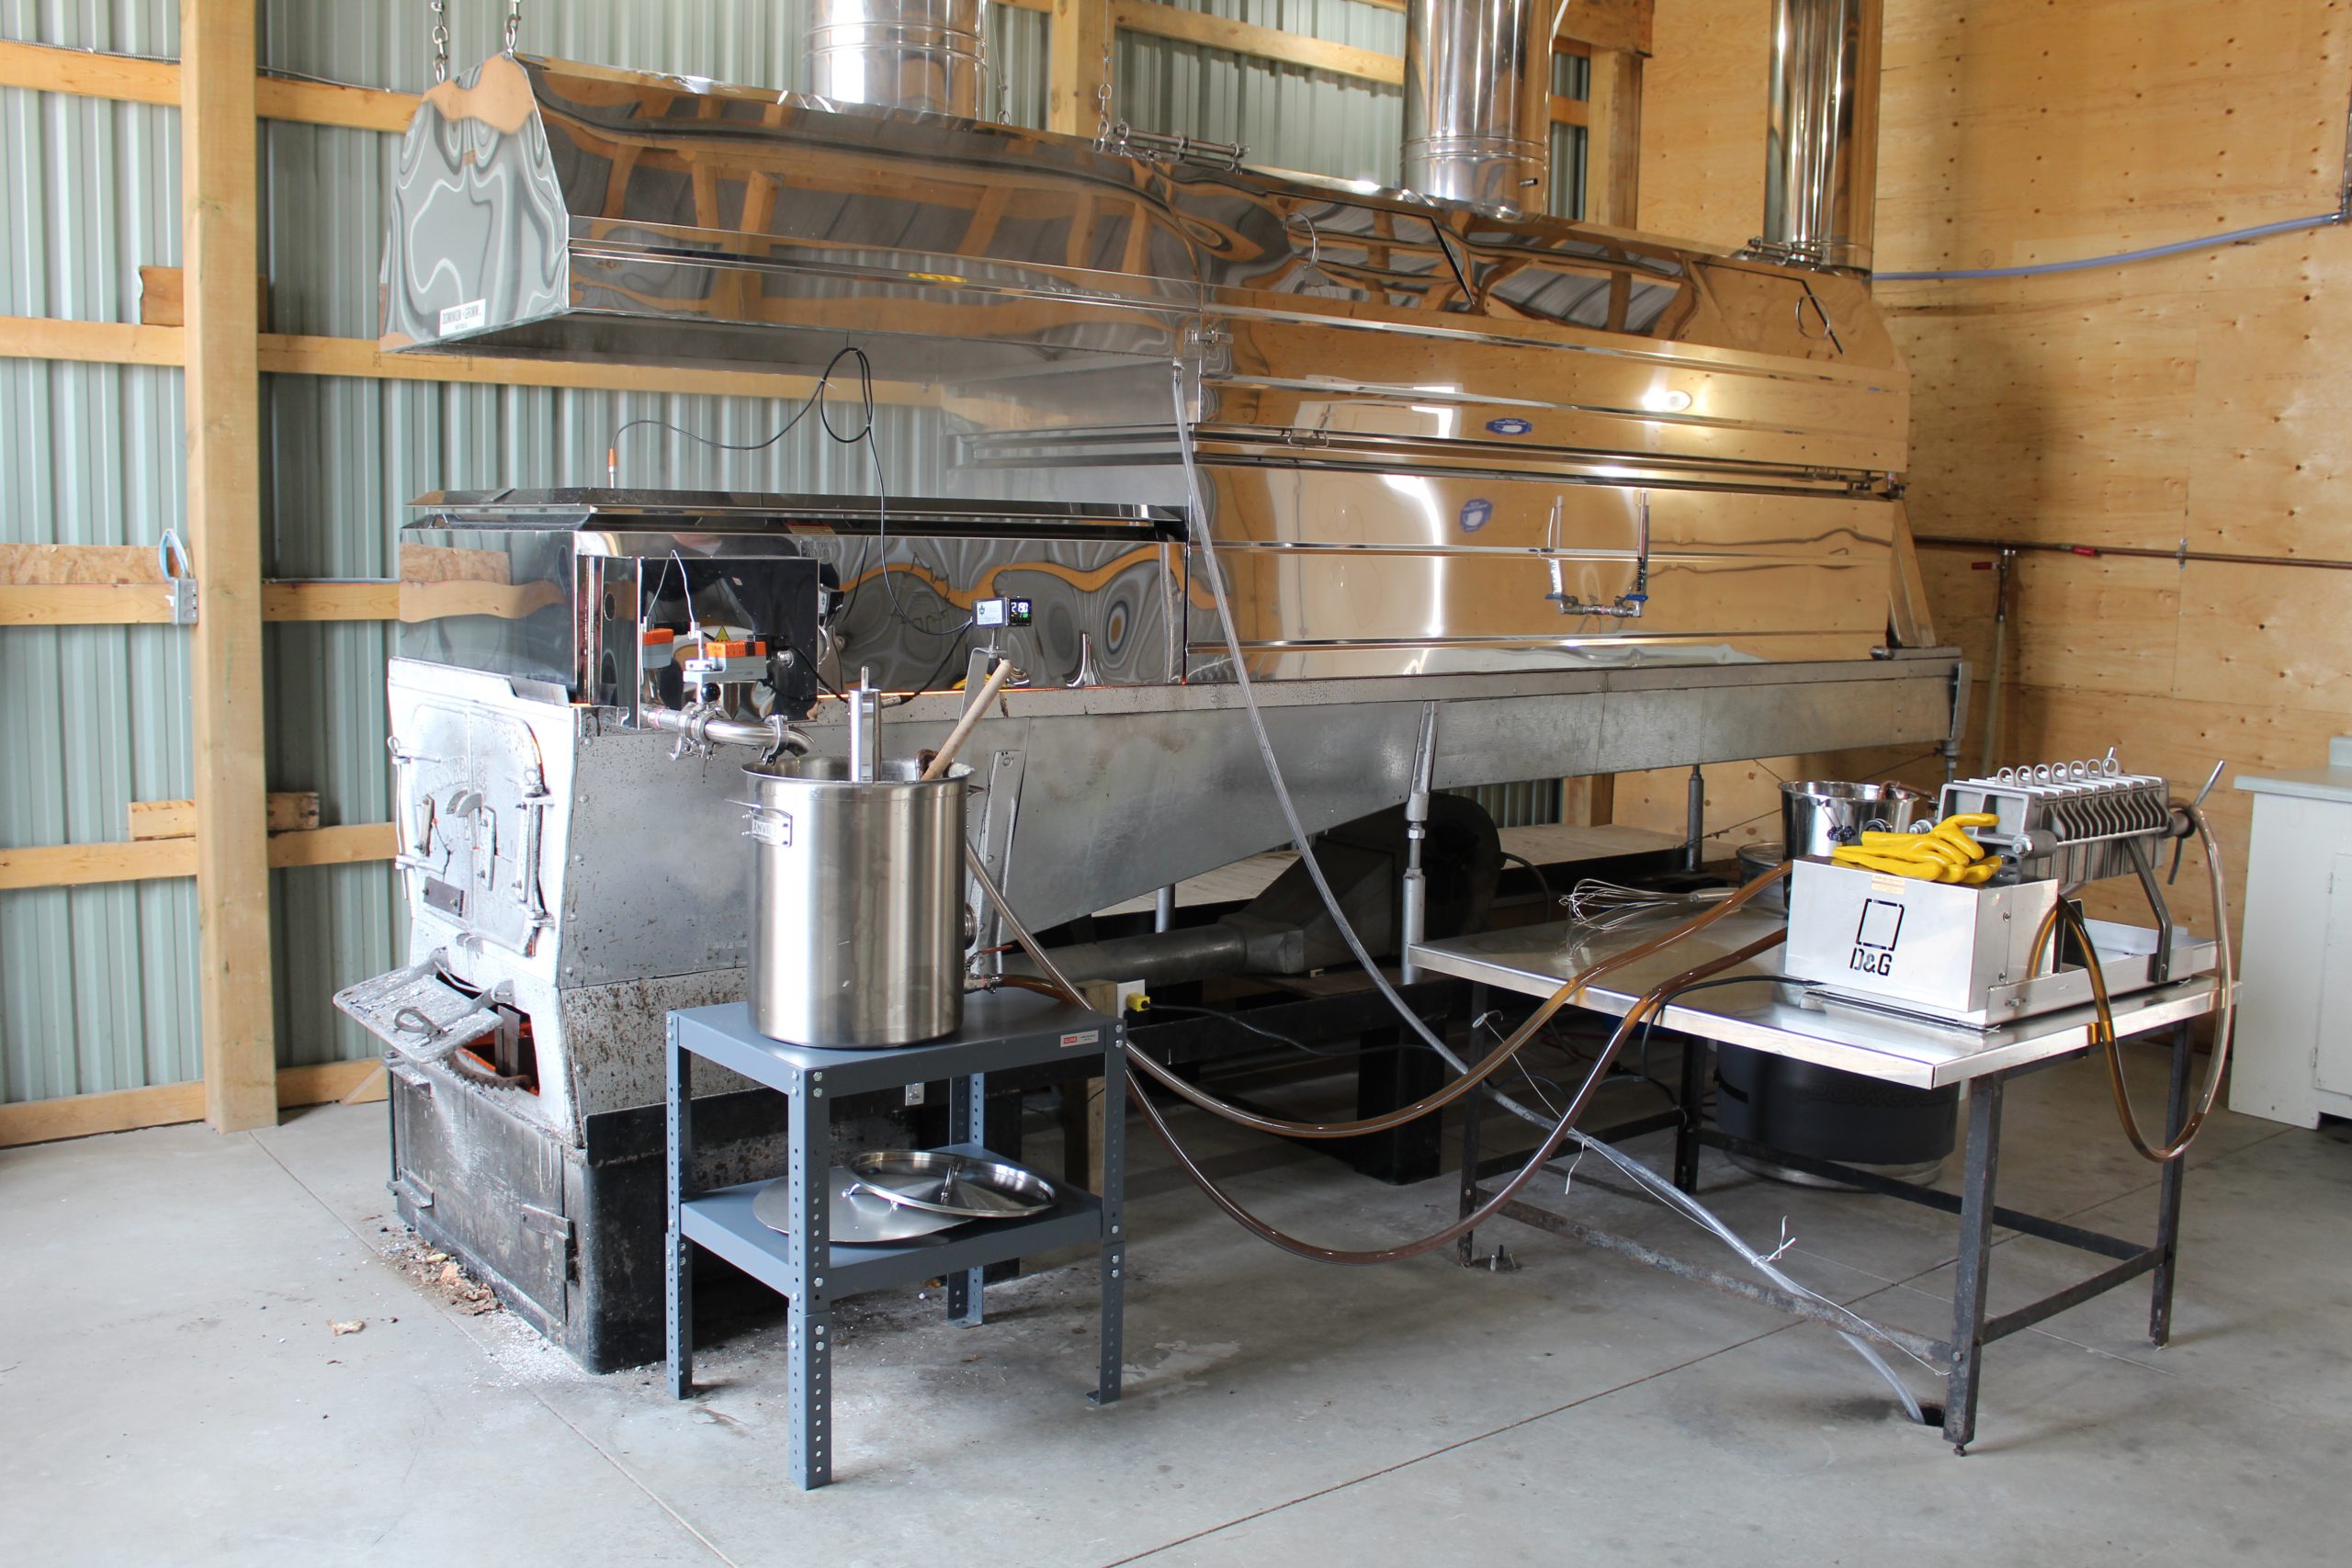
The sap is collected and then, using reverse osmosis, 55% of the water is removed. Then the sap enters a wood-fired evaporator which is 3 feet wide and 13 feet long. It evaporates 90 gallons of water per hour!
It takes approximately 3 hours from the time a drop enters one end of the evaporator until it condenses and accumulates enough to be able to draw off a batch of syrup.
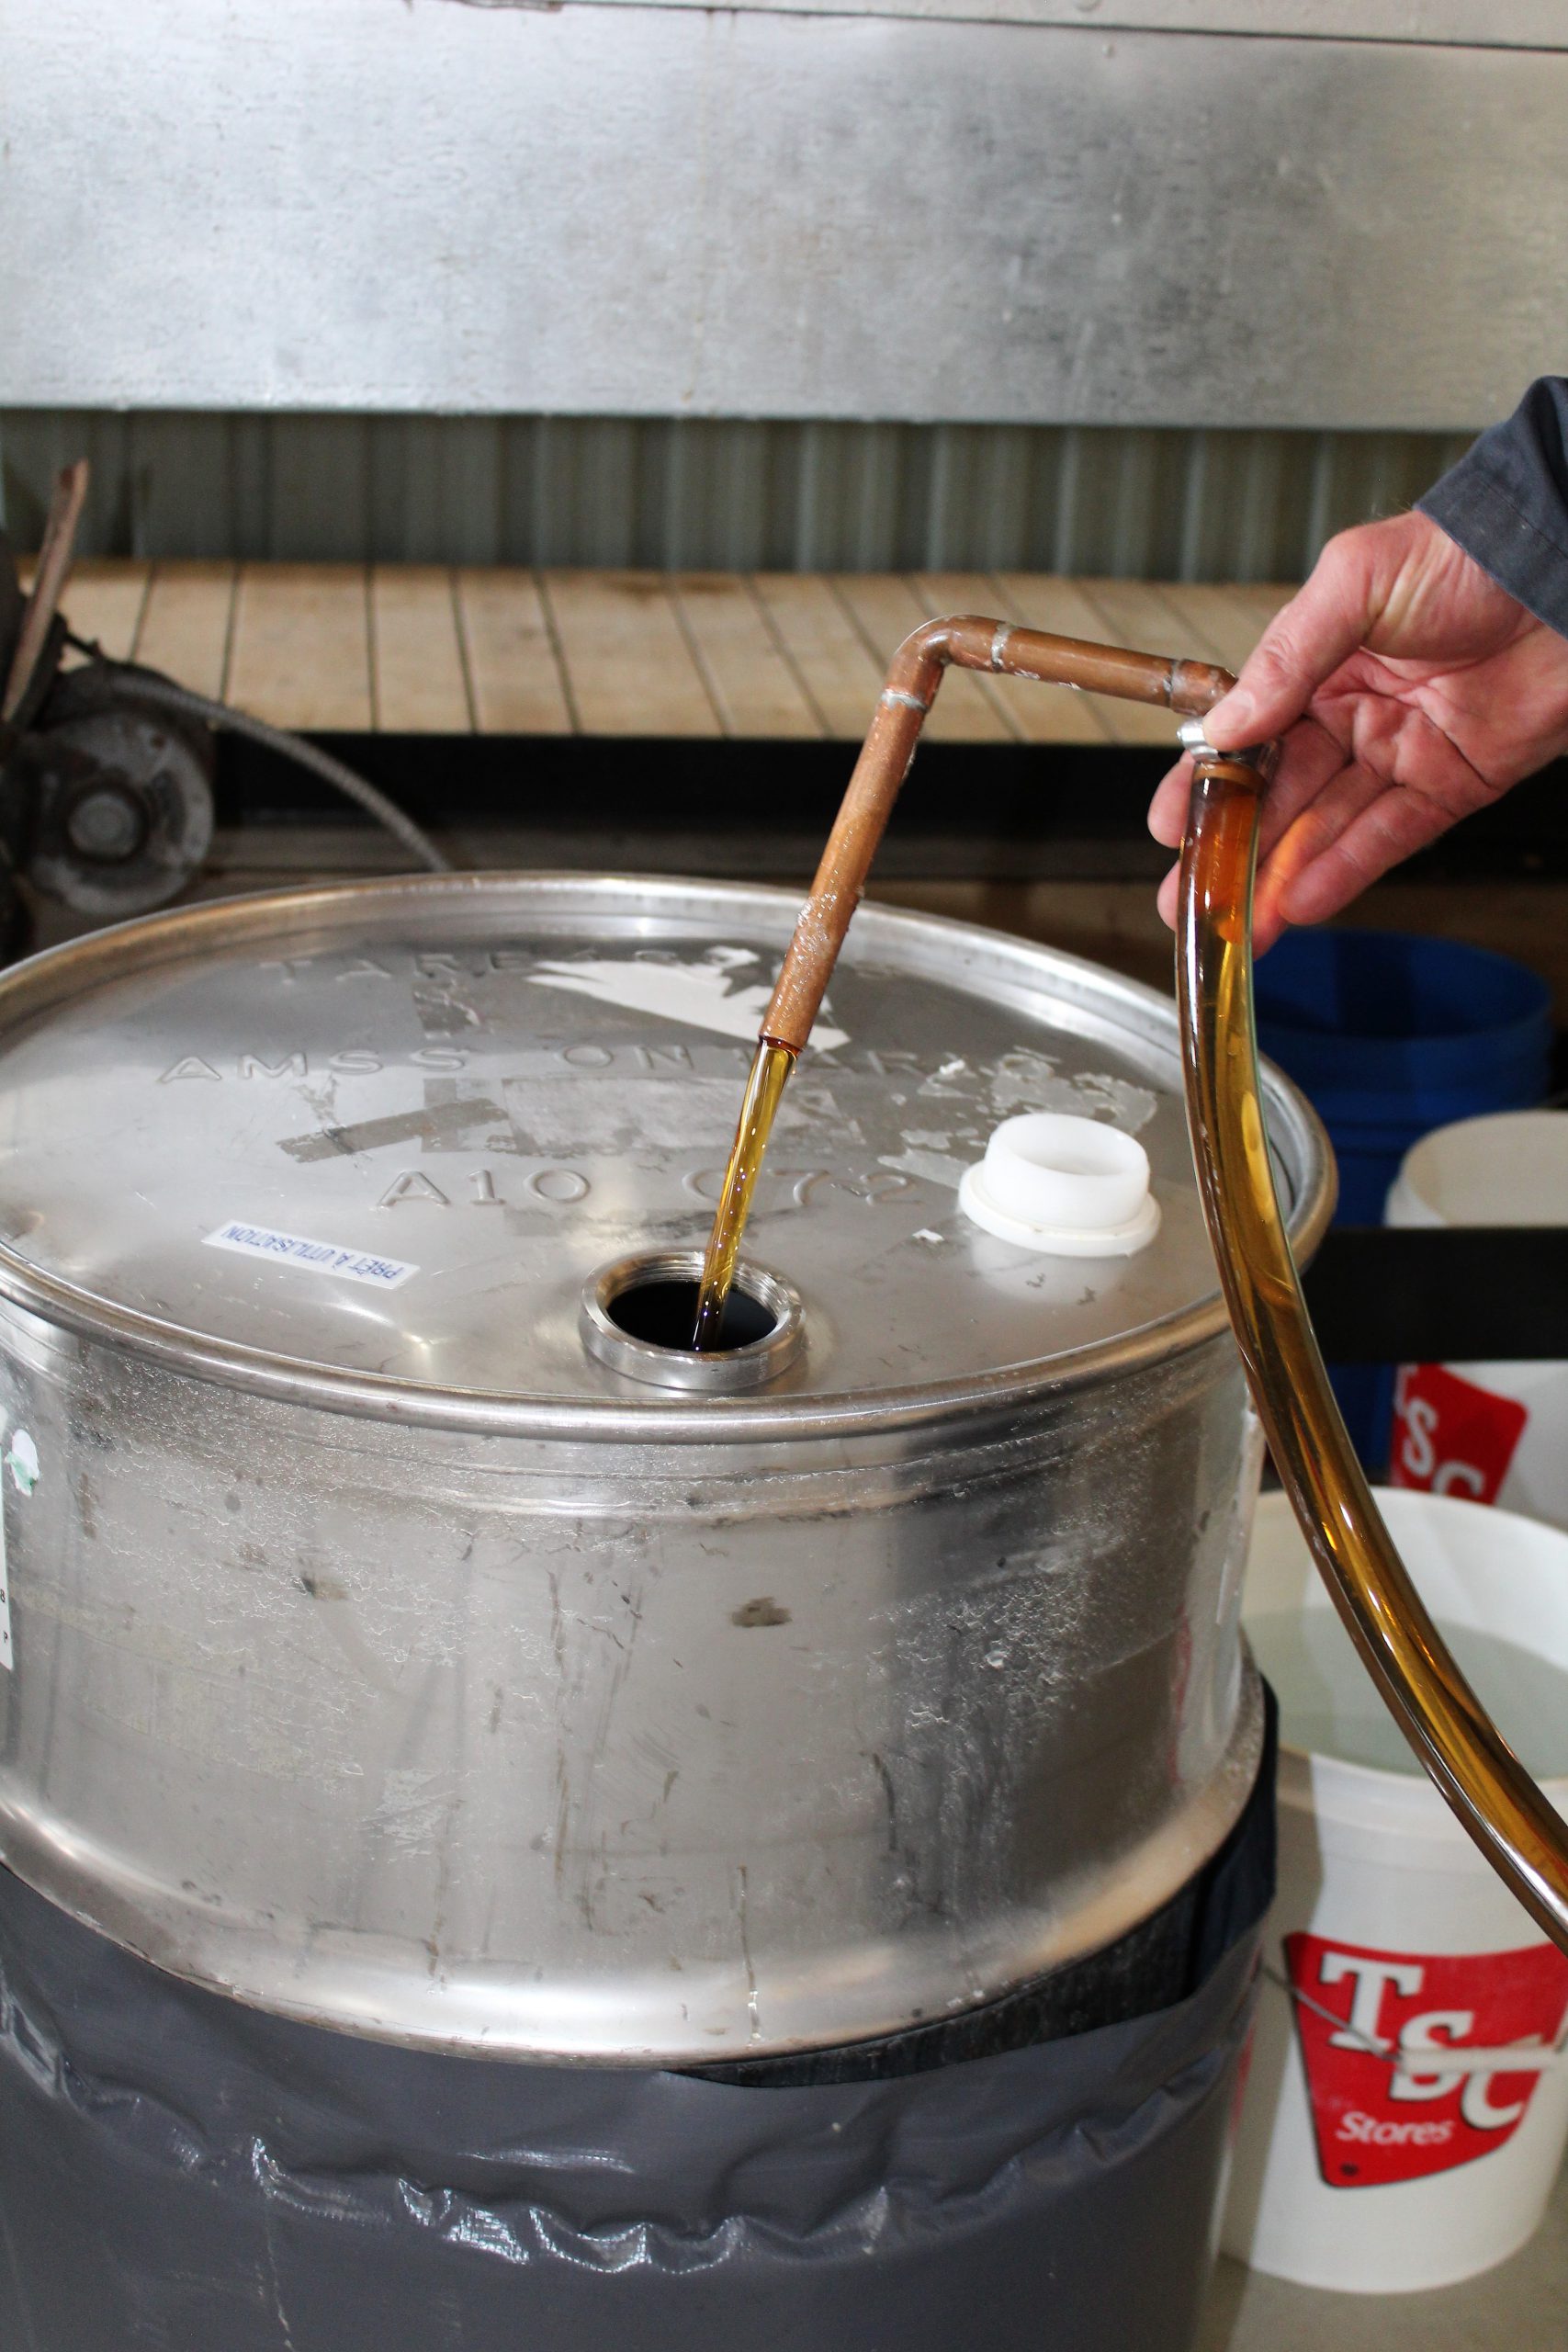
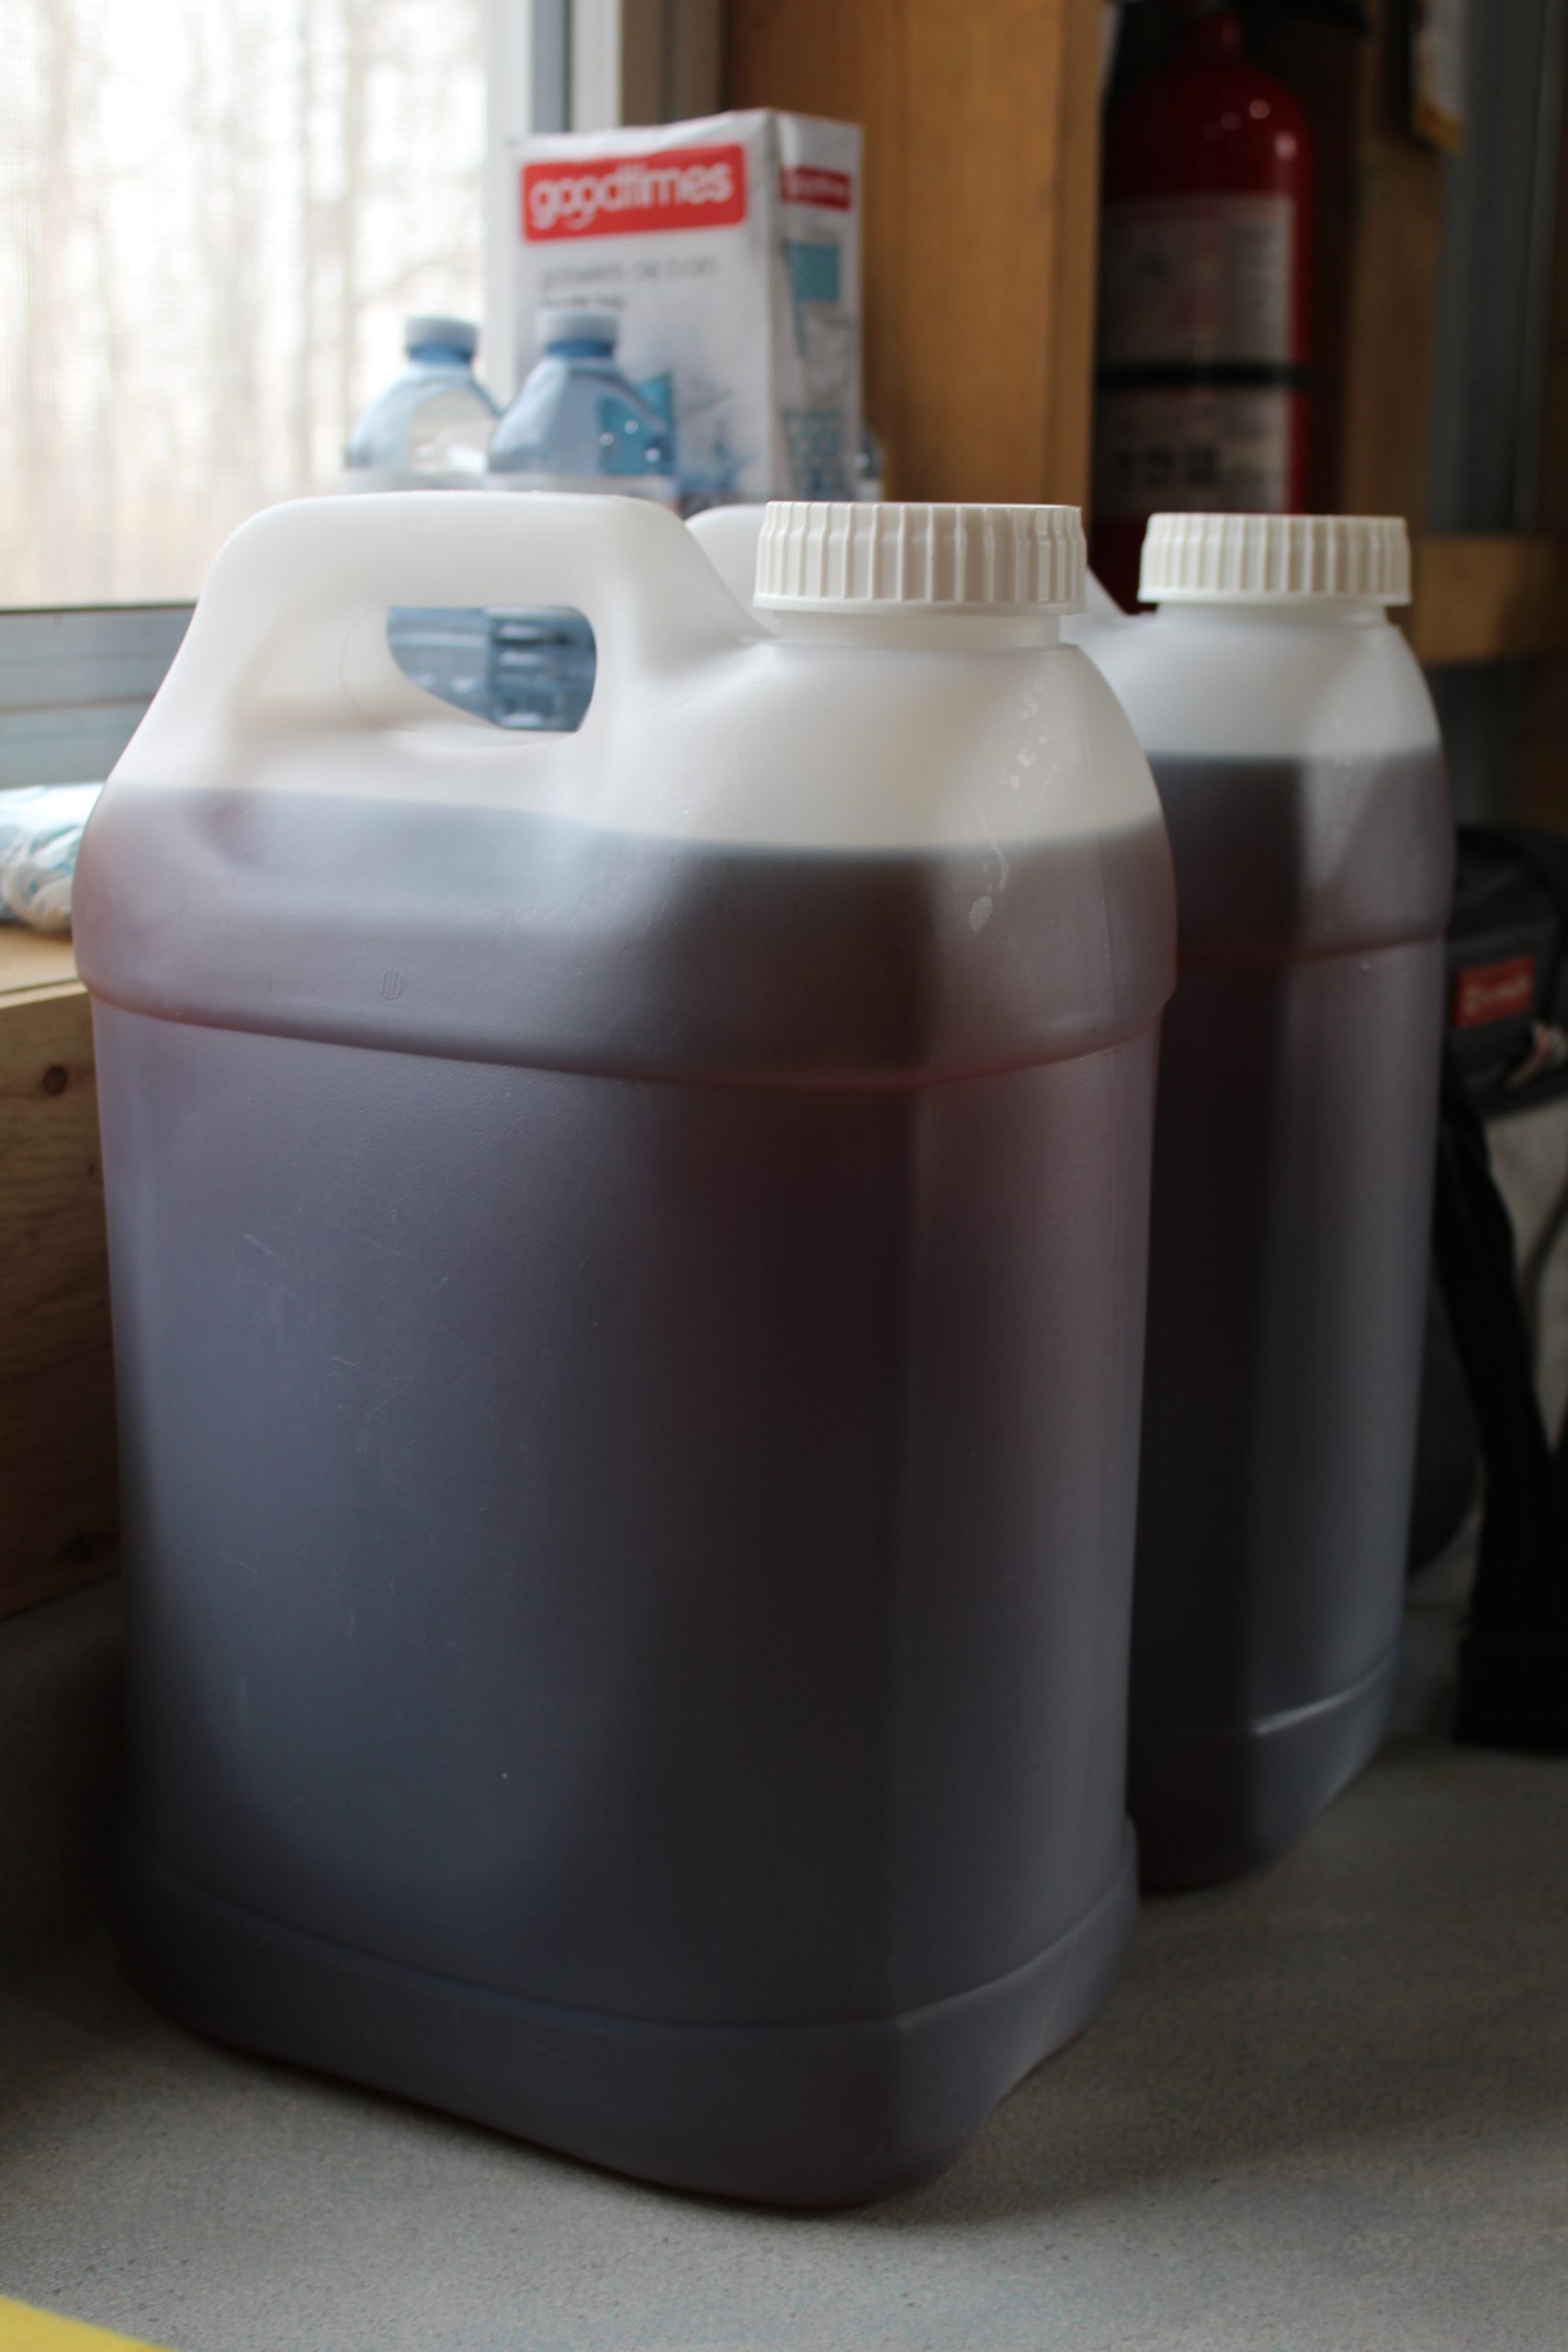
The syrup is ready when the temperature reaches 219°F and is stored in 34-gallon stainless steel barrels or 10-litre plastic jugs in the freezer until ready to bottle for sale.
There are four grades of maple syrup: golden, amber, dark and very dark. You get these shades naturally from the tree because the first sap to come out of the trees produces the lightest colour which is the golden and every week further into the season a darker syrup is produced. So, at the end of the sugaring season you will get the darkest syrup.
Now let’s talk about all the fantastic ways you can use maple syrup! Typically, the golden is used to make candy and confections, the amber is what most people use for pancakes and waffles and the dark and very dark are fantastic in cooking and baking. Each shade of syrup has its own unique flavour so if you get a chance to sample before purchasing, do so because you might find that for your palate you prefer one shade over another.
To learn how to make “Maple Pecan Scones” check out this video.
And, here are three of my favourite baking recipes that use maple syrup:
Rosemary is such an amazing herb! It’s part of the mint family, great in sweet and savoury baking, awesome as a part of a rub for beef or chicken, and beautiful in a cocktail or steeped for tea. And it’s healthy for you too! Rosemary contains carnosic acid, a potent antioxidant that is believed to be beneficial for your brain – improving brain health and memory.
In my early gardening years, I would always buy the largest rosemary plant available at the nurseries every spring, grow and harvest for one summer and then discard it. The sad thing is that rosemary doesn’t grow too quickly, and it sure did seem a shame to be tossing it at the end of the season.
If you live in growing zone 8 or above you do not have to concern yourself with overwintering because rosemary can be left out all season in that growing zone, but, for me in zone 6a with my beautiful Canadian winter, keeping rosemary alive outside was not possible. Trust me I tried!
So instead, we have discovered a nifty way to keep that rosemary alive in the winter by moving it either into our garage or into the house for the winter. We have found that we get the best results, though, when we first shock it into dormancy.
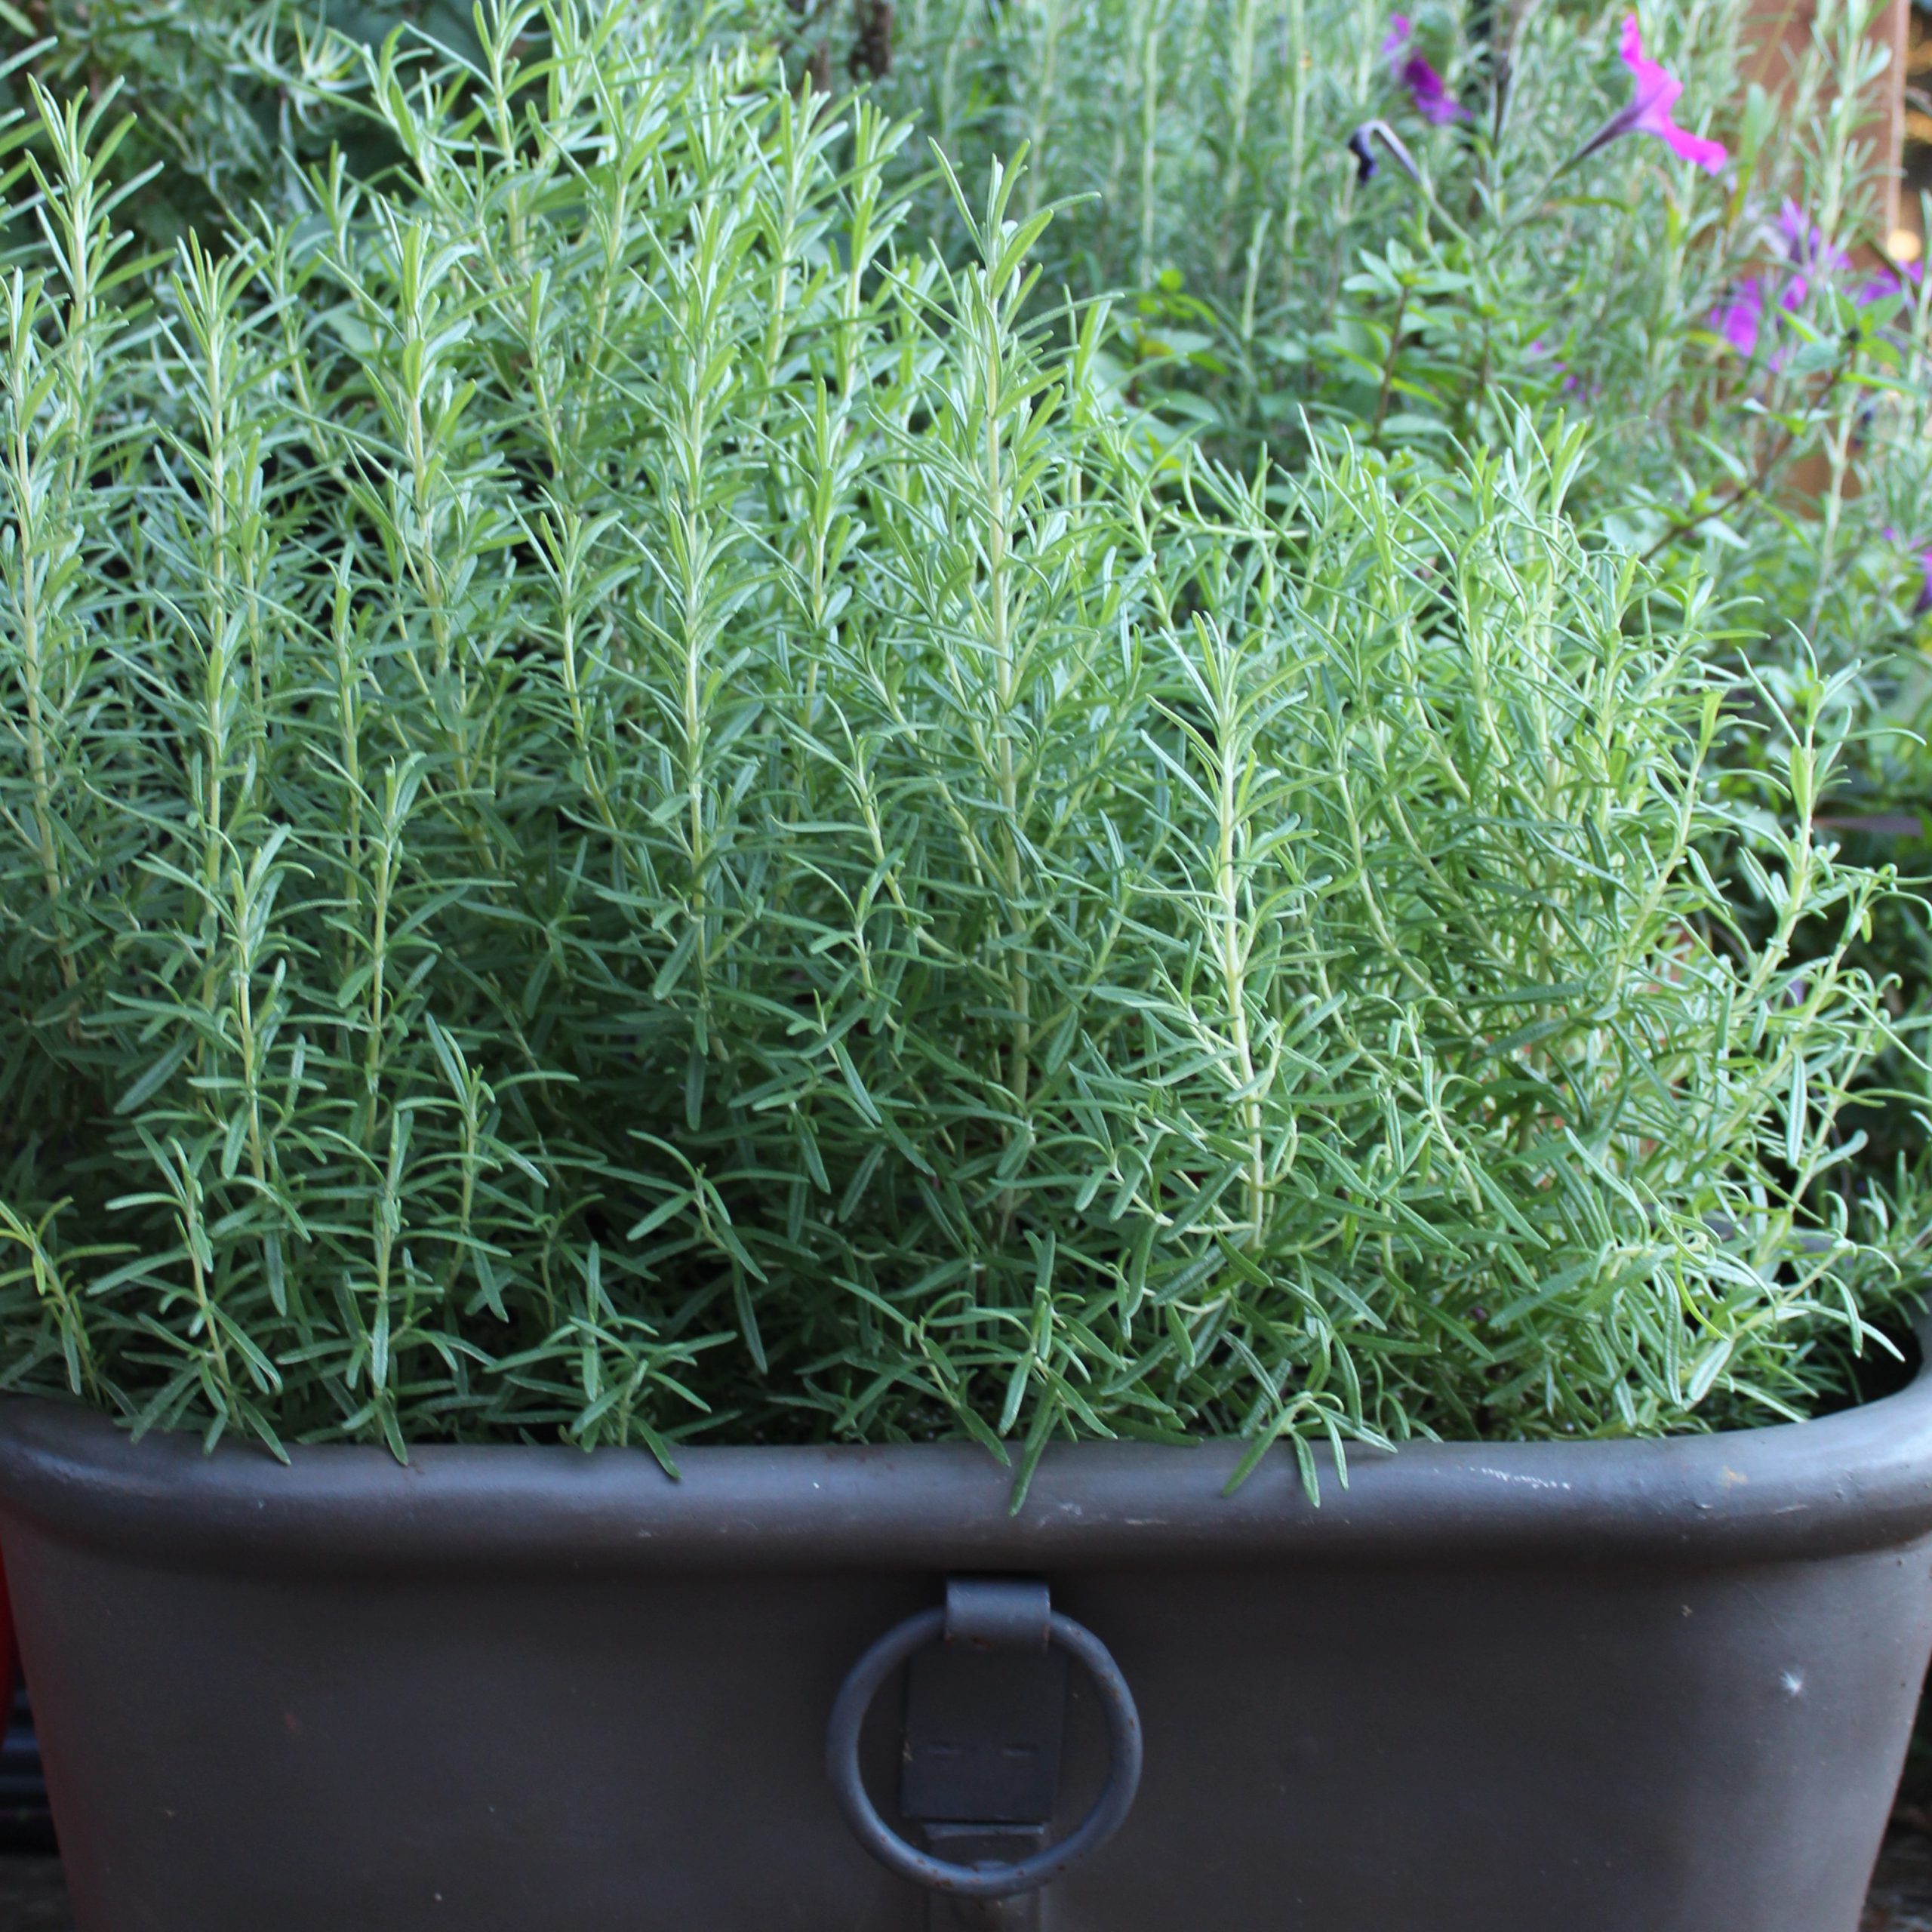
Nursery garden rosemary after one year
In the part of southern Ontario in which I live, we do not have early or harsh winters, which serves us well for keeping this plant. It is very tolerant of cool weather and harsh conditions. We don’t really think about moving our plant inside until it consistently stays below zero, which for our area usually happens sometime in November.
So, every year, we keep the rosemary outside and let it get a frost. Then, we move it to our garage. If the weather turns and gets warm again, we move the rosemary out for some sun. When it gets cold, we move it back in the garage. This pampering can sometimes keep us busy for about a month.
In late December, we get winter and that is when we will leave it in our garage. This year, we left one of our rosemary plants in the garage until the first week of February. We moved it inside when the temperature was going to dip below -20° C. That plant has been in the house for 10 days now, and it is starting to bloom beautiful purple flowers.
In March, when we start to get sunny days above zero, we will take our rosemary plants out for some sun – just an hour or two a day. Once the days are consistently above zero, we will keep the plants out longer, until the beginning of April when we move them outside for the spring and keep them out until the following November.
Rosemary can live a long time this way, decades in fact, and we have rosemary trees that are five years old. Usually after that they get too large to keep moving them around. So, in anticipation of the end of this shrub, we start another plant from a cutting or just purchase a new one from the nursery.
Rosemary is very drought tolerant and it actually takes in moisture from the air through its needles and keeps itself hydrated in the humid summer months. You really do not need to water your rosemary plant too often. In fact, overwatering will stress the plant and potentially kill it, if its “feet” (roots) are too wet. However, you also do not want to completely dry out the soil.
When we have the rosemary plants in the garage from December through to the end of January, we do not water them. Because the plant is not respiring and the soil was damp when we moved them into the garage, the soil does not dry out. If we take them outside for some sun when the temperature has risen above zero, we water them then.
So, this year when you are planning your garden, pick up a large rosemary plant, grow over the summer, and follow our lead, keeping your plant alive throughout the winter. When spring arrives, like children, you will be happy to see your rosemary outside basking in the sunshine and enjoying your garden!
If you want to see just how healthy my rosemary stays in the winter, check out this video:
Here are some great recipes using fresh rosemary at Cansanity :
Shopping for a stand mixer these days can be overwhelming. There are so many models to choose from with different bowl shapes and capacities, motor sizes and fancy names. I hadn’t realized just how many options there were until a friend asked me at Christmas which stand mixer I would recommend. I did a bit of research on the topic, and then it got me thinking I should write a blog and make a video about KitchenAid stand mixers and the differences between the tilt and the lift models. So here it is.
I have only ever owned KitchenAid stand mixers, and so I will focus the blog on this particular brand.
Let me start by telling you about when I upgraded from my hand blender to a stand mixer. I was in my thirties, my daughters were young, and we were in those prime birthday party years.
Prior to this time in my life, I hadn’t really made too many cakes; I just wasn’t a fan of icing. However, my eldest daughter was diagnosed with allergies to nuts and peanuts, and because nut-free cakes were not readily available for purchase, my cake making journey began.
I thought the best way to learn how to decorate cakes was to take some courses. I took all the cake decorating courses that were offered by Wilton, and, in the end, learnt how to use fondant, colour flow, and meringue powder. I finished the course knowing how to decorate a three-tiered wedding cake.
Sometime in the midst of all this flour, shortening, butter and icing, my mom came to visit from out of town. She saw first hand all the hand mixing I was doing and thought it was madness. She asked me to put on my coat and took me to The Bay. She didn’t tell me until I got there that she was going to change my baking life forever; she was going to buy me a KitchenAid stand mixer.
I remember telling her, “No really it is fine, I can manage with my hand blender”. But kitchen gadgets were my mom’s thing, and when she decided to buy something, that was it, there was no changing her mind. I remember carrying that big beautiful box of icing salvation on my shoulder – tall and proud.
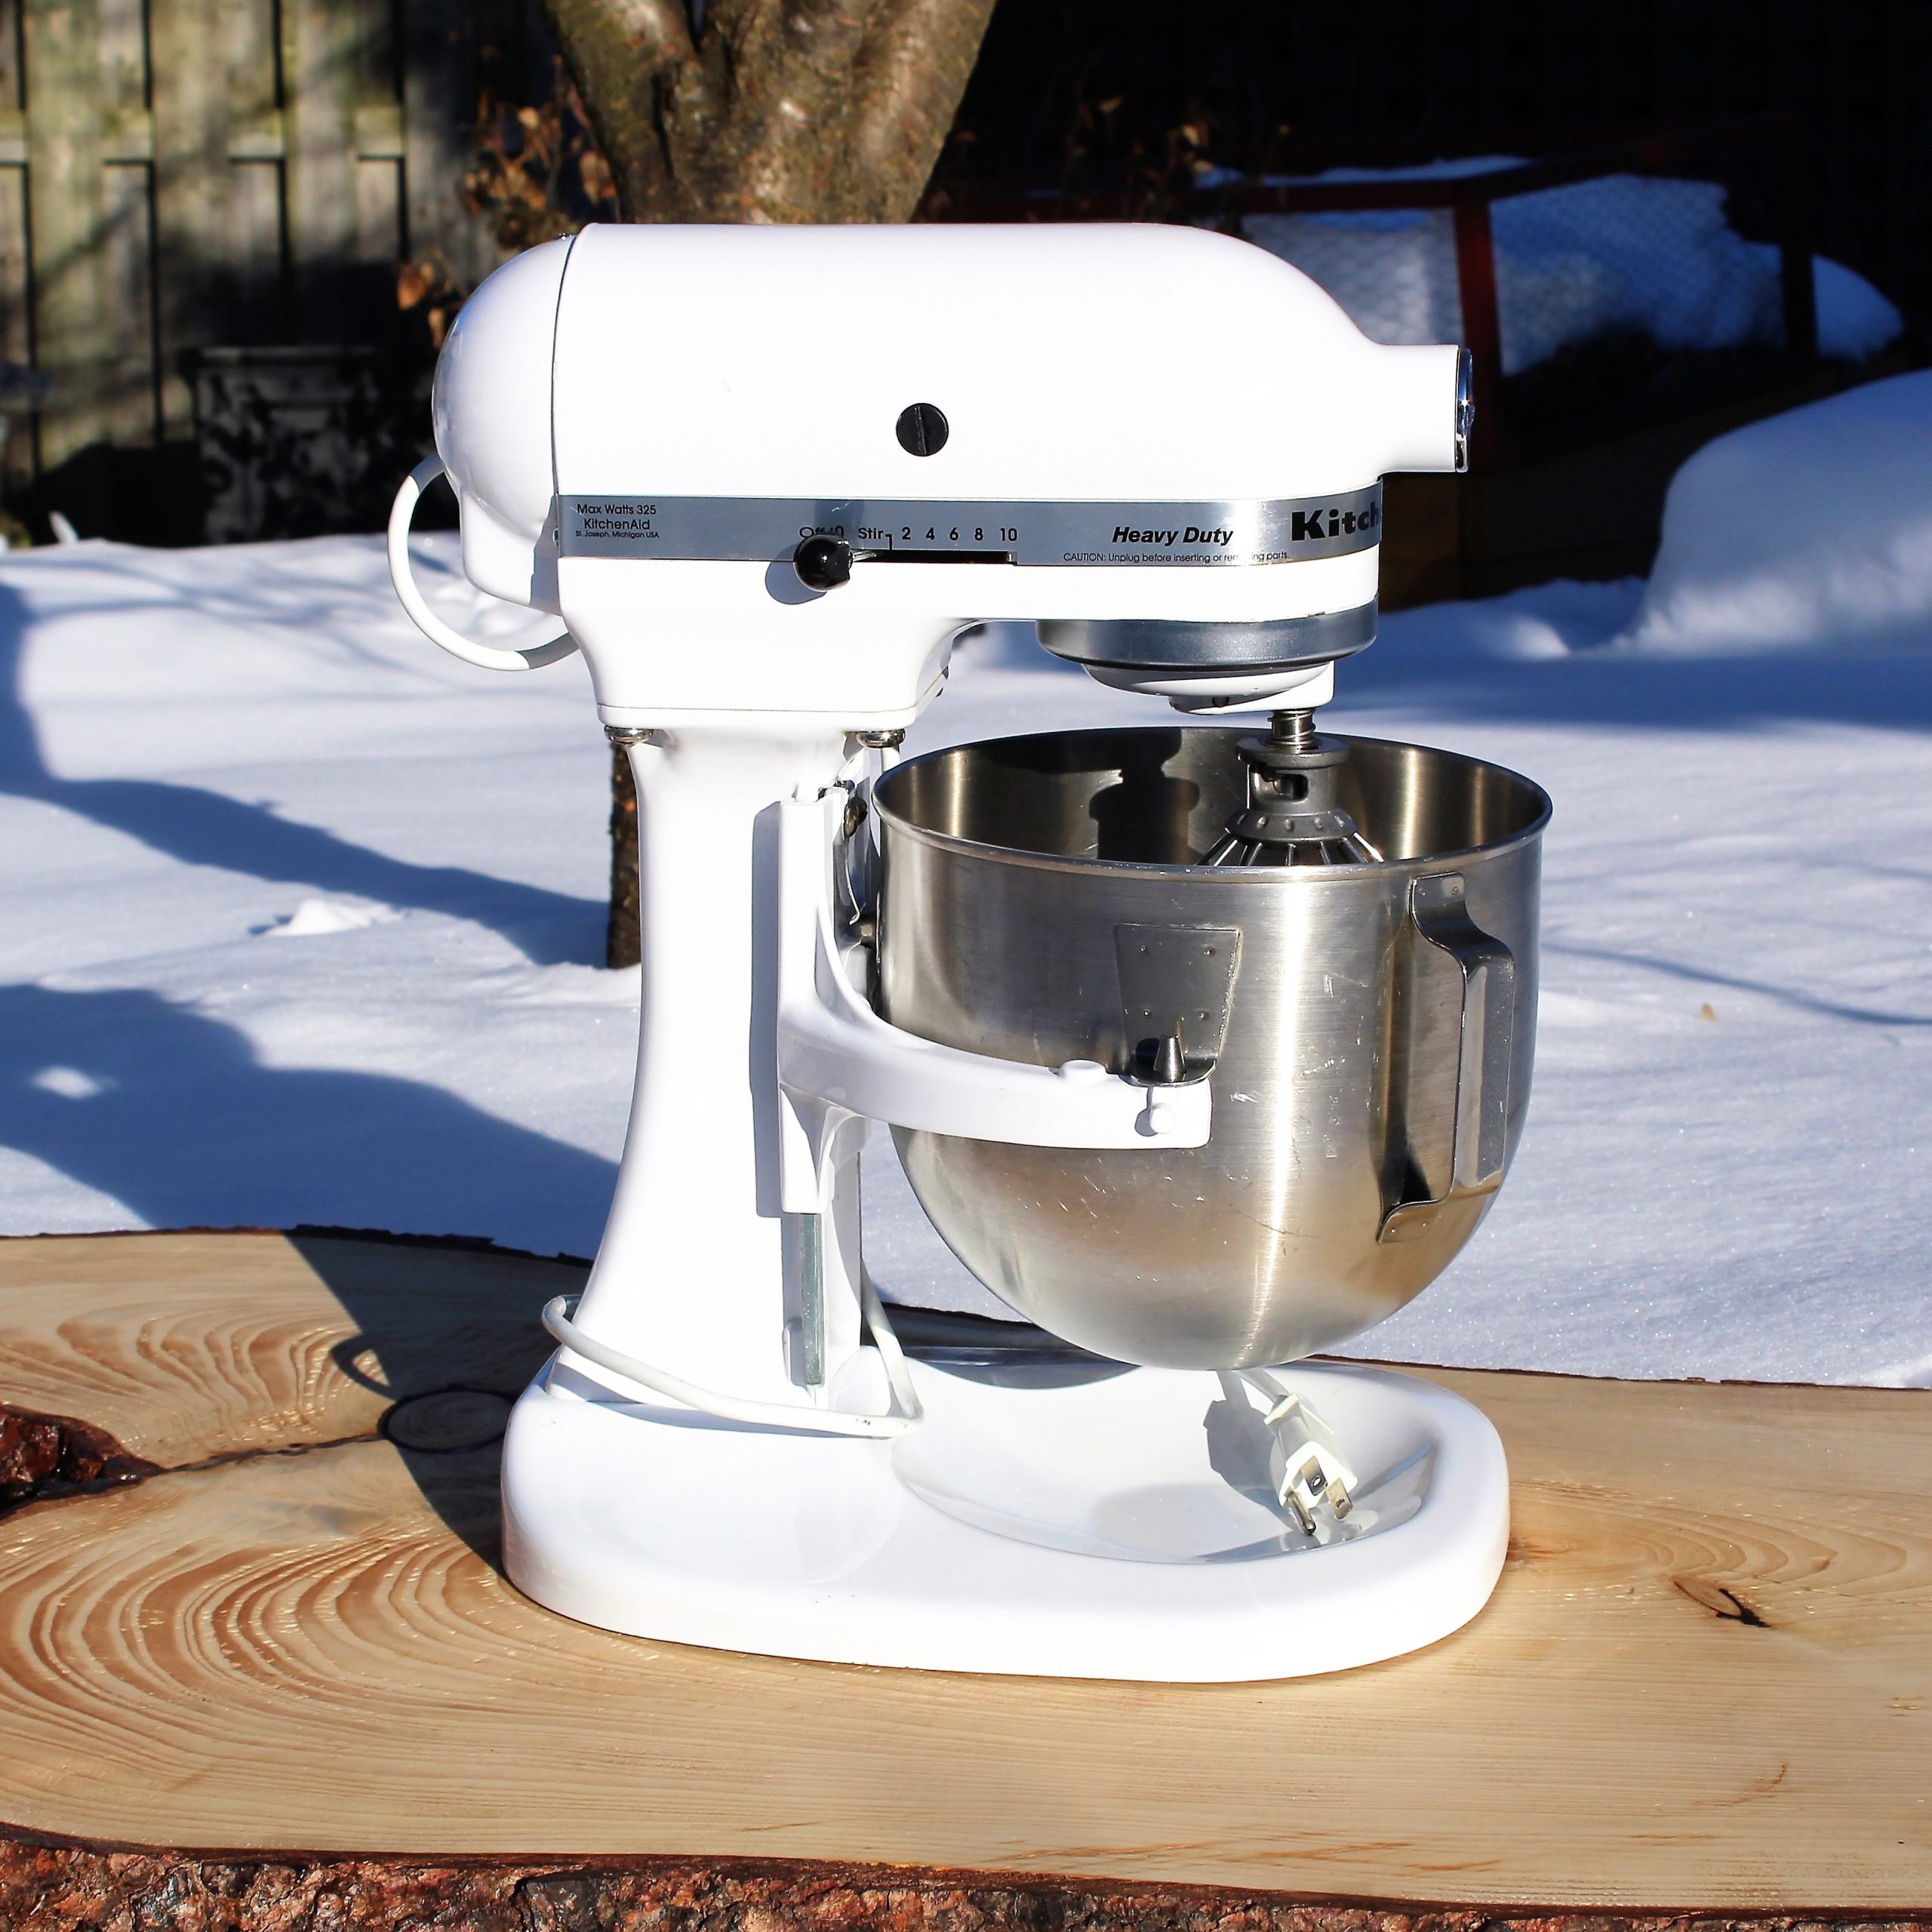
Heavy Duty KitchenAid Stand Mixer
I have had that mixer, called “Heavy Duty” ever since.
This “Heavy Duty” mixer, nicknamed “Ice Baby”, has a 325-watt motor, a five-quart bowl capacity and functions with a lift mechanism. She has performed well for me for 20 plus years!
The options were limited back then – the appliance was only offered in white and I believe was only available with the lift mechanism. Now there are two types, lift or tilt and a range of bowl and motor capacities. Just to make this easy to compare, I have put the options in these tables.
Model
Bowl Capacity
(Litre/Quart)
Bowl
Options
Motor
Wattage
Colour
Options
Artisan Mini
3.5
metal
250
white, black, red
Classic
4.5
metal
250
white, black, red
Ultra Power Plus
4.5
metal
300
white, black, red, ice blue
Artisan
4.7-5
metal
325
28+ colours
Architect
5
glass or metal
325
metallic in chrome & empire red
Model
Bowl Capacity
(Litre/Quart)
Bowl
Options
Motor
Wattage
Colour
Professional Plus
5
metal
450
black & graphite, red, ice blue, milkshake pink
Pro Heavy Duty
(HD) Series
5
metal
475
red, black and silver
Professional 600
Series
6
metal
575
white, red, pewter, black, silver, milkshake pink, ice blue
Professional 6500
6
metal
1000 (1.3 HP)
red ,black, silver
Pro Line Series
7
metal
1000 (1.3 HP)
red, black, silver, white
Limited Edition Pro Line Series
7
metal
1000 (1.3 HP)
copper, clad
Commercial Series
8
metal
1000 (1.3 HP)
pewter, red, black, white
So, for the average home baker, how can this information be useful?
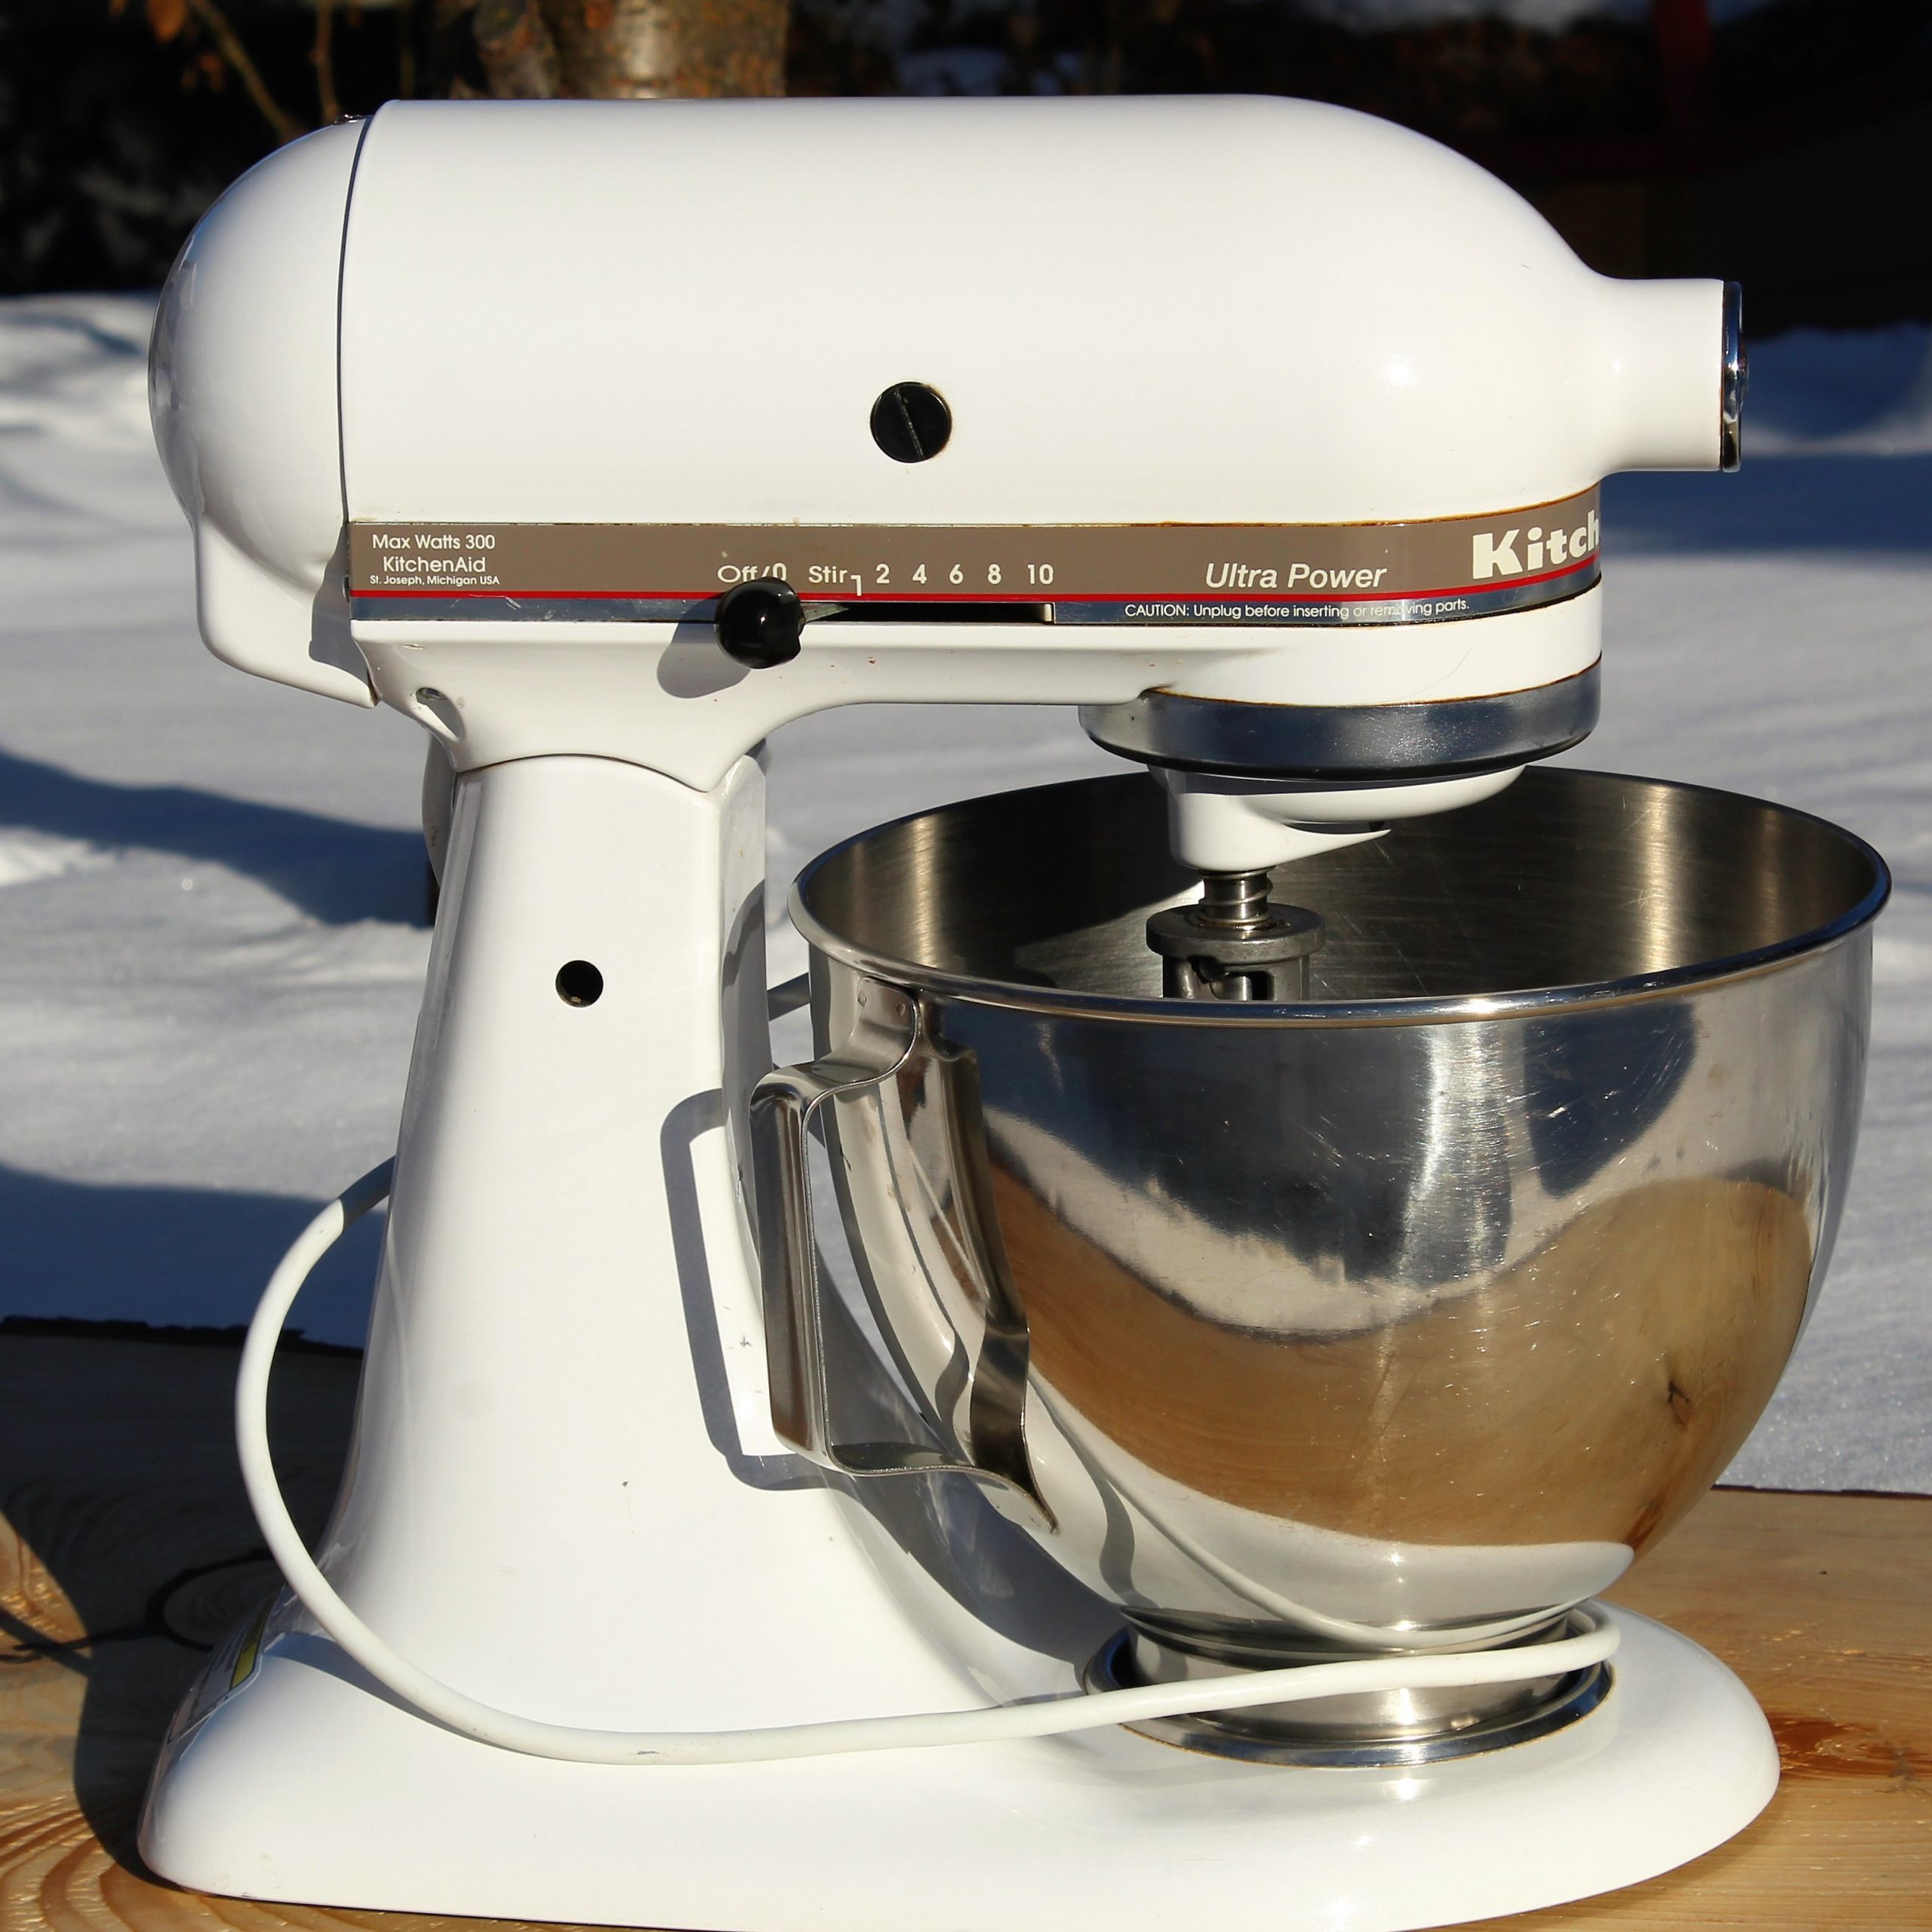
Ultra Power KitchenAid Stand Mixer
In a nutshell, bigger is not necessarily better. About 8 years ago, I bought a second-hand Ultra Power KitchenAid stand mixer which has a four-quart bowl, runs with a 300-watt motor and is a “tilt” model. I jumped at the chance to buy this smaller stand mixer second hand because even though the “Heavy Duty” lift model has been a reliable appliance, she does have her downfalls.
The shape of the “Heavy Duty” bowl or any “lift” stand mixer is not ideal for whipping up small quantities (for example 1/2 cup) of whipped cream or meringue. My new-used “tilt” mixer, the Ultra Power, has a tapered bowl which is distinctive to all the “tilt” models and so the whip attachment works great for small batch whipping. So, it’s quite fitting that I nicknamed this stand mixer “The Whipper”.
The other great feature of this smaller stand mixer is that she fits well under my counter, and there is quick access to the bowl which allows you to add ingredients while mixing. To stir, just tilt the beater up and mix with a spatula. With the larger lift mixers, accessing the bowl requires dropping the bowl and having to work around the beater.
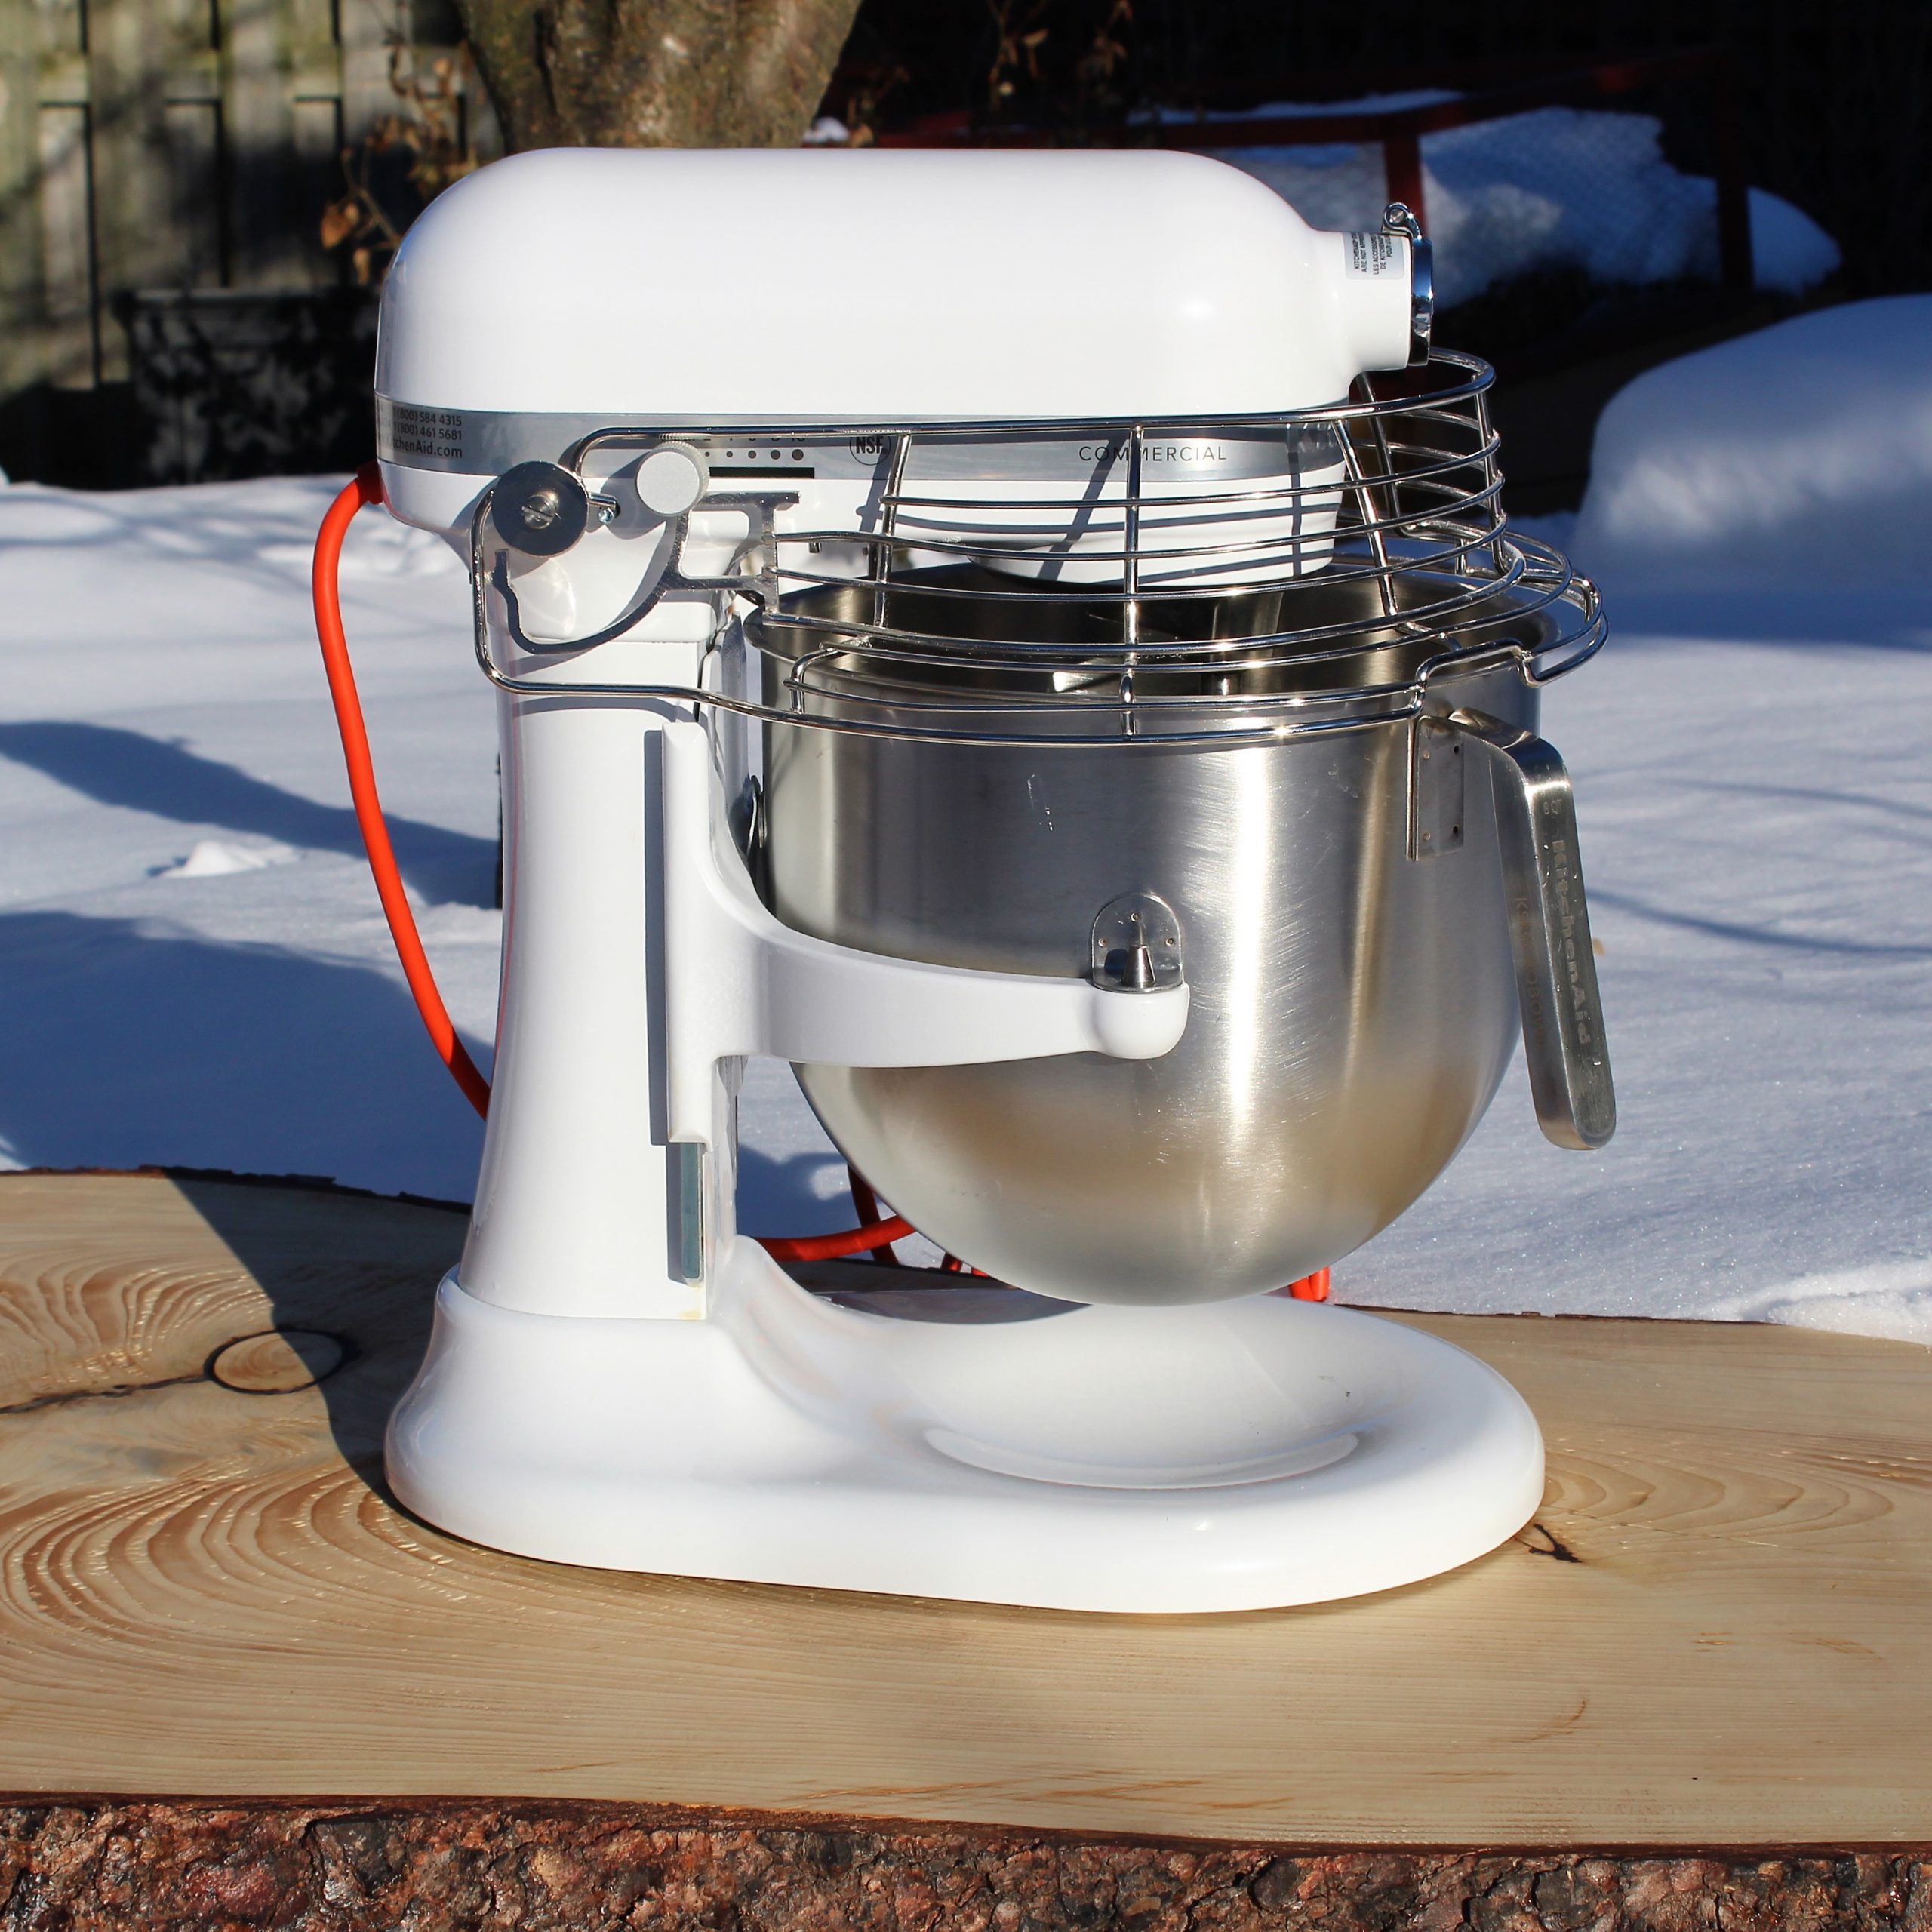
Commercial KitchenAid Stand Mixer
My latest KitchenAid stand mixer acquisition has been the “Commercial”. It has an 8-quart bowl, runs with 1.3 Horse Power (equivalent to 1000 watts) and is a “lift” model. I bought her this year because of all the work I am doing for Cansanity and so have nicknamed her “Cansanity”.
Not only do I use my stand mixer appliances for baking, but I also use them for making pasta, grinding meat, and making pasta sauce from garden fresh tomatoes. To do this, I just attach the pasta maker, the meat grinder or the fruit/vegetable accessory. I wanted a stand mixer that I could run several times a day without worrying about it overheating. It is important to note that these extra accessories work on all of the KitchenAid stand mixers. You do not have to have the “Commercial” KitchenAid stand mixer.
For those new bakers out there, that are not sure what bowl size is appropriate for you, here are just some examples of what you can process in a 5-quart bowl.
9-10 cups of flour. This is the amount of flour that I use in my “Classic Bread Recipe” which yields 4 loaves of bread. For your reference here is the Classic Bread Recipe
12 egg whites. This is the amount of egg needed for angel food cake. When you whip these egg whites they really increase in volume. For your reference here is the Angel Food Cake Recipe
If you choose to buy a stand mixer with a 4.5-quart bowl size, you will easily be able to make single batch cookie dough, meringue for pie, whipped cream for desserts, and a three-layer cake. For those bakers, that want to make double or triple batches of cookies, then consider getting the 6-7-or 8-quart bowl.
The bottom line is that you should ask yourself how you plan on using your appliance.
Will you be making bread dough?
I jump to this question because bread dough is one of the stiffer doughs that you can make using this appliance. It is important to consider the stiffness of the dough because the stiffer the dough the harder the motor needs to work. The stand mixers with wattage under 300 can certainly handle making a bread dough for one loaf of bread, but if you are planning on mixing up enough dough for more than one loaf of bread regularly you should consider buying a mixer with a higher wattage.
Are you planning on making bread every day, week or month?
If you run the motor on your stand mixer for long periods of time, it can heat up. So, if you are planning on running your appliance a lot and or many times a day, you should consider getting one of the models that has more power. The higher the wattage, the higher the power.
Are you only interested in making cake batters, icing, meringue and whipped cream?
All of the stand mixers, with maybe the exception of the Artisan Mini, will work for these purposes. I would suggest that you consider the tilt models because adding in colour tints and add-ins like chocolate chips or nuts can be scraped down and mixed more easily.
Are you considering purchasing one of the accessories so you can use your stand mixer for other things? For example, you can use the fruit/vegetable strainer attachment for making pasta sauce.
I buy bushels of tomatoes to process into pasta sauce, and so using the “Commercial” KitchenAid stand mixer is great for me because I run the appliance for long periods of time. Having said that, I have used the “Ultra Power” when I am only processing 2 batches of 10 pounds of tomatoes, and that works just fine.
The only other differences that you should be aware of are presented in this table.
Type
Key Application
Height/Weight
Key Design Element
Tilt
Very efficient at whipping small batches of whipped cream and meringue because of bowl shape and size
Shorter (My Ultra Power is 14” tall)
The tilt models are lighter
Movement on the top of the mixer can occur especially when mixing stiffer doughs. This is because the tilt design has a lever
Lift
Double and triple batches are easily made because of bowl size. Very efficient at mixing large batches of stiff bread dough
Taller (My Heavy Duty is 16 ½” tall)
The lift models are heavier
Sturdier design with the lift mixer and so there is little movement when the machine is running
If you plan on putting your KitchenAid stand mixer on the countertop under your cupboard, measure the clearance. The tilt stand mixers are shorter and lighter. But be aware that when the appliance is running, you might find that there is a bit of movement in the top of the tilt mixer.
I am so happy to be able to share what I have learned about KitchenAid stand mixers. I love all three of my kitchen “babies”. I hope this blog has been helpful; please leave a comment and share your experience!
How to make Pulla (Finnish coffee bread) – My family’s recipe and Christmas tradition
Northern Ontario with its rugged Canadian landscape, predominantly coniferous forest and cold snowy winters, has often been compared to Finland. It is not surprising then that there are many Finnish speaking Canadians, including my grandparents, that love this part of Canada. Being served warm Pulla bread with a slather of butter and a hot cup of coffee was a common welcoming treat when visiting neighbours in my hometown. So, at a young age, Pulla was the first bread I learnt to make. Golden brown with a light sugar topping and scented with a generous amount of cardamom, this bread always reminds me of home and making it around Christmas time keeps my hometown close to my heart.
It isn’t the holiday season until I have made this bread. Watch this video to get tips on how to make this bread like my Finnish ancestors. I have made this bread all my life, and so when I was a student in university, I had very little in terms of baking equipment. Even though, my kitchen equipment has grown, I still make this dough by hand with just one bowl, two pans and some parchment paper.
When making bread there are a lot of variables that can effect how your bread turns out. I find that I have the best results when I make this bread after having already used my oven. That way the kitchen is nice and toasty warm and the yeast is happy and grows well. I make it with instant yeast or traditional yeast – whatever I have on hand. In the video, I talk about both types of yeast and how to use them and explain some of the other factors that can effect the way your bread turns out.
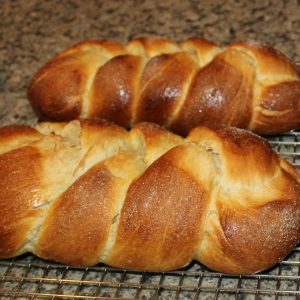
Pulla bread is a dense, sweet coffee bread. Watch and see how to form the dough and to braid it so that you get the right texture and shape. This bread bakes beautifully, and I hope you get a chance to make it this holiday season!
“It came with some cookies; it came with some bread. It came with two daughters and board games, we said. Maybe a pandemic Christmas doesn’t have to feel bad, maybe it is just one more Christmas we had. ” Cansanity 2020.
Like most people, we had no idea how our Christmas and holiday season was going to play out. The COVID-19 pandemic most likely meant that as we got closer to Christmas the restrictions, on places we could gather, were going to tighten. I decided early on to lower my expectations for Christmas 2020 and just carry on with the activities that I could safely do.
So, getting ready for the holidays this year was unlike no other. We put up our lights and the Christmas tree, but as the holidays approached, we decided that shopping and gathering with our friends was not something that was necessary this season. Instead, we would have a modified early Christmas, on December 21st, so that we could see our daughters, perhaps before a lockdown in our area.
I busied myself the entire month of December working hard on Cansanity. I concentrated on sharing some of my very best cooking and baking holiday traditions, like making pierogi,
All activities that I normally do at Christmas time, but usually with the help of my two daughters and my niece.
But I wasn’t sad, because as I meticulously worked through all the steps and the nuances of each recipe, I felt like I was reaching out and connecting with all of you. It was fun to create the videos, and because of them, I never felt alone while cooking and baking this season. Thank you!
I gave most of the cookies and baking away – something I usually do – but this year somehow it felt more meaningful.
My daughters, both university students and both continuing their studies at their homes online, were eager to see us, and so prior to coming home, both took extra precautions to minimize contact with people. I cooked the turkey prior to them coming home, so that the two days that they were with us could be spent together without having to worry about cooking or kitchen cleanup. This worked out perfectly! In fact, it was so nice not to have to cook when they were here that I am considering making this a new tradition!
It is the 23rd of December and my daughters will go home tomorrow, and my husband and I are going to spend the next two days relaxing, eating leftovers and being thankful that we had one more holiday season. My heart goes out to all of you that have suffered with COVID-19, especially to those who have lost loved ones.
Here is hoping that vaccinations roll out fast, and that life returns to normal in 2021. In the meantime, stay healthy, safe and strong. I hope that you all found something precious and good out of 2020 and the holiday season. Merry Christmas!