It just takes a pot or two…. How to get started growing vegetables or flowers in pots

Backyard top deck July 2015

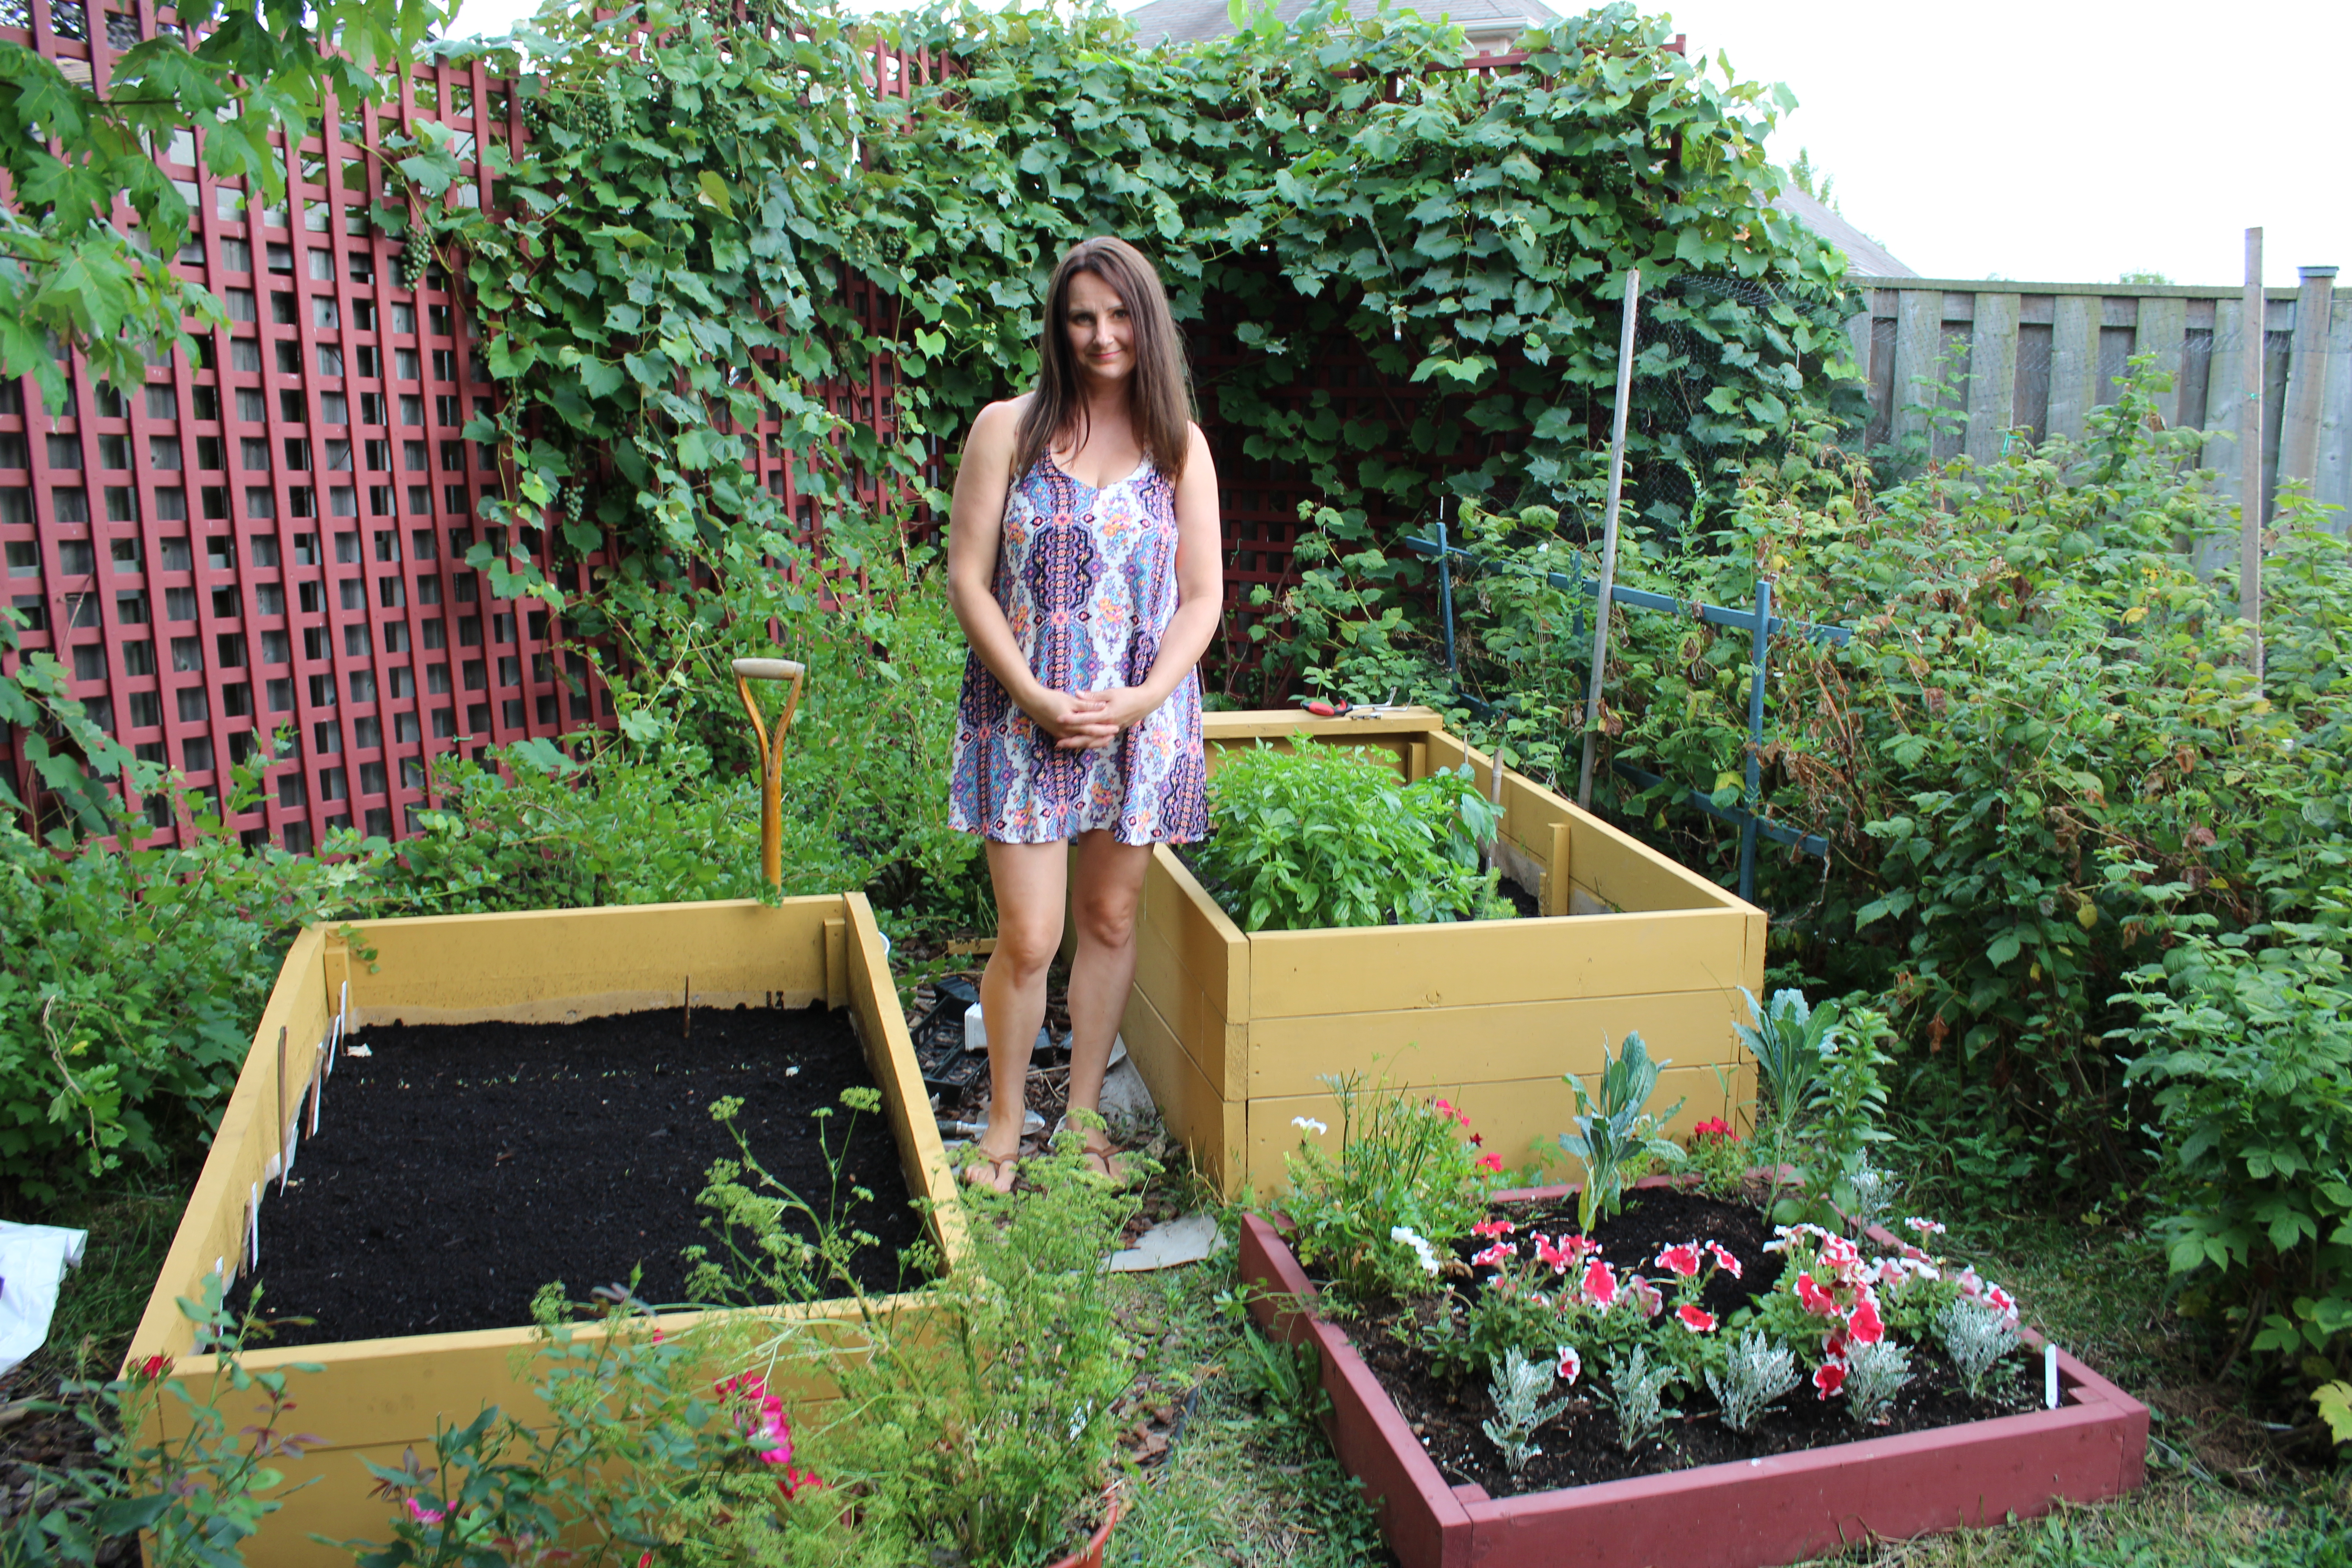
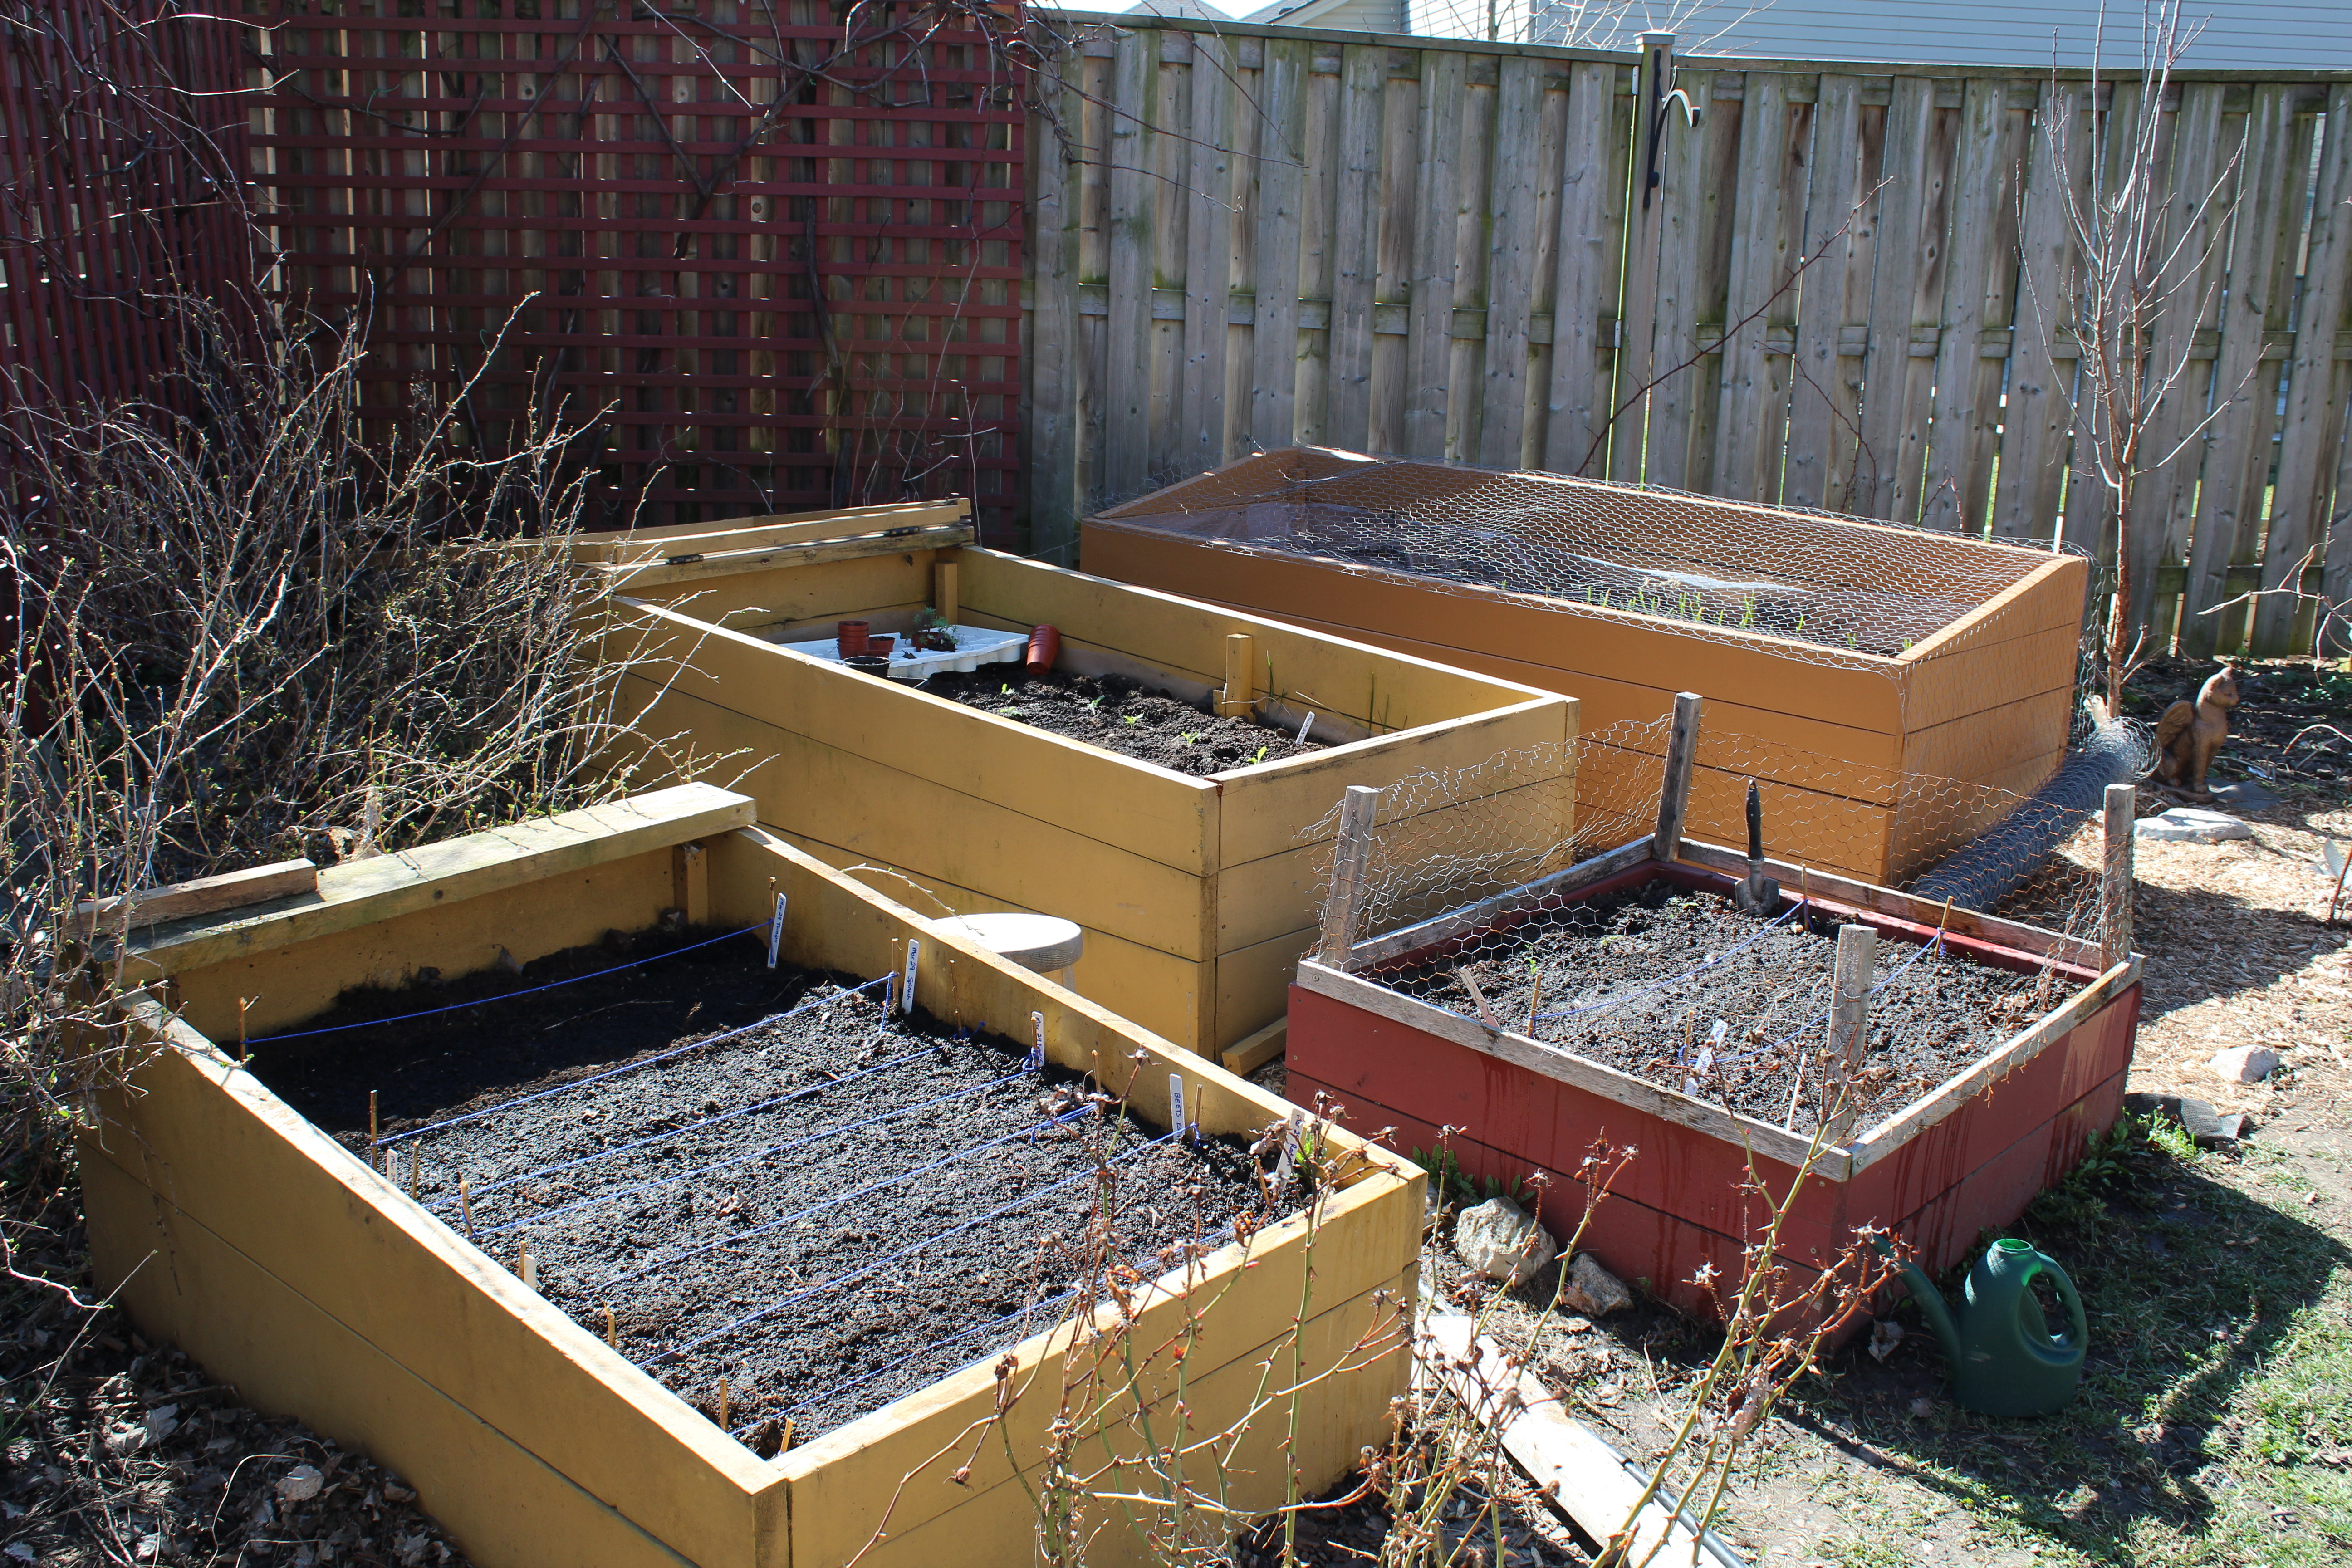
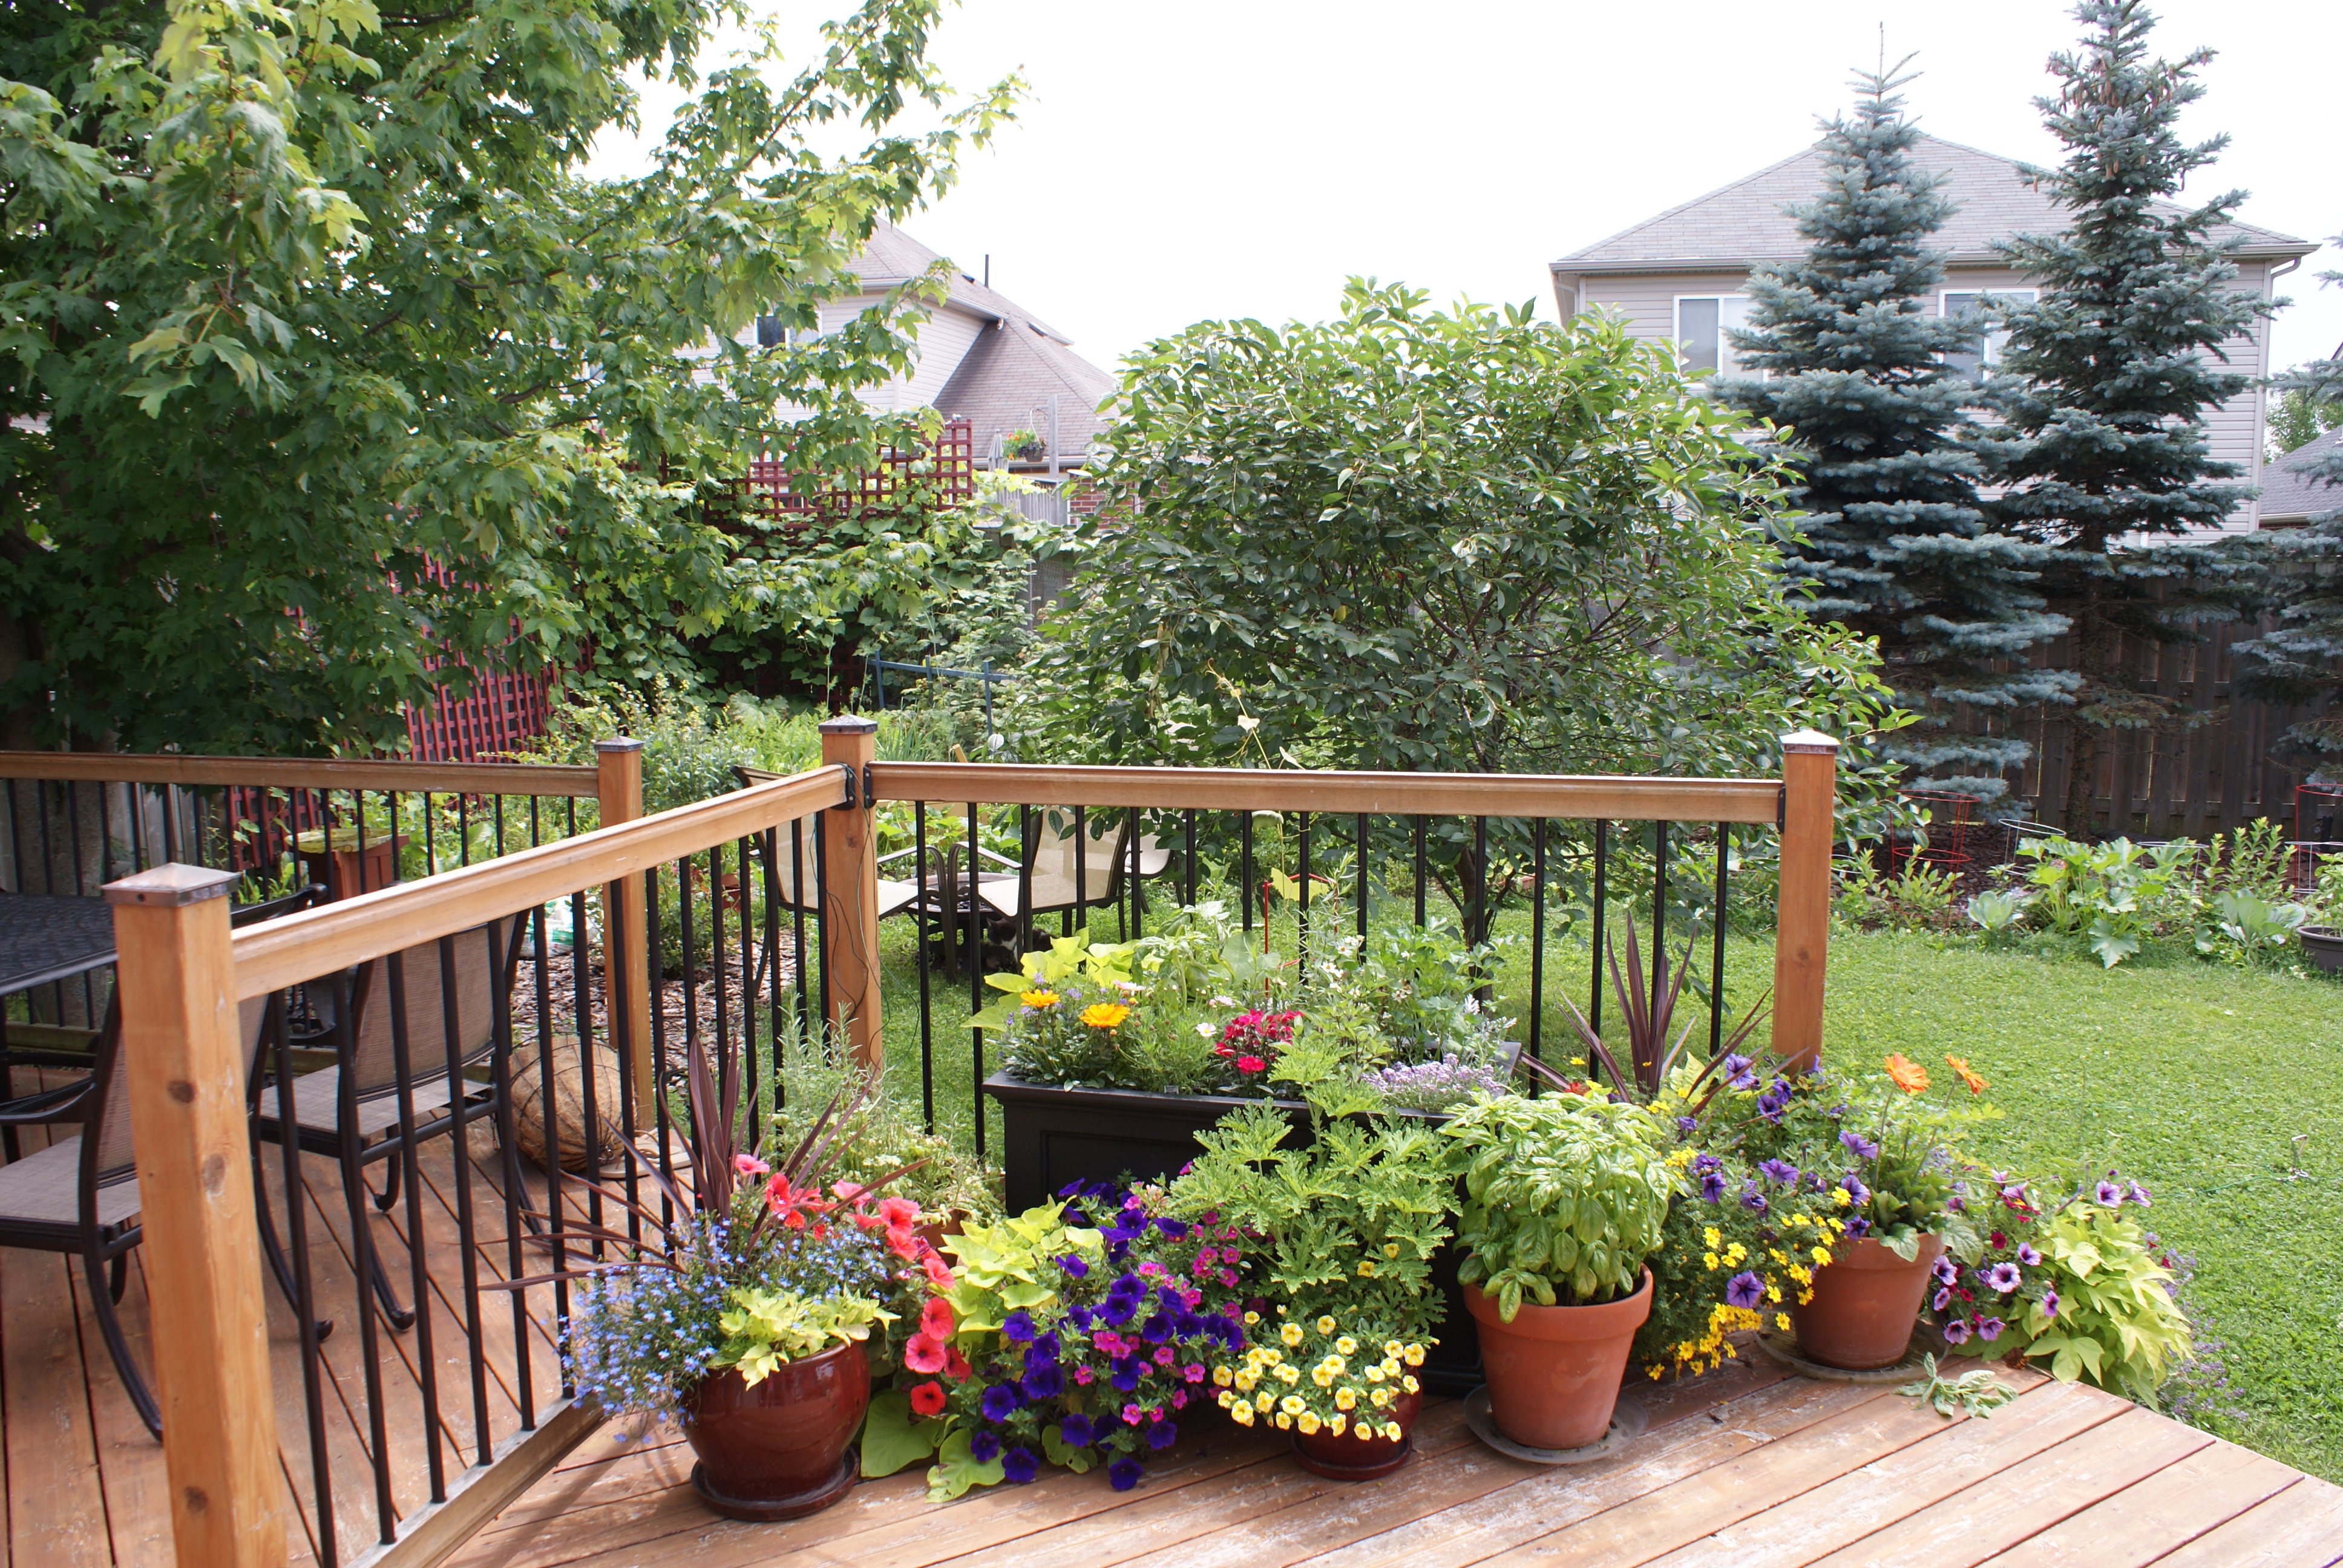
I remember the summer that sparked my interest in gardening.  We had just moved into a 27-year-old townhouse which backed onto green space.  We had a beautiful south facing, shady backyard with a deck, a large maple and the privacy of tall cedar trees lining the back of the yard.  The sides of our yard were fenced from our neighbours by chain-link and on the east side of the yard stood a beautiful lilac tree.  We decided that our best option for growing flowers or vegetables was on that east side of the yard at the farthest point of the backyard.  We built a raised garden and set out to plant.  I have to say that at this point my husband held most of the enthusiasm for planting, and so he was the catalyst in our gardening adventures.  I wasn’t too optimistic that we would get very much out of our garden…. boy was I wrong.

We lived in this townhouse for five years, and every spring, after building that raised garden, we would take trips with our girls to the nursery stores in the area.  They loved the smell of the greenhouse; the first sign of colour and greenery would brighten our moods.  We would let the girls pick out the colours of the bedding plants, such as impatiens, and they even got to know the nursery garden’s cat by name – Pumpkin.


When we got to planting in the garden our daughters would get elbow deep into the dirt to help.  They would enjoy helping Dad in the garden watering and be constantly on the look-out for new growth on the plants.  We discovered early on that cherry tomatoes were a fantastic plant to grow with children.  Daily, once the plant was fruiting, the girls would “snack” as they saw fit.

Canna Lilly August 2016

So, I began to see that growing fruit and vegetables in the garden is so much more than getting food.  It was a family experience.  Every year I would learn just a little bit more until, before I knew it, we were all planning our garden as spring approached.  We all got just a little bit excited about when we would taste the first lettuce or tomato out of the garden, and with that have come endless stories and fond memories of being in the garden together.

Getting started today with growing your own vegetables will be the beginning of your gardening story, and it will be more than just growing a couple of plants.  In this time of uncertainty about what is happening in the world you can be assured that you are also doing your part in helping not only your family but your country.

Romaine lettuce and flowers July 2018 in Mayne container

When you grow your own herbs, fruit, and vegetables, you eliminate all the fuel spent and pollution created in transporting that food to your house.  When you improve your garden soil by composting, you remove vegetable waste from the municipal landfill.  Also, you improve biodiversity by creating a habitat that is friendly to microbes, earthworms, pollinators (like bees), and birds.  And, importantly, you improve the food security of your country by removing some of the demand on the food supply – freeing those resources for people who cannot grow their own food.

Today on April 7, 2020, it may seem early to be starting to prepare your pots for transplanting vegetable or flower plants but, in fact, it is the ideal time.  To get started you need to purchase the appropriate size pot.  I have a variety of pot sizes ranging from 9” diameter to 16” diameter.  A 9” diameter pot will only support about 3-4 small plants, and I would only recommend planting small flowers such as pansies.

Gerber Daisies, potato vine, coleus and dusty miller

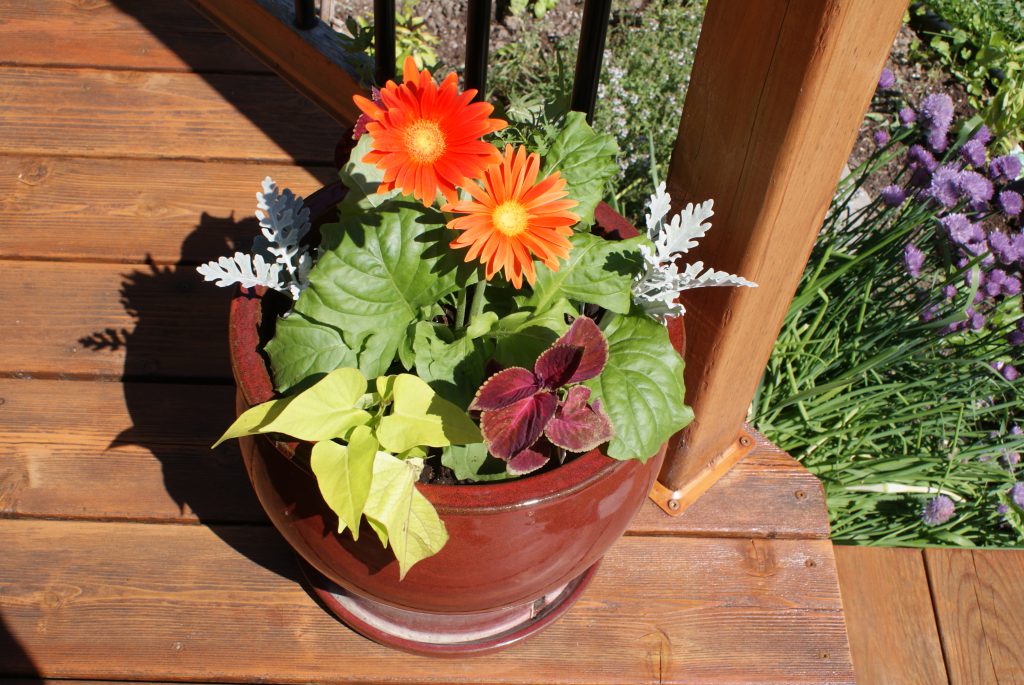
Ideally, you will purchase a 12” diameter pot, as this will allow you to plant a variety of plants over the years.  You could easily plant a pepper or tomato plant, or if you prefer to plant flowers, a pot this size will allow you to plant 6-8 small plants.  Now when I say a 12” diameter pot, I am referring to the top diameter.  You want to make sure that you have a depth of at least 8”, as a small pot will really heat up in mid-summer.  If you have a shallow pot and want to plant many plants then you will need a larger top diameter 14”-16”.  This will allow a good volume of soil to support the plants.

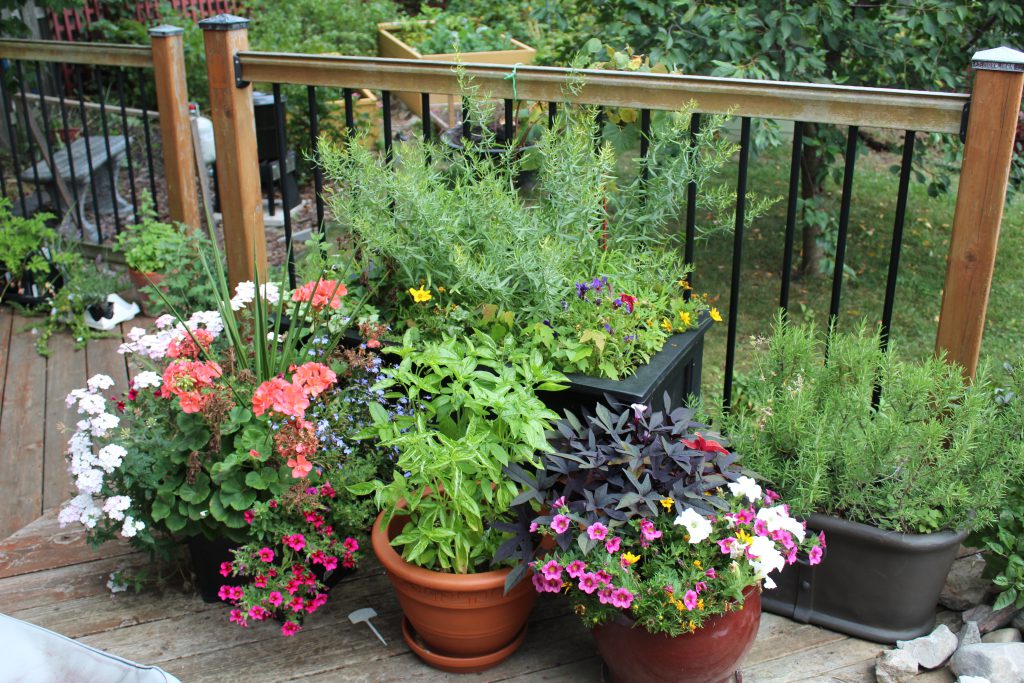
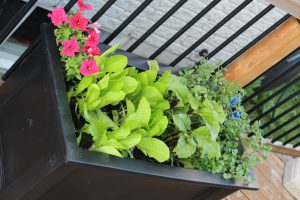
If you want a low maintenance, weather tolerant, super functional planter, I would recommend a resin (plastic) planter that has a build-in water reservoir.  I have several of these containers around my backyard in a variety of sizes.  The manufacturer, Mayne, has quality planters of this style.  In fact, that is the brand that I purchase for use in my backyard.  I have three 35.6” x 20” Mayne black containers on my deck, and I have grown, peppers, tomatoes, lettuce, tarragon, basil, lemon verbena and even strawberries in them.  The built-in water reservoir is a time saver for you.  In the heat of the summer, I would only have to water these planters at most twice a week.  In contrast, the clay pots, even at 14” in diameter, may require a daily watering.


Let’s talk soil.  You want to create a soil in your container that has the nutrients that the plants need, so as to minimize the need to fertilize and, at the same time, maximize the capacity to hold water, which is especially important in the heat of the summer.  I don’t think that there is necessarily only one right recipe for potting soil, but here is what works for me.  I like to include some “living” soil in the pot.  By “living” I mean soil that contains the microbes and other soil creatures that you would naturally find in a garden.  So, I fill a third to a half of the container with soil that I “borrow” from my garden (I will return it in the autumn).  I then mix compost or manure into the pot (about a quarter to a third of the container’s volume).  This will be less dense than the garden soil and helps with both nutrients and water retention.  For the remainder of the container, I use a potting soil.  The potting soil will contain a fertilizer – either natural or chemical – and things like peat, perlite, and vermiculite, which help with water retention.

I hope this blog inspires you to begin your gardening story.  Even if you start this adventure with just one pot and one plant this year, you can take satisfaction in knowing that you did it!  Here’s hoping your experiences bring you joy and fond memories.

Backyard deck with tarragon with flowers in Mayne container and potted basil, rosemary and annuals July 2018


Why build a cold frame for growing vegetables and the supplies you will need


In the southeast corner of our backyard, we initially had a vegetable garden which was 15’x15′ at ground level.  This garden was sufficient for the first couple of years we lived here because there was only a 20’ maple tree to one side of the garden and some 5’ blue spruce trees towards the back of the yard.  But, as our interests in adding more edible landscaping to our yard grew, so did the number of plants growing in this particular area of our yard.  We added a tall lattice in the corner and planted three grape vines, and we also added three gooseberry plants, raspberries and some rhubarb.  All these plants were now competing for soil nutrients and water.  In the spring, we would go to turn over the garden and find the maple roots were hard to work around.

Here is where the idea of building some raised gardens in the yard made sense.  I knew that, not only did I want to make it easier to work in the spring, I also wanted to increase the number of vegetables I could plant and also add some interesting focal points to my yard.


At this point in my gardening life, I had owned three houses and created different vegetable gardens at each of these locations.  I had read several books describing how to square foot garden and so set out to design a cold frame that would be efficient for growing the vegetables that I cherished most.  These included, radishes, onions, lettuces, spinach, kale, beets, carrots and leeks.

In planning my edible landscape, I knew I wanted garden boxes that would allow me to plant my vegetables as early as possible and also allow me keep the plants going right up until the winter.

I decided we would start with one cold frame with a hinged, but removable, Plexiglas lid.  Once I knew how many vegetables I could get out of the first cold frame, I could add one or two boxes each year.  As of March 2020, I have two with lids and two without lids in my backyard.

Now that I have given you the background on why and how we made the decision to get into raised beds, here is what I would suggest you do.  It is ideal for plants to have soil that is as alive as possible, meaning good microbes, worms etc. So, with this in mind, build your cold frame at least one month before planting in it.  If you have an existing garden and can take some live soil out of it to partially fill your cold frame that is ideal.


Here is what you will need to build your own cold frame:

  • Lumber. The amount and dimensions you need will depend on how large the cold frame will be.  I just use standard spruce lumber – easily available at any building center.  You want to build the cold frame large enough that it won’t dry out quickly during the hottest days of summer.  I would suggest that, at a minimum, you make it tall enough to allow for the soil to be eight inches deep; if you are going to plant large plants (like tomatoes) you will probably want 12 inches of soil.  As for the width, I like 36 inches.  This provides space for six lettuce plants across, and yet it is not awkward to reach all parts of the surface.  The length is more of an aesthetic choice.  So, for example, with my first cold frame, I made it 24.5 inches high, 36 inches wide, and 72 inches long.  I wanted the top to be sloped when the cover was down.  So, while it was 24.5 inches at one end, it was only 20.5 inches at the other.  You may be thinking that 24.5 seems like an odd choice – why not 24 inches.  Well, standard lumber has a half inch planed off to make it smoother.  So, I used two 2x10s and one 2×6 stacked on top of each other to build the sides.  But, a 2×10 is actually 1.5×9.5 and the 2×6 is actually 1.5×5.5, which means the sides were 9.5 + 9.5 + 5.5 or 24.5 inches.
  • Paint. Use a latex exterior and put on at least two coats.  I don’t use treated lumber for the cold frame, as I don’t want any chemicals leeching into the soil.  So, the paint is needed to protect the wood from insects, water, and sunlight.  The paint is also an opportunity to add a splash of colour, which you might really appreciate in the winter.  Once the wood is cut to the appropriate dimensions, I paint it before assembly.  In that way, I ensure that all parts of the wood are covered by paint.
  • Landscape fabric. Once the cold frame is assembled and in place, I lay landscape fabric on the bottom.  I use enough so that it curls up and covers an inch or two of the sides.  This will help hold the soil in when the cold frame is new.  Eventually, the cold frame will settle firmly into the ground, but when you first build it, there may be some gaps around the bottom.  Landscape fabric will allow water to pass through.
  • Clear plastic sheeting. You can find this by the roll at the building center.  I use this to line the inside of the cold fame.  It keeps the wet soil from directly contacting the wood sides of the cold frame.  You will want to leave a gap between the top of the soil and the top of the cold frame.  So, only line the sides as high as you need to.  For example, in my first cold frame, I wanted the soil to be about 12 inches deep.  So, I only lined the sides up to the 12-inch mark.  In that way, you will only see the painted wood above the soil line.
  • Soil. This is where you can apply your own recipe.  One thing I would suggest, however, is that you include some soil from another garden in your yard.  If all you use is bagged soil your garden will lack important soil microbes.  So, I always like to add some living soil.  I also like to include compost and manure.


Keep in mind if you are planning on building your cold frame in April and then using it in May you just have to build the box part and do not have to worry about building the lid until the fall or next spring.  Better to get the soil into the box and let it settle for a month so you can get to the planting.

Why do you need to wait a month before planting?  If you have added compost to the box, and you should, you should allow the microbes a chance to break down the compost, in particular the nitrogen.  If you plant seeds directly into the bed after adding all the soil the process of the microbes breaking down the compost might interfere with germination.