Don’t be squashed for time-Start your squash plants indoors and prepare the soil for planting outside.

Zucchini blossoms 2018
Squash blossoms 2018

It is that time of year for me when I have to decide whether I am going to have the time and space for growing squash.  Squash are warm-weather plants requiring daytime air temperature of at least 21°C (70°F) and soil temperature of at least 16°C (60°F).  Mother Nature is taunting us this year with her frigid, unseasonable temperatures, but I am hopeful that she will reward our patience and soon give us good planting weather.  By the end of May or the beginning of June, with no risk of frost in sight, I will be able to plant these warm-weather plants.

Butternut squash 2018-Cansanity
Butternut squash 2018

The seeds can be started, in compostable pots, 2-3 weeks prior to transplanting.  So, I have decided to go ahead and start seeds of five different kinds of squash, indoors this week. For outdoor planting, I can get prepared with the first consideration for my plants being the soil.  It will have to be rich, fertile soil with a lot of compost and be located in a sunny location.  Secondly, I need a lot of space devoted to these plants since they need to be planted on average one metre apart, and the vining varieties of squashes can grow up to 15 metres in length.

Further consideration regarding spacing is that squash plants will cross- pollinate with other plants within the same species. For some, that can occur within a mile of proximity. This does not affect fruit production but, if you want to save the seeds for future planting, only plant one type of squash of each species. (The plants within each species will cross-pollinate resulting in seeds that will not be viable.)


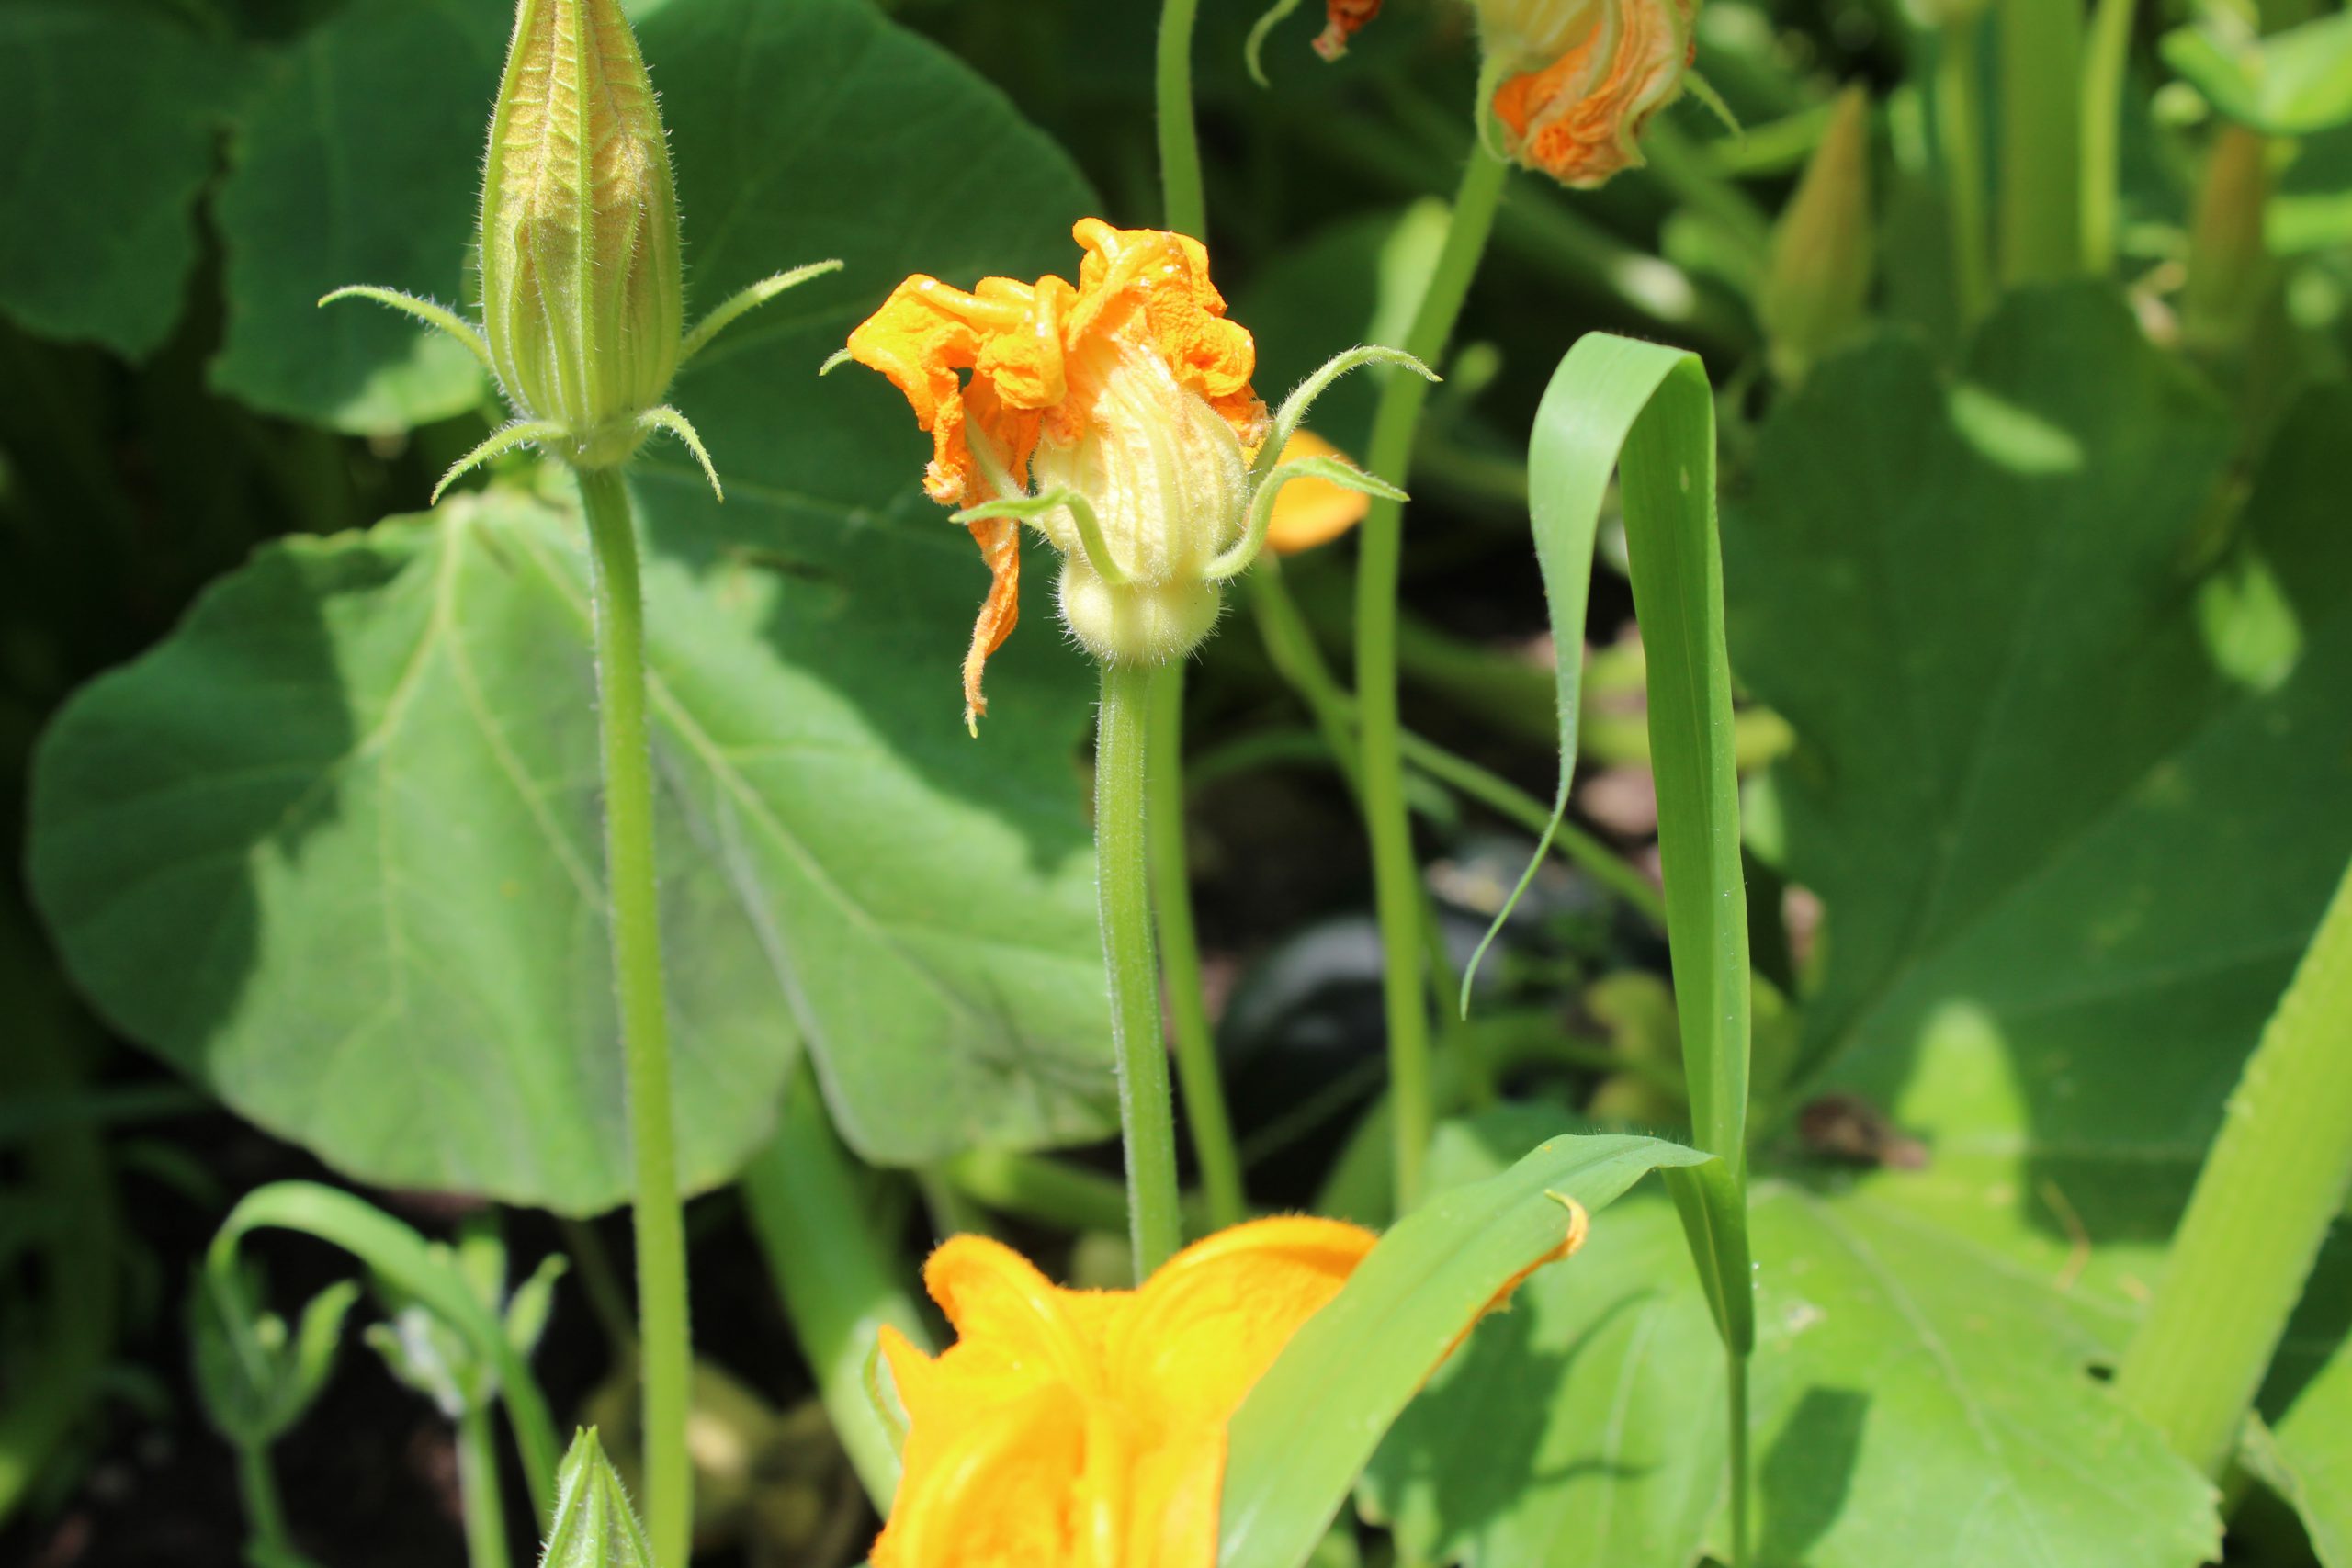
Knowing that squash plants, especially winter squash, can vine up to 15 feet long and take up a lot of space, is it worth planting in a small yard?  Well, I think so.  The plants are beautiful, almost ornamental and it sure is exciting to spot your first zucchini or pumpkin on the vine.  If space is your worry, one way to increase available space is to grow your vines up on a trellis, but for heavy fruit like pumpkin, once formed you will have to support this fruit through to maturity with netting.

We have had great success growing our cucumber vines on a trellis, and so this year, we are going to grow some of our squash vertically.  Stay tuned for pictures!

Here are the squash plants that I have decided to grow in my garden this year.

Dark Green and Gold Rush Zucchini – species Cucurbita pepo- days to maturity: 50

This summer squash is one of my favourite plants to grow.  It prefers to be grown from seed in warm soil, but will do fine from a transplanted seedling that has been grown in a compostable pot.  We grow only two zucchini plants because one zucchini plant grown successfully will produce up to 16 zucchinis in a season. One tip that I can give you is that once the plant fruits, it is important to pick the fruit 4-8” in length regularly, as that will stimulate further fruit production.

Naked Bear Pie Pumpkin-species C.maxima- days to maturity: 105

Roasting pie pumpkin 2017
Roasted pie pumpkin

I am particularly fond of this pie pumpkin because it has hull-less seeds which are ideal for roasting for eating and baking. My job is to roast the flesh of the pumpkins which I puree and freeze for use in the fall and winter months in baking and cooking. I set the seeds aside for my husband to roast, since this is one of his favourite fall snacks and he has perfected the art of roasting the seeds.  His recipe and method for roasting the seeds, as well as many of my pumpkin recipes, will be added to the website in time for use in the fall.  If large pumpkins are what you are after, allow only one pumpkin per vine to grow to maturity.

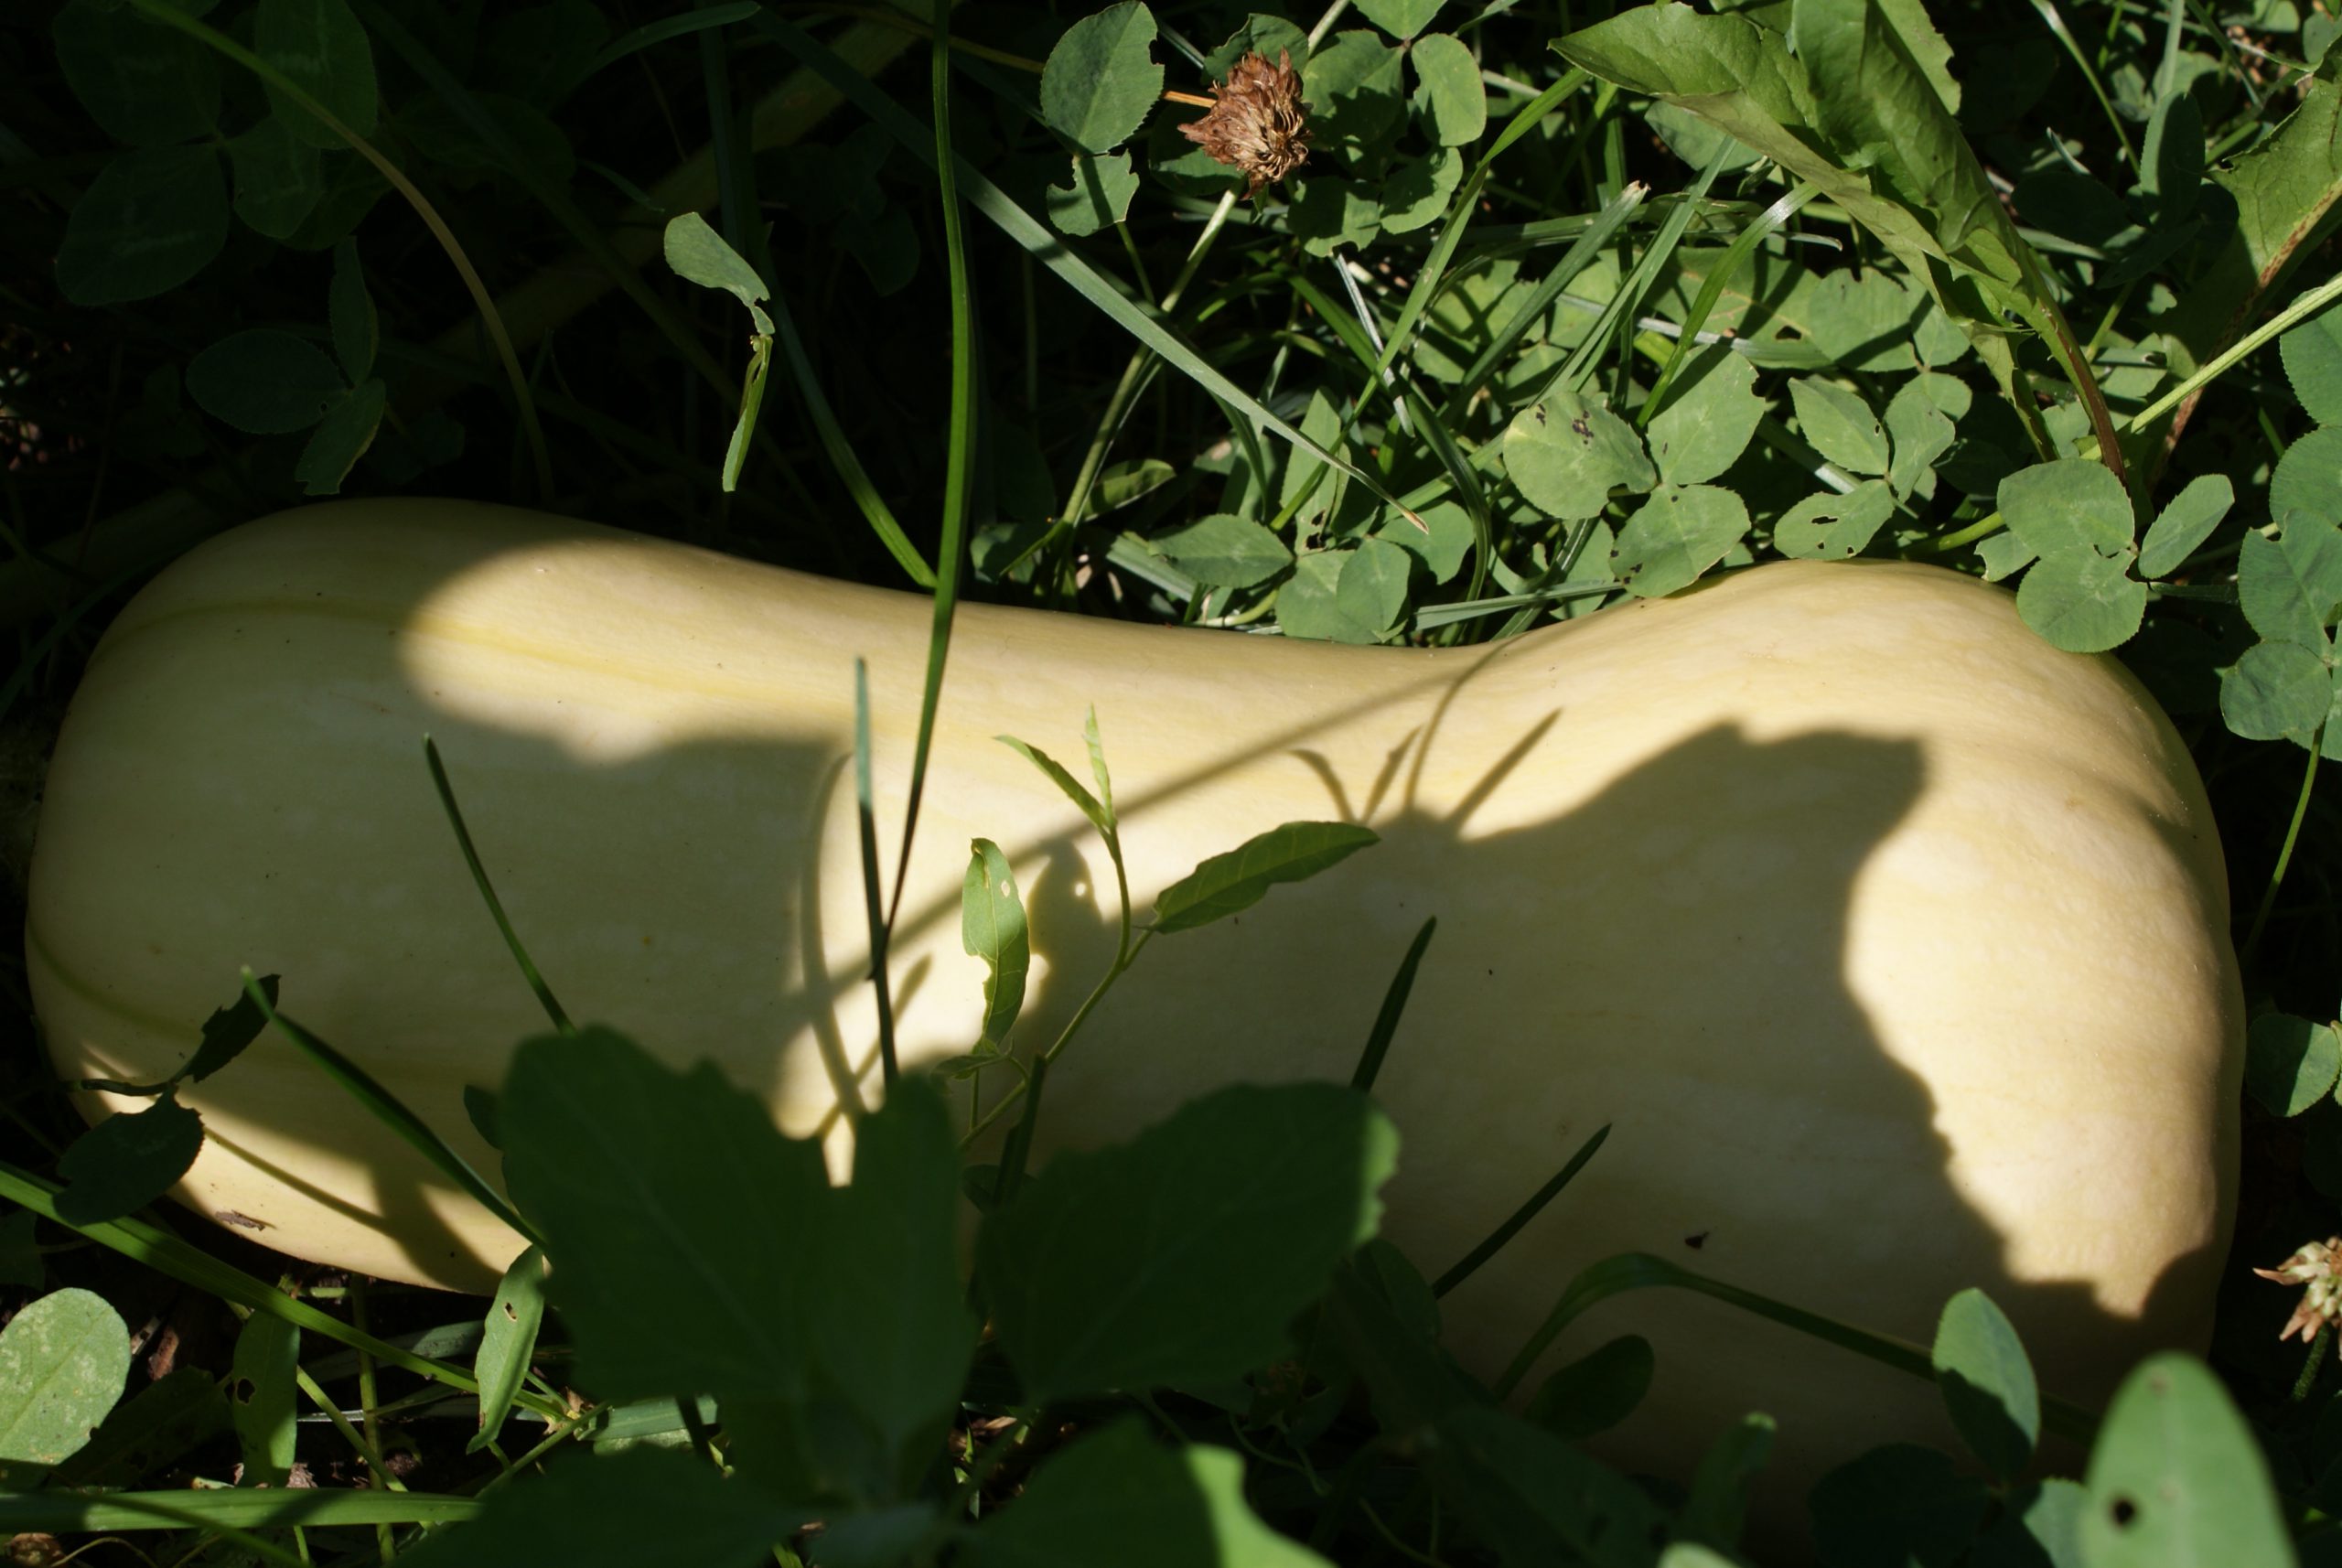
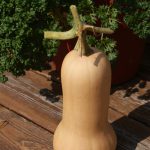
Tiana Butternut Squash -species C.moschata- days to maturity: 95 

I love using butternut squash in my cooking.  One of my favourite dishes to cook in the fall is my Butternut Squash, Brussels Sprouts and Bacon side dish and my favourite Easy Slow Cooker Butternut Squash and Apple soup.  For this soup, I can prepare the vegetables and freeze them, which makes this soup a snap to put together in the winter.  I have had really good success with growing butternut squash in my garden and look forward to growing it every year.

Baby Blue Hubbard Squash -Species C.maxima- days to maturity: 95

Hubbard squash 2018
Hubbard squash 2018

Intrigued by a dark orange hubbard squash at a farmer’s market one year, I purchased that variety of squash to try in my baking and cooking. The skin of this squash is very firm and I was almost turned off by this squash because it was very difficult to slice into.  However, I will tell you that the flesh of this squash is so delicious that it is worth the trouble.  Also, for people wondering about growing it, it is the best squash to grow for winter storage.  Use a diluted bleach solution to wipe down the squash to kill bacteria and mold and this squash will last up to 5 months stored in a cold dark place!


This year intrigued, I decided to grow the blue-grey hubbard squash. Wish me success!  Because I am growing pumpkin as well in my garden, I will not be able to save and use the seeds from either of these plants.

Acorn Table King Squash-C.pepo- days to maturity: 105

I have grown acorn squash with success in my garden, and I am excited about growing this variety this year.  I chose to grow this squash because it is a better producer than many other squashes.  This compact plant should produce 5-8 small (1 ½ pound) fruits, whereas most squashes only produce 2 – 4 fruits. The flavour for this squash (and many squashes) improves with storage, making it an ideal vegetable to plant for use in the fall and winter months.

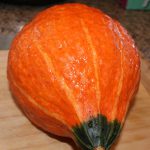
Uchiki Red Kuri  Buttercup Squash- C.maxima days to maturity: 80

When choosing the squash varieties that I grow each year in my garden, I like to check out the days to maturity so that I can have squashes available for harvest at different times.  I chose to grow this variety of squash, because it will mature in 80 days.  In my area, we typically have hot weather at least until mid September but sometimes right up until the beginning of October.  If you have a shorter growing season, you might want to choose this squash for your garden.

Review and more detail about how to plant and care for your squash plants.

  1. Plants need rich, fertile soil that has been amended well with compost.
  2. Choose a sunny location that is protected somewhat from the wind, if possible.
  3. Create a little hill that you will grow the plants in. The hill should be at least 12” in diameter and 6-8” high.  The hilled soil will warm quickly in the sun and will improve drainage, both important factors for growing squash.
  4. Plan to plant seeds or transplant seedlings when there is no danger of frost.
  5. Add one cup of organic fertilizer to each hole prepared for planting. I have never added fertilizer after this but you can fertilize with a 5-10-10 fertilizer once a month.
  6. Plant 3-5 seeds or transplant 3-5 seedlings to a hill and then thin to one or two of the strongest vines. Check your seed package for specification of the variety you are planting.
  7. Plan to give a least 1 metre spacing between plants. Refer to your seed package for exact spacing.
  8. Some vines will grow up to 15 feet. So, plan for the vine to take up that much space or plan to prune the vine back after some fruit has formed.  It will produce less fruit but all the energy of the plant will be directed into growing the existing fruit which will result in larger fruit.  Keep in mind that some squash vines will only produce 2-4 fruits in total.
  9. Plan to remove malformed fruit that can occur early in the growing season. The fruit will not be useful and leaving it on the vine will just draw energy away from successful fruit formation.
  10. Once the plant is established, water deeply at the base once a week. Watering at the base will help prevent mildew.
  11. Plan to keep a consistent watering schedule. Extreme fluctuations in moisture can cause disease in your plants.
  12. Summer squash, like zucchini, need to be harvested regularly to stimulate more fruit production.
  13. Winter squash vines may require some pruning during the season to grow larger and better fruit. You can also discourage fruit rot by placing boards under fruit so they are not touching the soil as they mature.
  14. Plant flowers near your squash vines to improve pollination.
  15. Do not plant squash in the same area two years in a row. You want to discourage pests and problems and you do this by rotating your crops.
  16. Do not plant squash plants near potatoes.
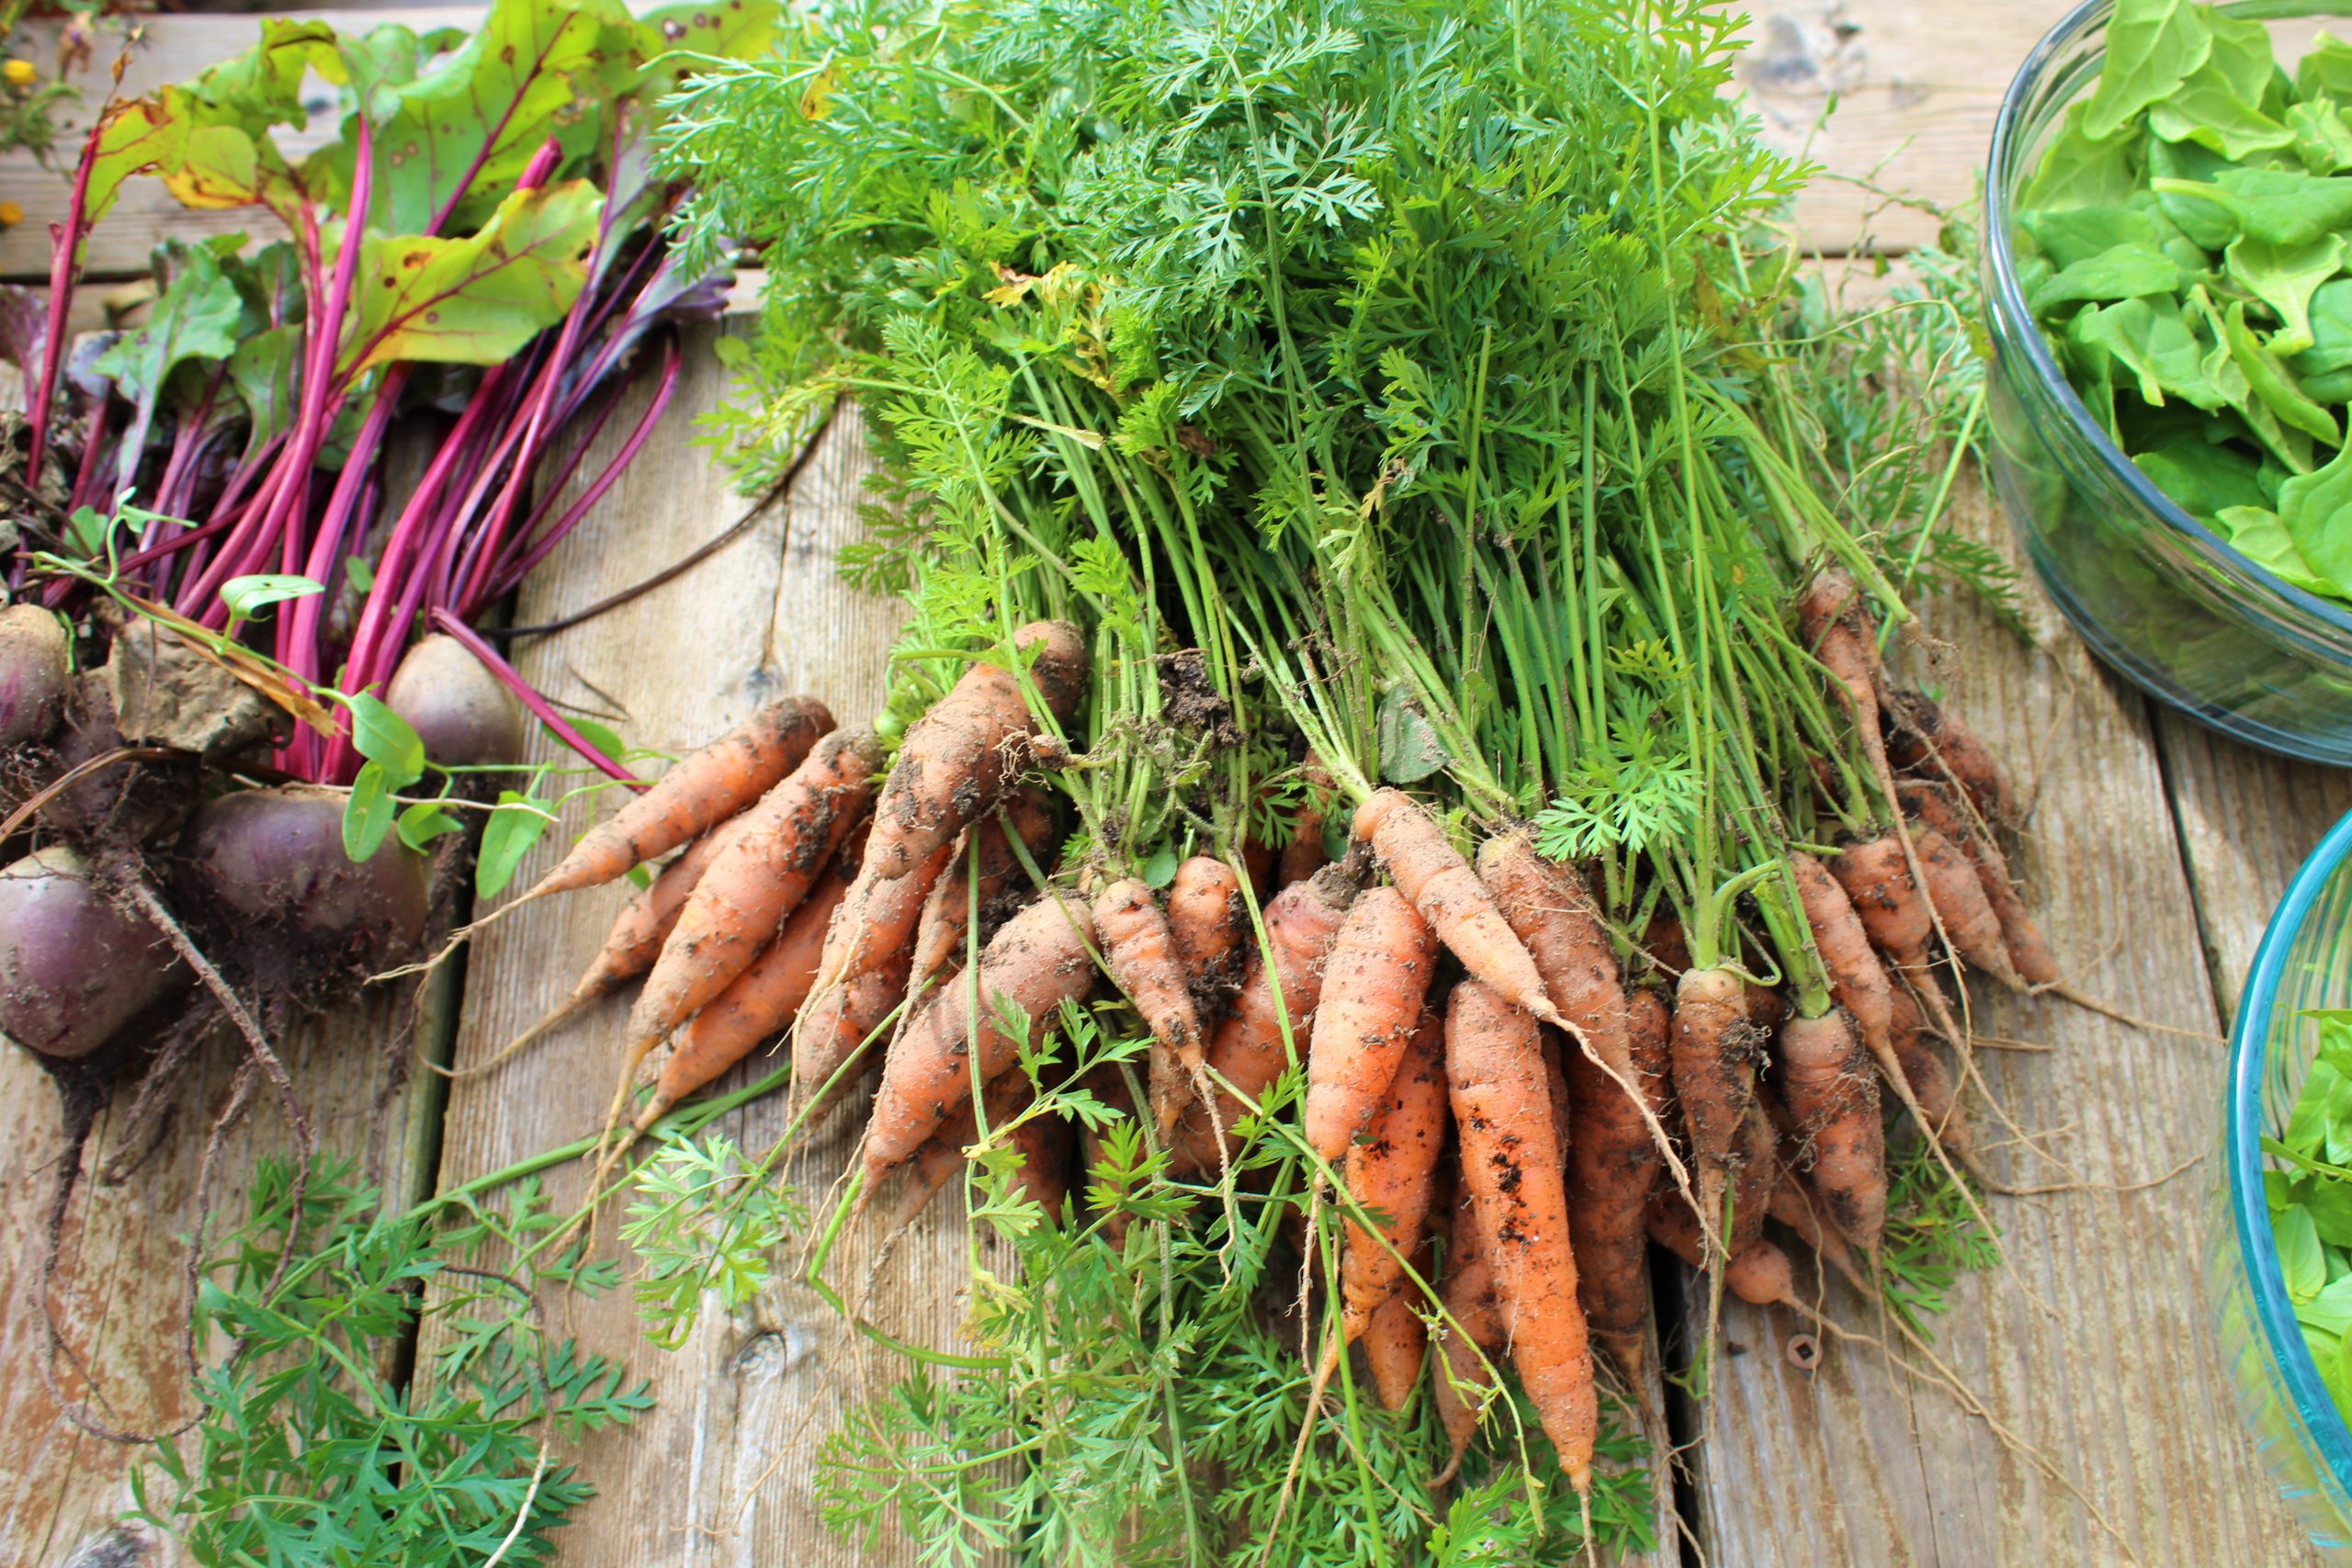
  17. Plant squash plants near radishes, lettuce, peas and melons
  18. Nasturtiums and marigolds planted near your squash plants will be beneficial because they will repel pests.
  19. Winter squash will survive a light fall frost but will store better if picked prior to a frost.

Pests and problems:

Powdery mildew – As a preventative, apply bone meal around the base of the plant.

Here is a powdery mildew spray that you can prepare and spray on your plants once a week if needed:

    1. 1 tbsp baking soda
    2. 1 gallon of water
    3. 1 tsp dish soap

Or prepare: 1:9, milk to water in a spray bottle and spray at 7-10 day intervals

Cucumber beetles – These beetles will drain energy from the plant because they eat the leaves and fruit. You can cover your plants with a row cover until the flowers have formed.  We just check our plants regularly and squash the beetles when we see them. Planting nasturtiums before planting your cucumbers is a good companion plant. Nasturtiums  protect themselves by producing an airborne chemical that repels insects and so plants near them benefit from this protection as well.


Squash vine borers – Wasp-like moths lay larvae in the vine stems. You can be proactive and use a section of a pantyhose and cover the stem from about ½ inch below the soil up about 4 inches of the stem.  This will prevent the laying of the eggs.

If you notice sawdust-like particles on the vine, this is the excrement.  You can slice the vine to open to remove the larvae.  If you bury that portion of the vine it will heal and the plant will continue to grow.

Blossom end rot – Will occur when the plant does not have consistent water intake.

Butternut squash 2018


Get to know your expected last frost date- A good guideline for when to plant carrot seeds.

Carrot Harvest Fall 2017
Carrot harvest fall 2017

We turned over the soil in our raised vegetable garden this week, in preparation for the next stage of planting. That includes planting seeds when the last frost date is in sight.  Carrots are one of the vegetables whose seeds can be sown 2-3 weeks before the last frost date.  So, when is that?

In my area, the last frost date typically occurs sometime between the last week of April and the second week of May.  I usually plant some carrot seeds in my cold frames in the middle of April, but it has been unseasonably cool this April and so I decided to wait to plant my seeds until this week, April 27th. (To determine your area’s expected frost date use Google by typing in “Expected last frost date … your city name” into the search bar.)


Eager to get growing my favourites, I chose to sow Little Fingers and two Nantes varieties this week.  Little Fingers mature in 60 days and at maturity are only three inches long. They do well in large containers and so if you are container gardening you might want to try this variety or a variety with a similar size and maturity date.

Carrot harvest summer 2015
Carrots harvested summer 2015

Nantes have long been my absolute favourite carrot to grow.  They are a medium sized carrot, and typically not found in the grocery stores.  They are sweet, crunchy and juicy, making them great to serve raw or to cook in your favourite recipes.  When you harvest them, be gentle though, they are susceptible to breaking.

When I prepare the area of the garden where the carrots will be sown, I like to mix in some sand.  Carrots do best in loose soil and so adding the sand to the area where I plant not only aids in seedling success but it also helps in root development.

Now, carrot seeds are very small seeds, and the general rule is that you should plant a seed only about the depth of the seed.  Carrot seeds, therefore, do best when only a  ¼ inch of soil is sprinkled on top of them.  With this in mind, sprouting carrot seeds can take a bit more work than sprouting radishes, for example.

Producers of carrot seeds, however, have provided two very easy ways to plant carrots. One is carrot seed tape and the other is pelleted carrot seeds. Both options are a bit more expensive than just carrot seeds, but in my opinion are so worth it.  I buy the carrot seed tape for planting Nantes carrots in my garden.  The tape holds the seed in place, making it very easy to put only a thin layer of soil over the seed, and it also makes wetting the surface easier.  You do not have to worry so much about your seeds washing away when you water.


The same ease of planting comes with the pelleted carrot seeds.  In fact, the pelleted carrot seeds are even better because the seed is surrounded by organic matter; you can easily see the seed and place it with a desired spacing.  But pelleted carrot seeds require even more attention to watering, meaning that the area must be damp consistently to ensure proper seedling development.

But don’t be discouraged from trying to plant carrot seeds that are not in tape or pelleted.  There are some amazing tasting and colourful varieties of carrots that do not come that way and are worth trying.  I would just suggest that you expect to pay a little more attention to the planting and watering of these seeds.  Here are my general tips for successful planting:

  1. Prepare the soil. For carrots, you never want to add fresh manure just before you plant your seedlings.  The resulting carrots will be hairy and malformed. We always add 3-year composted horse manure to our garden and cold frames in the fall to prepare for spring planting. Carrots need loose soil to grow well.  It is important therefore to loosen up the soil with a pitchfork or spade, and remove any large clumps of soil from the area. Now having said that, you do not want the soil to be so fine that it washes away easily when watered.
  2. Use carrot seed tape or pelleted carrot seeds to improve your likelihood of success. If you are not using these products to sow your seeds, make sure to sow your seeds thickly.  Thickly sown seeds produce seedlings that sprout together which means that they will aid each other in emerging from the soil.
  3. Keep the area damp where you have sown your seeds. Carrots seedlings are not very tough, and so you need to make it as easy as possible for the “babies” to push through the soil.
  4. Keep the area weed free. Again, these weak seedlings need every advantage you can give them.
  5. Don’t be discouraged if you do not see seedlings in a week; carrot seeds can take up to three weeks to germinate. Also expect only 75-80% success regardless of the seed method you use.  That is typical of carrot seeds.
  6. Make sure to keep the soil damp during the germination period and make sure to water the carrots well until you can see the root forming. You can observe the development of the carrot by brushing away the soil at the top of the root.
  7. Don’t worry too much about thinning carrots; just pick carrots and eat them to thin them.
Carrots and Beets summer 2016
Carrots and beets summer 2016

It just takes a pot or two…. How to get started growing vegetables or flowers in pots

Backyard top deck July 2015

I remember the summer that sparked my interest in gardening.  We had just moved into a 27-year-old townhouse which backed onto green space.  We had a beautiful south facing, shady backyard with a deck, a large maple and the privacy of tall cedar trees lining the back of the yard.  The sides of our yard were fenced from our neighbours by chain-link and on the east side of the yard stood a beautiful lilac tree.  We decided that our best option for growing flowers or vegetables was on that east side of the yard at the farthest point of the backyard.  We built a raised garden and set out to plant.  I have to say that at this point my husband held most of the enthusiasm for planting, and so he was the catalyst in our gardening adventures.  I wasn’t too optimistic that we would get very much out of our garden…. boy was I wrong.

We lived in this townhouse for five years, and every spring, after building that raised garden, we would take trips with our girls to the nursery stores in the area.  They loved the smell of the greenhouse; the first sign of colour and greenery would brighten our moods.  We would let the girls pick out the colours of the bedding plants, such as impatiens, and they even got to know the nursery garden’s cat by name – Pumpkin.


When we got to planting in the garden our daughters would get elbow deep into the dirt to help.  They would enjoy helping Dad in the garden watering and be constantly on the look-out for new growth on the plants.  We discovered early on that cherry tomatoes were a fantastic plant to grow with children.  Daily, once the plant was fruiting, the girls would “snack” as they saw fit.

Canna Lilly August 2016

So, I began to see that growing fruit and vegetables in the garden is so much more than getting food.  It was a family experience.  Every year I would learn just a little bit more until, before I knew it, we were all planning our garden as spring approached.  We all got just a little bit excited about when we would taste the first lettuce or tomato out of the garden, and with that have come endless stories and fond memories of being in the garden together.

Getting started today with growing your own vegetables will be the beginning of your gardening story, and it will be more than just growing a couple of plants.  In this time of uncertainty about what is happening in the world you can be assured that you are also doing your part in helping not only your family but your country.

Romaine lettuce and flowers July 2018 in Mayne container

When you grow your own herbs, fruit, and vegetables, you eliminate all the fuel spent and pollution created in transporting that food to your house.  When you improve your garden soil by composting, you remove vegetable waste from the municipal landfill.  Also, you improve biodiversity by creating a habitat that is friendly to microbes, earthworms, pollinators (like bees), and birds.  And, importantly, you improve the food security of your country by removing some of the demand on the food supply – freeing those resources for people who cannot grow their own food.

Today on April 7, 2020, it may seem early to be starting to prepare your pots for transplanting vegetable or flower plants but, in fact, it is the ideal time.  To get started you need to purchase the appropriate size pot.  I have a variety of pot sizes ranging from 9” diameter to 16” diameter.  A 9” diameter pot will only support about 3-4 small plants, and I would only recommend planting small flowers such as pansies.

Gerber Daisies, potato vine, coleus and dusty miller

Ideally, you will purchase a 12” diameter pot, as this will allow you to plant a variety of plants over the years.  You could easily plant a pepper or tomato plant, or if you prefer to plant flowers, a pot this size will allow you to plant 6-8 small plants.  Now when I say a 12” diameter pot, I am referring to the top diameter.  You want to make sure that you have a depth of at least 8”, as a small pot will really heat up in mid-summer.  If you have a shallow pot and want to plant many plants then you will need a larger top diameter 14”-16”.  This will allow a good volume of soil to support the plants.

If you want a low maintenance, weather tolerant, super functional planter, I would recommend a resin (plastic) planter that has a build-in water reservoir.  I have several of these containers around my backyard in a variety of sizes.  The manufacturer, Mayne, has quality planters of this style.  In fact, that is the brand that I purchase for use in my backyard.  I have three 35.6” x 20” Mayne black containers on my deck, and I have grown, peppers, tomatoes, lettuce, tarragon, basil, lemon verbena and even strawberries in them.  The built-in water reservoir is a time saver for you.  In the heat of the summer, I would only have to water these planters at most twice a week.  In contrast, the clay pots, even at 14” in diameter, may require a daily watering.


Let’s talk soil.  You want to create a soil in your container that has the nutrients that the plants need, so as to minimize the need to fertilize and, at the same time, maximize the capacity to hold water, which is especially important in the heat of the summer.  I don’t think that there is necessarily only one right recipe for potting soil, but here is what works for me.  I like to include some “living” soil in the pot.  By “living” I mean soil that contains the microbes and other soil creatures that you would naturally find in a garden.  So, I fill a third to a half of the container with soil that I “borrow” from my garden (I will return it in the autumn).  I then mix compost or manure into the pot (about a quarter to a third of the container’s volume).  This will be less dense than the garden soil and helps with both nutrients and water retention.  For the remainder of the container, I use a potting soil.  The potting soil will contain a fertilizer – either natural or chemical – and things like peat, perlite, and vermiculite, which help with water retention.

I hope this blog inspires you to begin your gardening story.  Even if you start this adventure with just one pot and one plant this year, you can take satisfaction in knowing that you did it!  Here’s hoping your experiences bring you joy and fond memories.

Backyard deck with tarragon with flowers in Mayne container and potted basil, rosemary and annuals July 2018