Get to know your expected last frost date- A good guideline for when to plant carrot seeds.

Carrot Harvest Fall 2017
Carrot harvest fall 2017

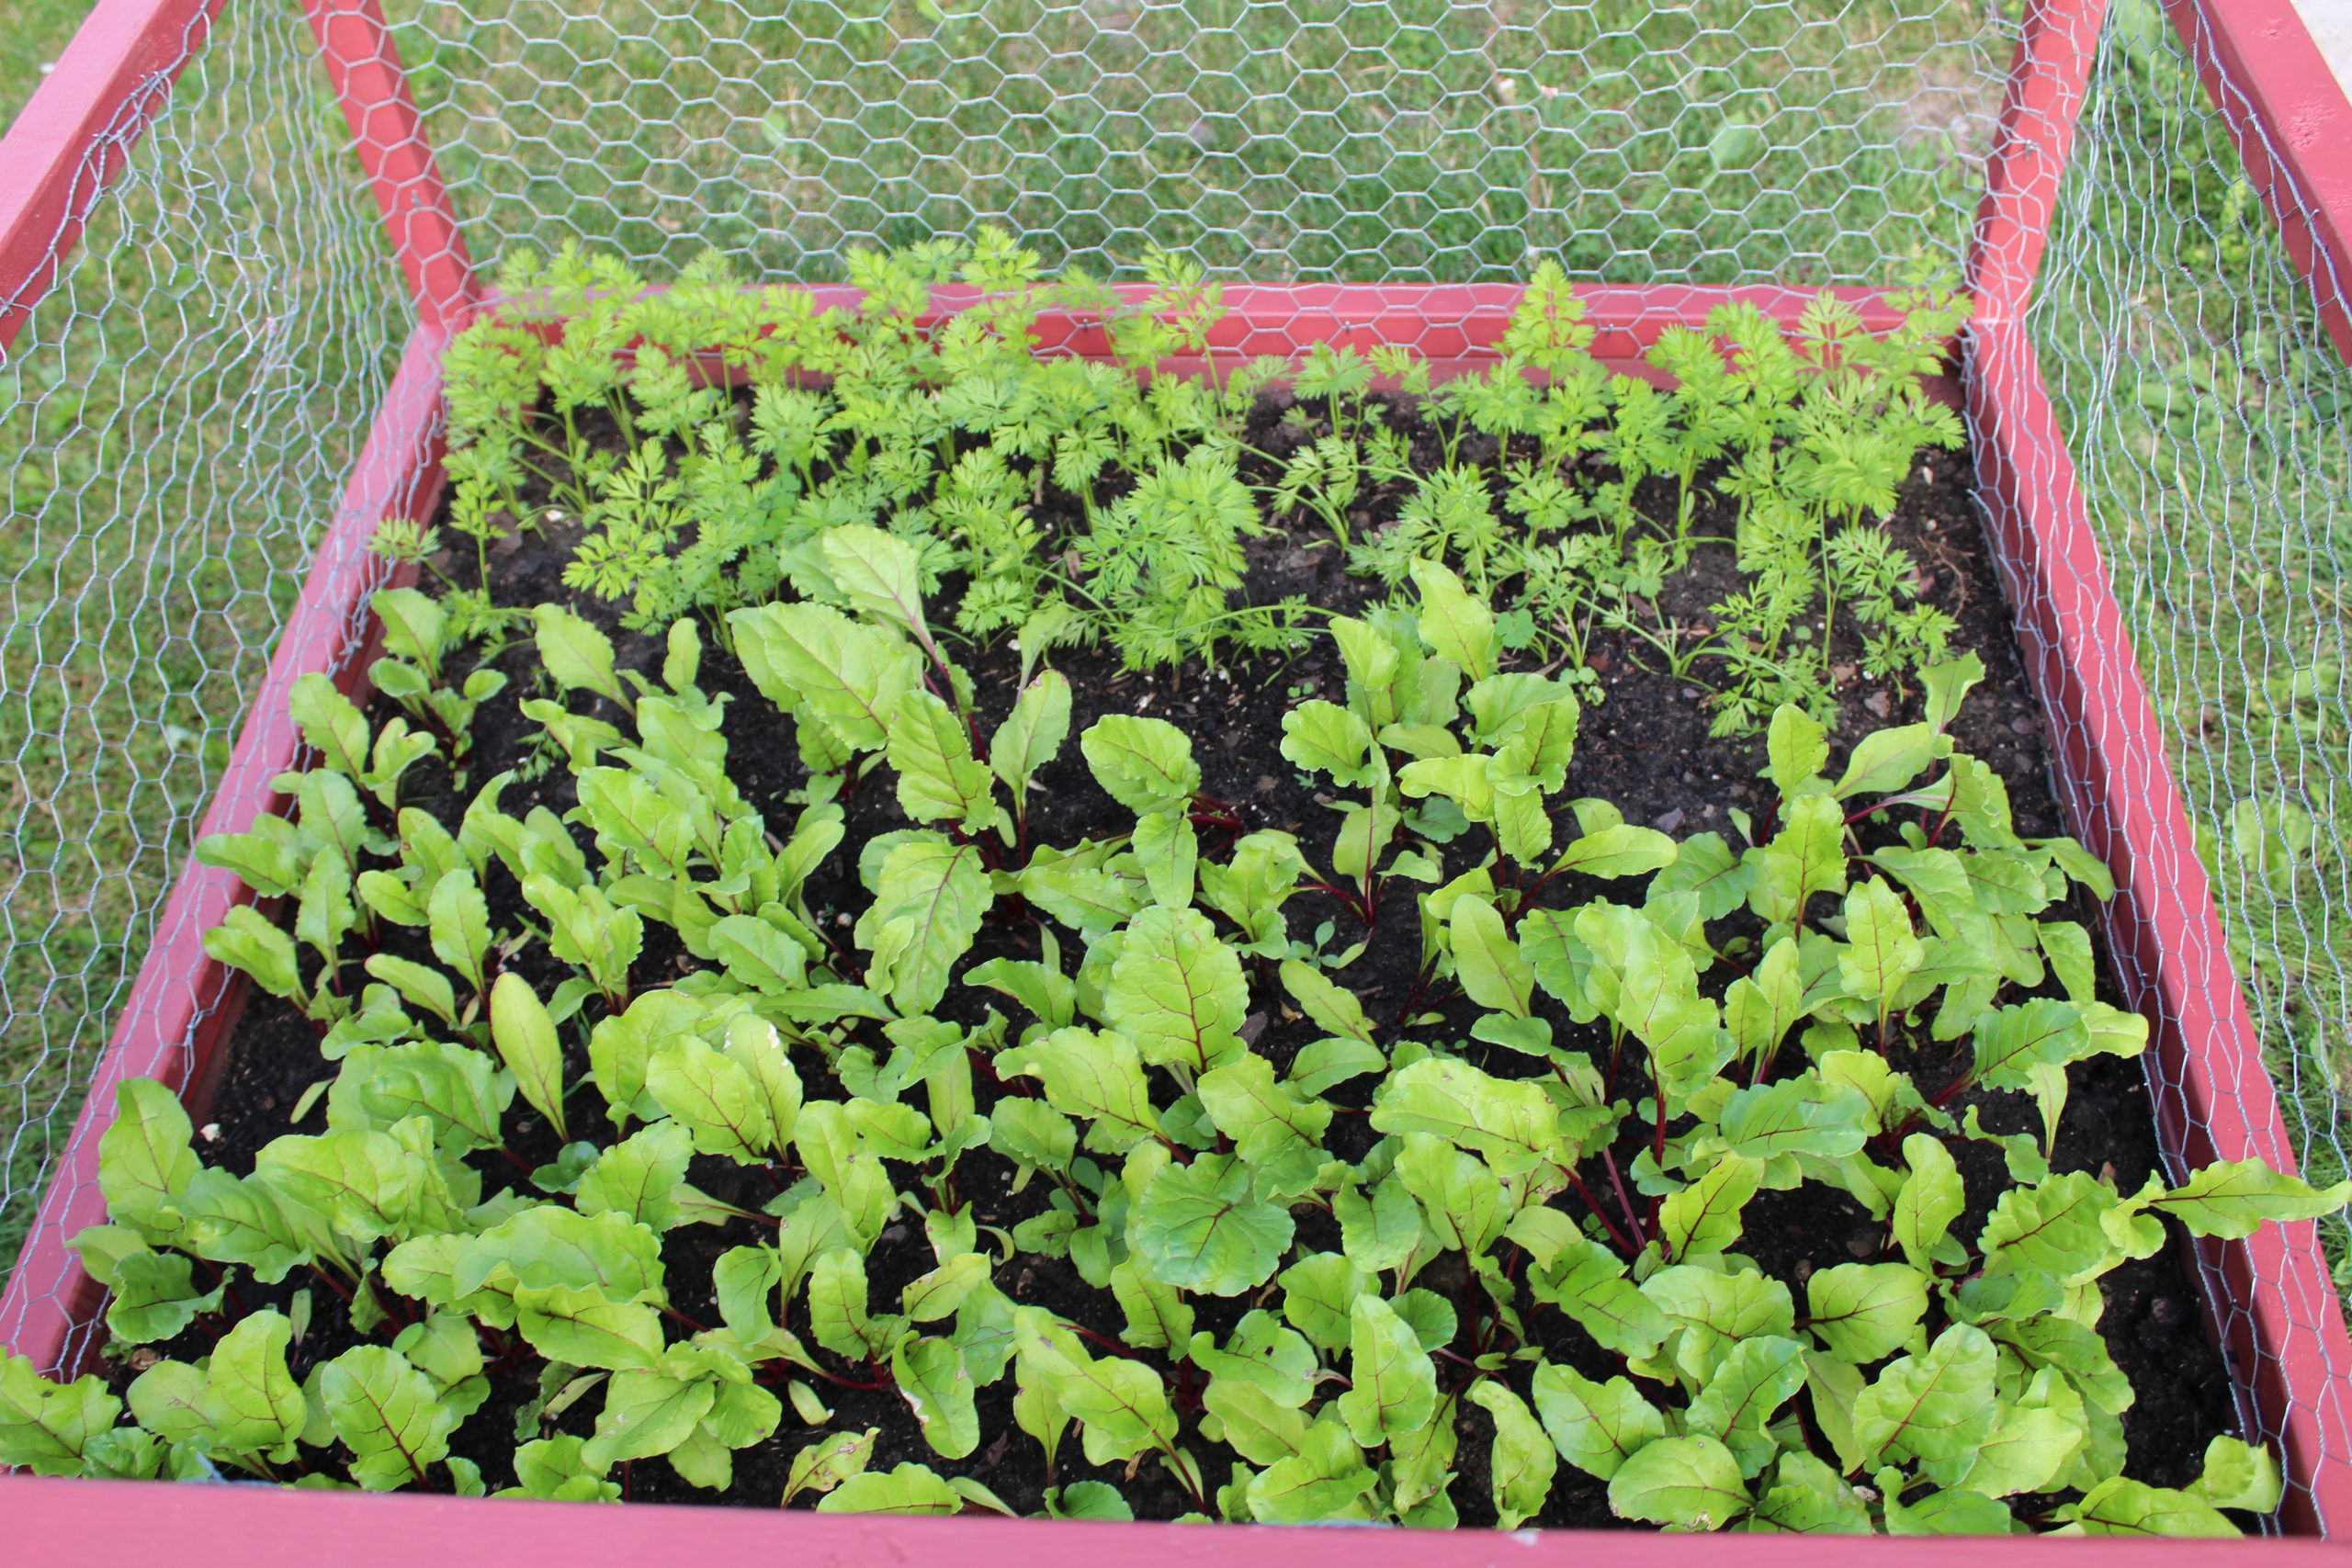
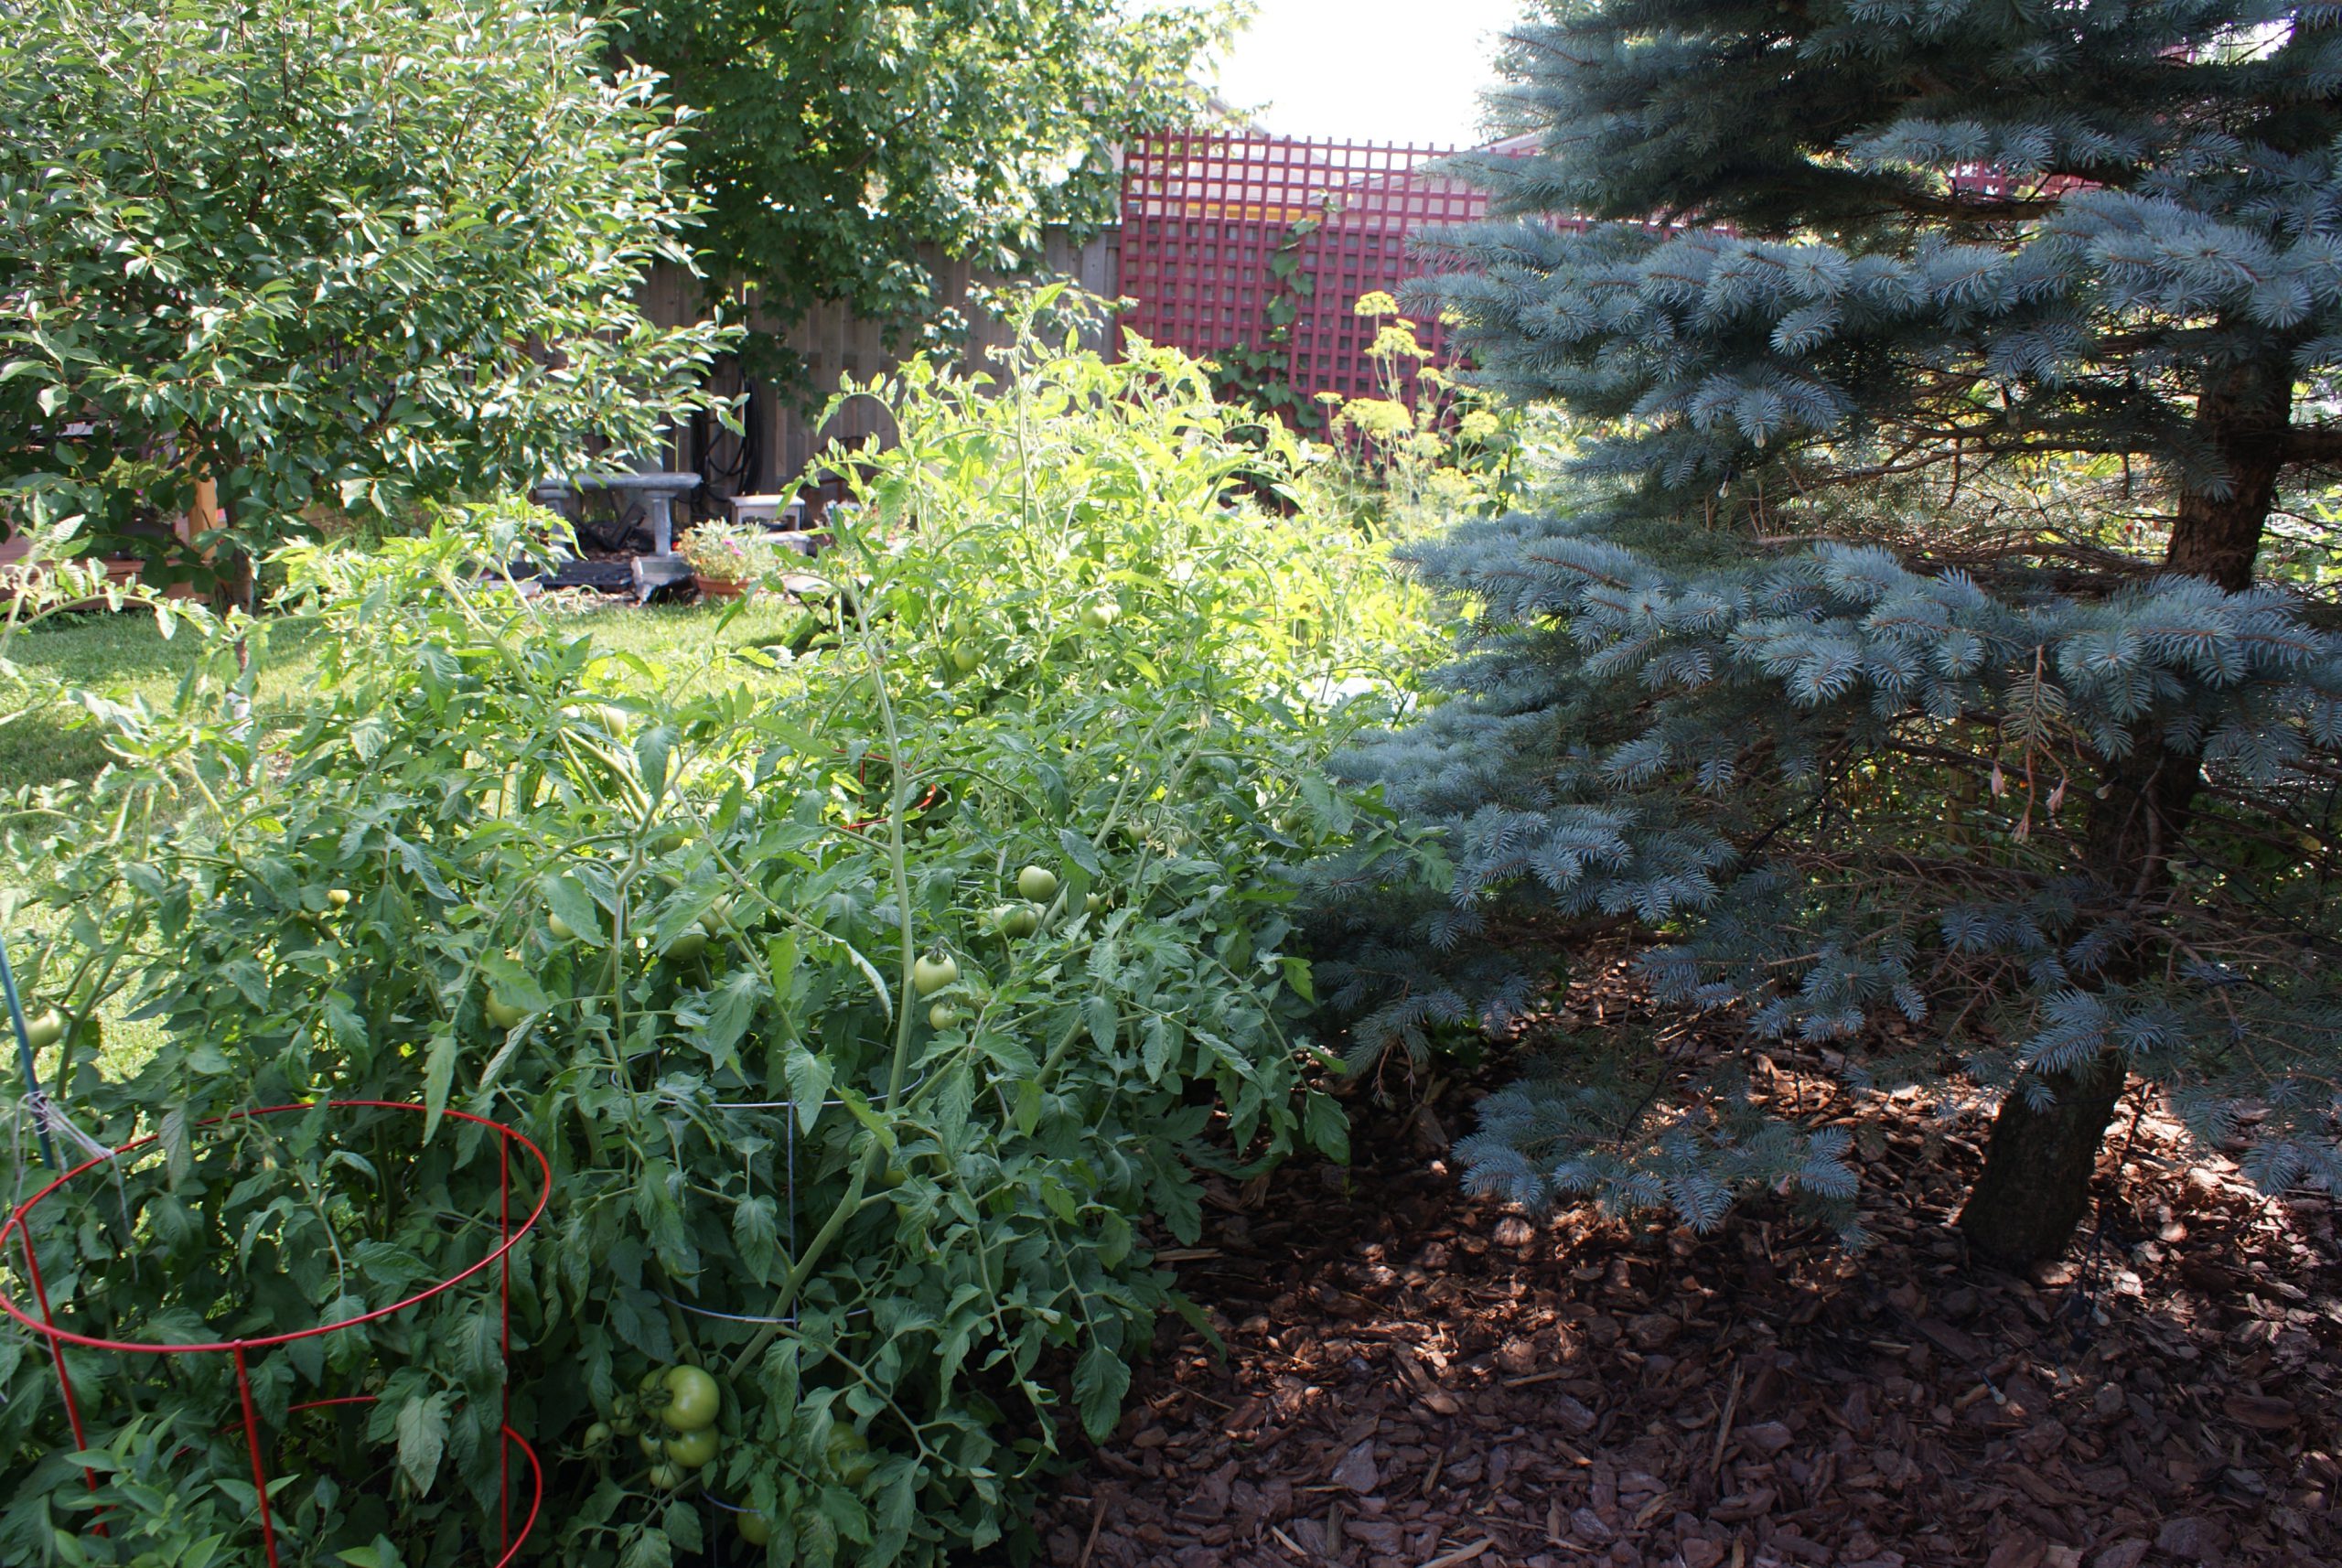
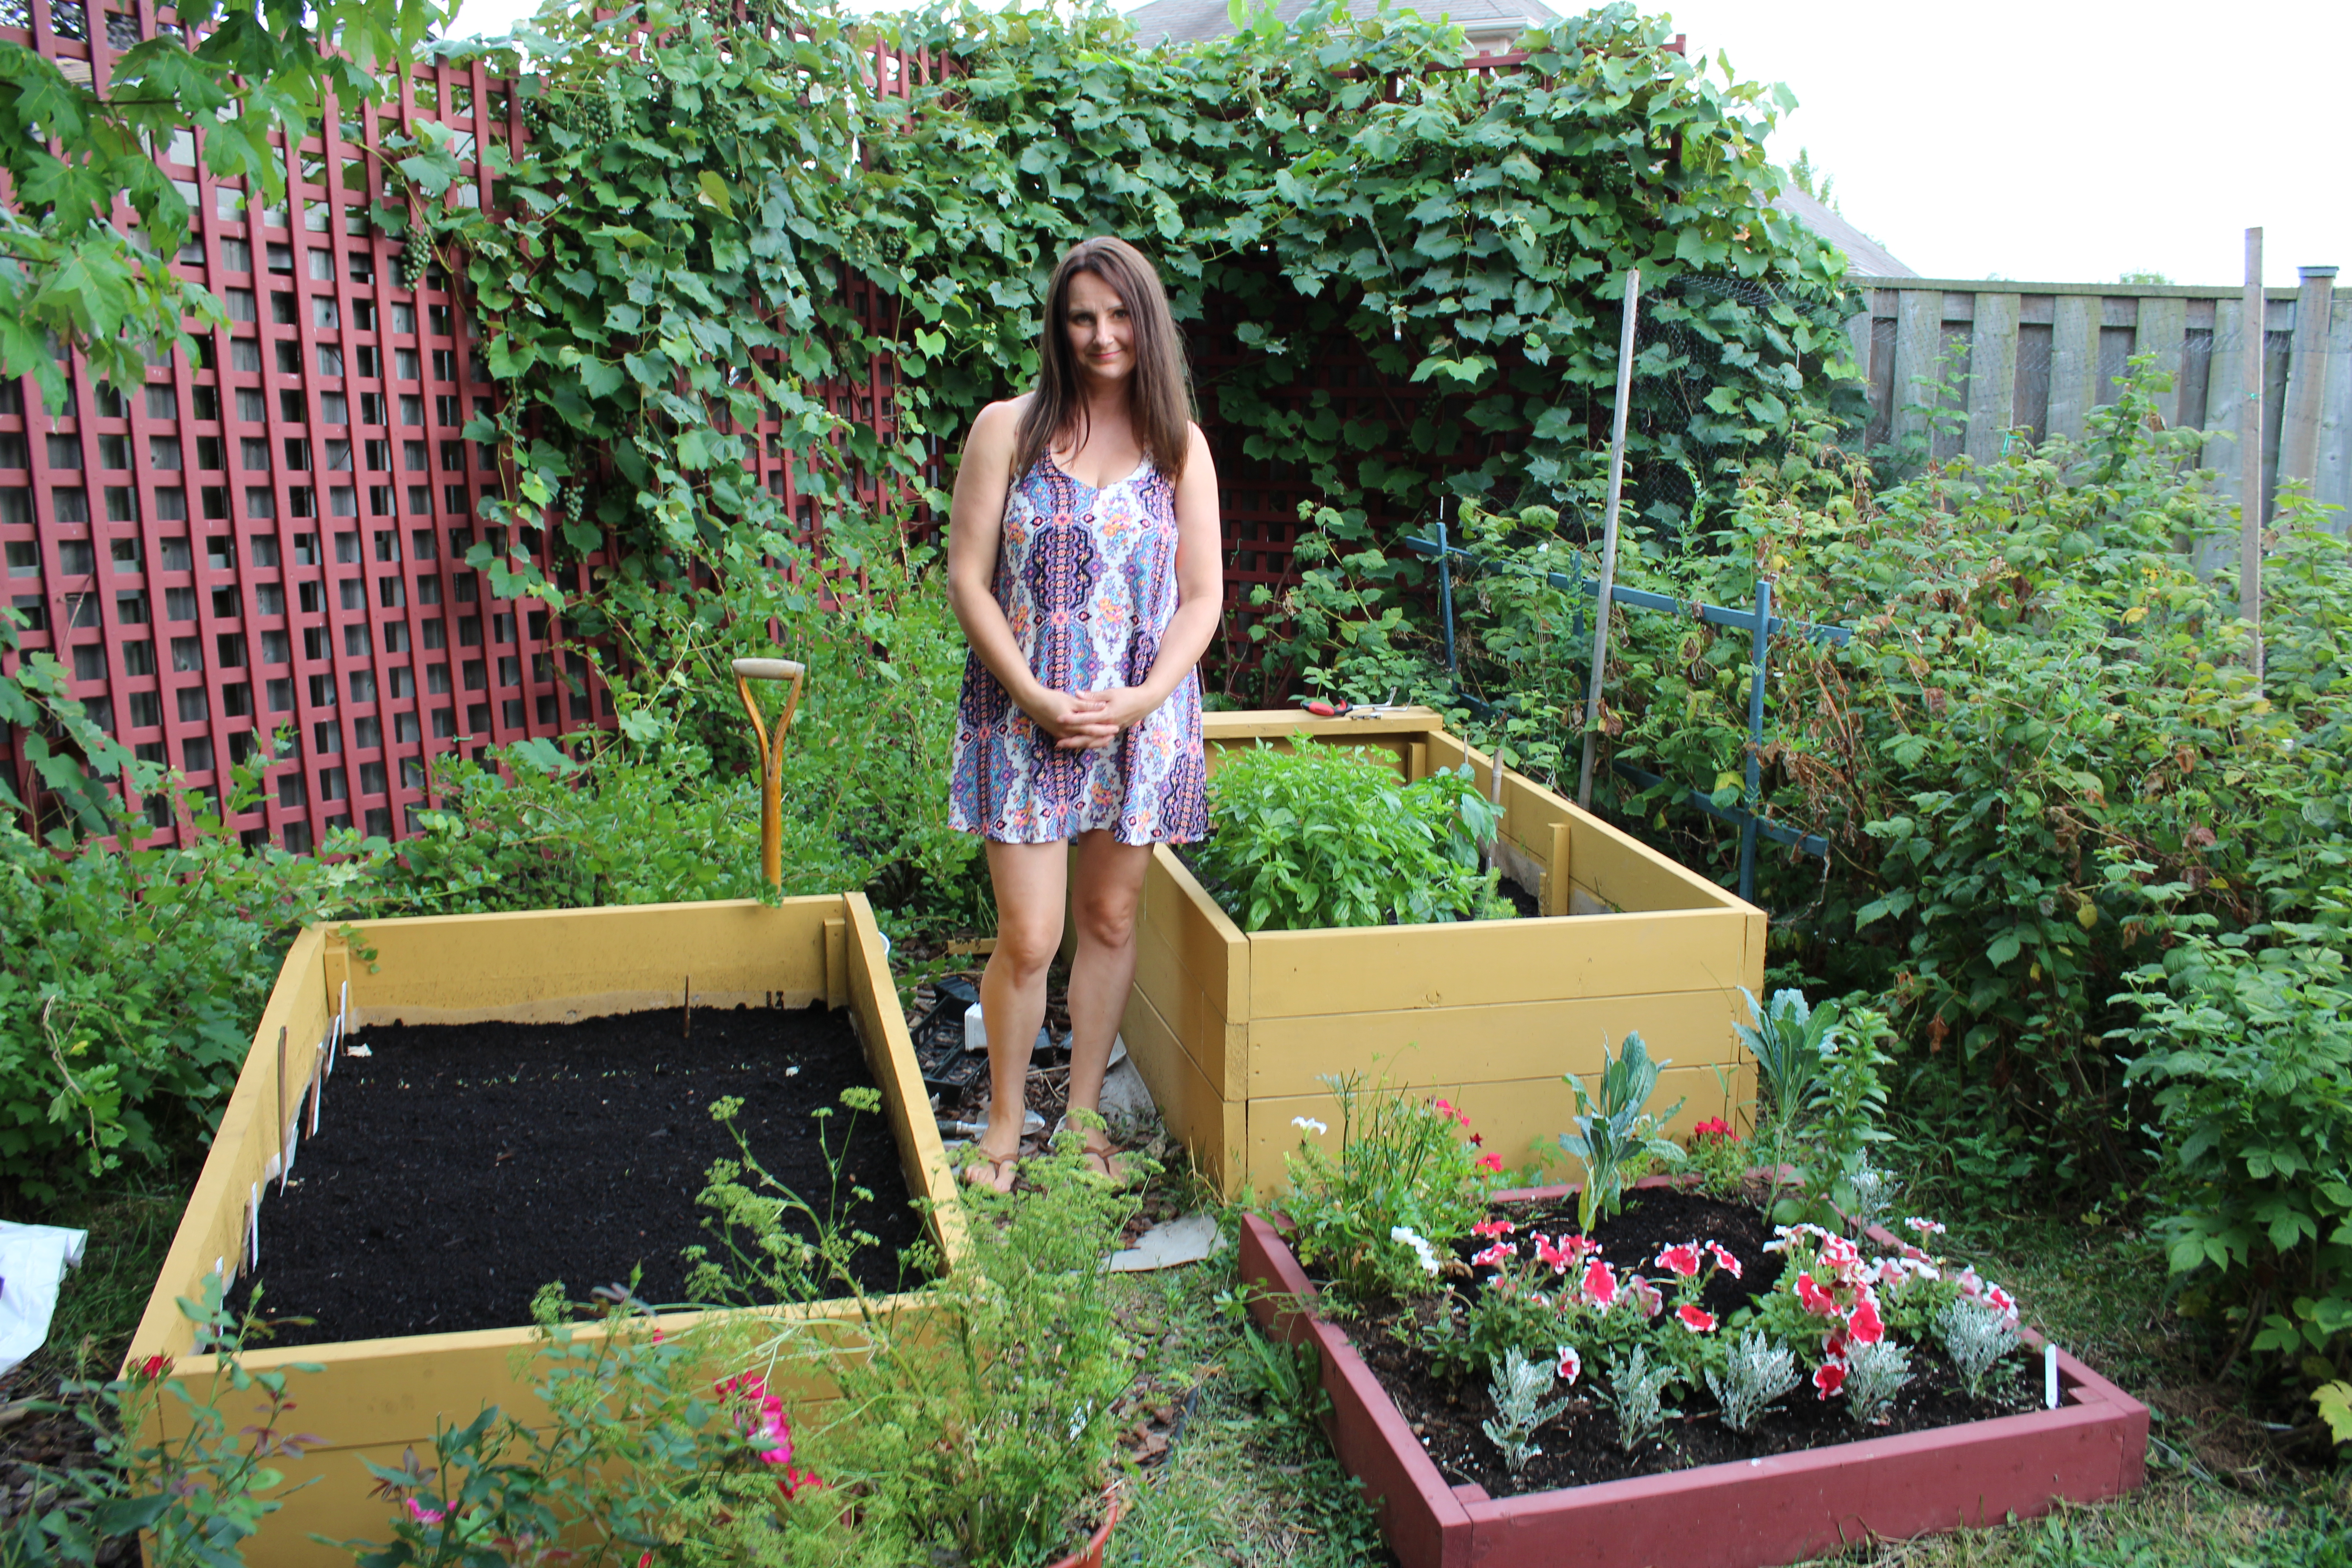
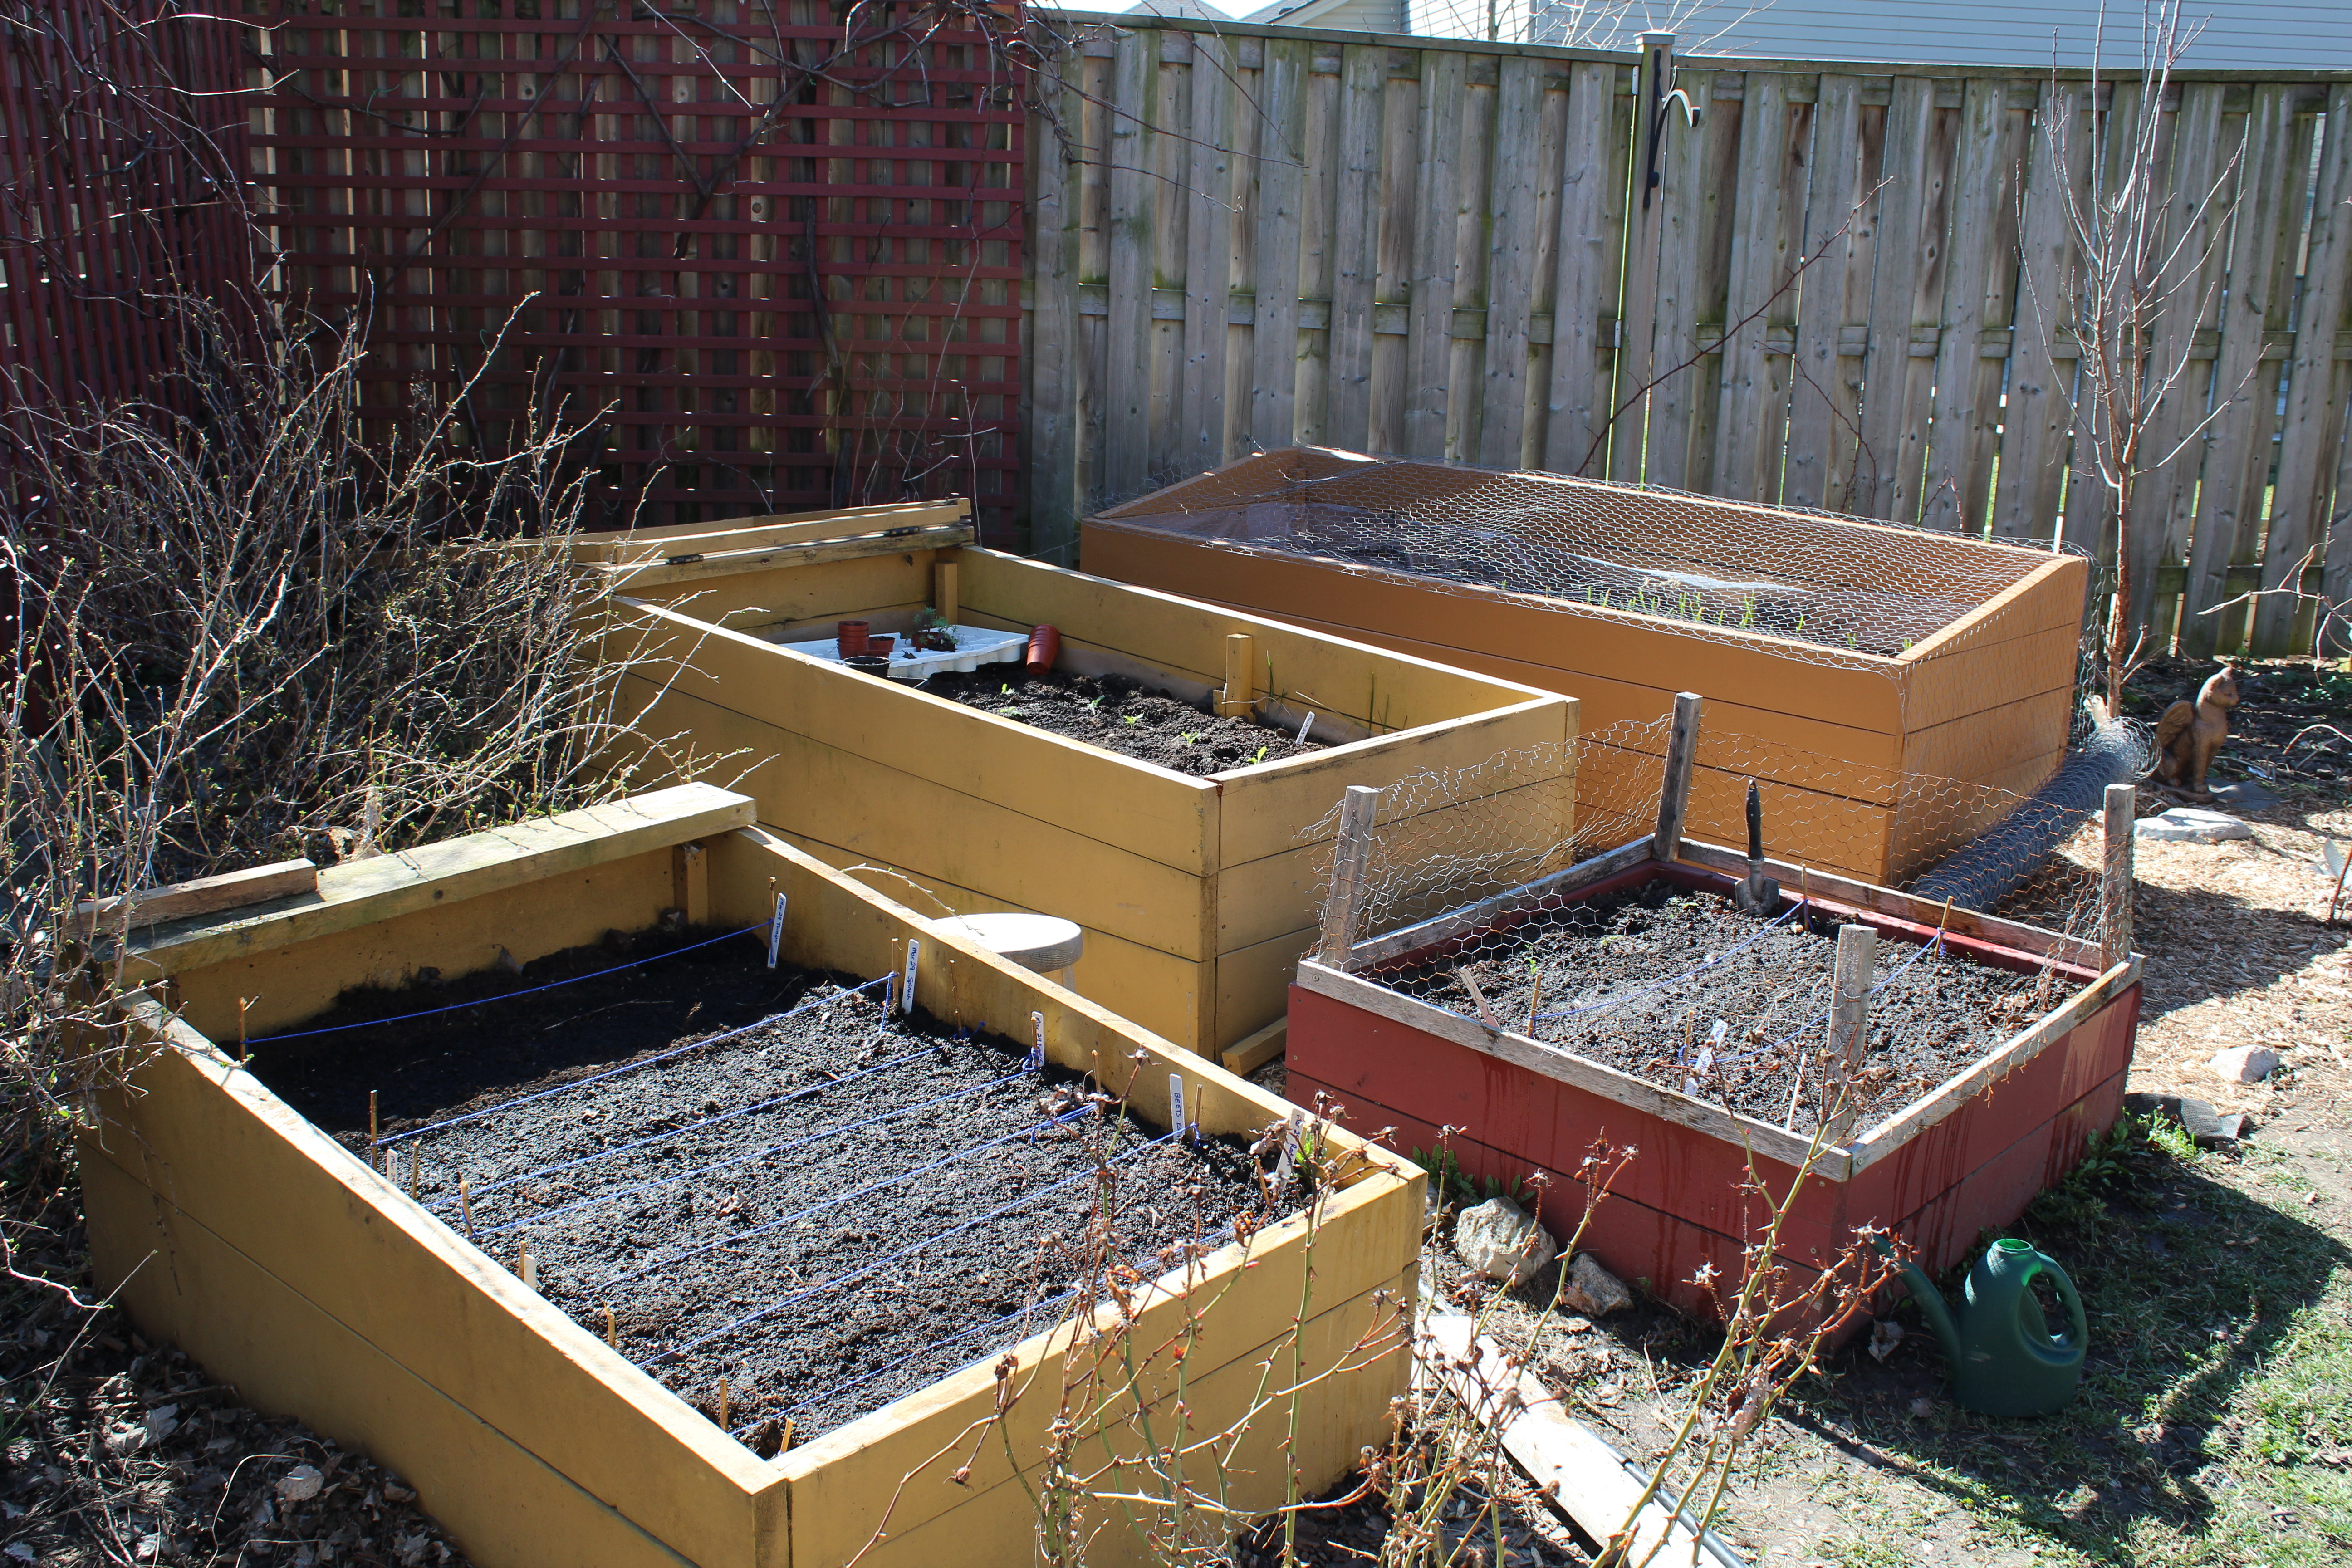
We turned over the soil in our raised vegetable garden this week, in preparation for the next stage of planting. That includes planting seeds when the last frost date is in sight.  Carrots are one of the vegetables whose seeds can be sown 2-3 weeks before the last frost date.  So, when is that?

In my area, the last frost date typically occurs sometime between the last week of April and the second week of May.  I usually plant some carrot seeds in my cold frames in the middle of April, but it has been unseasonably cool this April and so I decided to wait to plant my seeds until this week, April 27th. (To determine your area’s expected frost date use Google by typing in “Expected last frost date … your city name” into the search bar.)


Eager to get growing my favourites, I chose to sow Little Fingers and two Nantes varieties this week.  Little Fingers mature in 60 days and at maturity are only three inches long. They do well in large containers and so if you are container gardening you might want to try this variety or a variety with a similar size and maturity date.

Carrot harvest summer 2015
Carrots harvested summer 2015

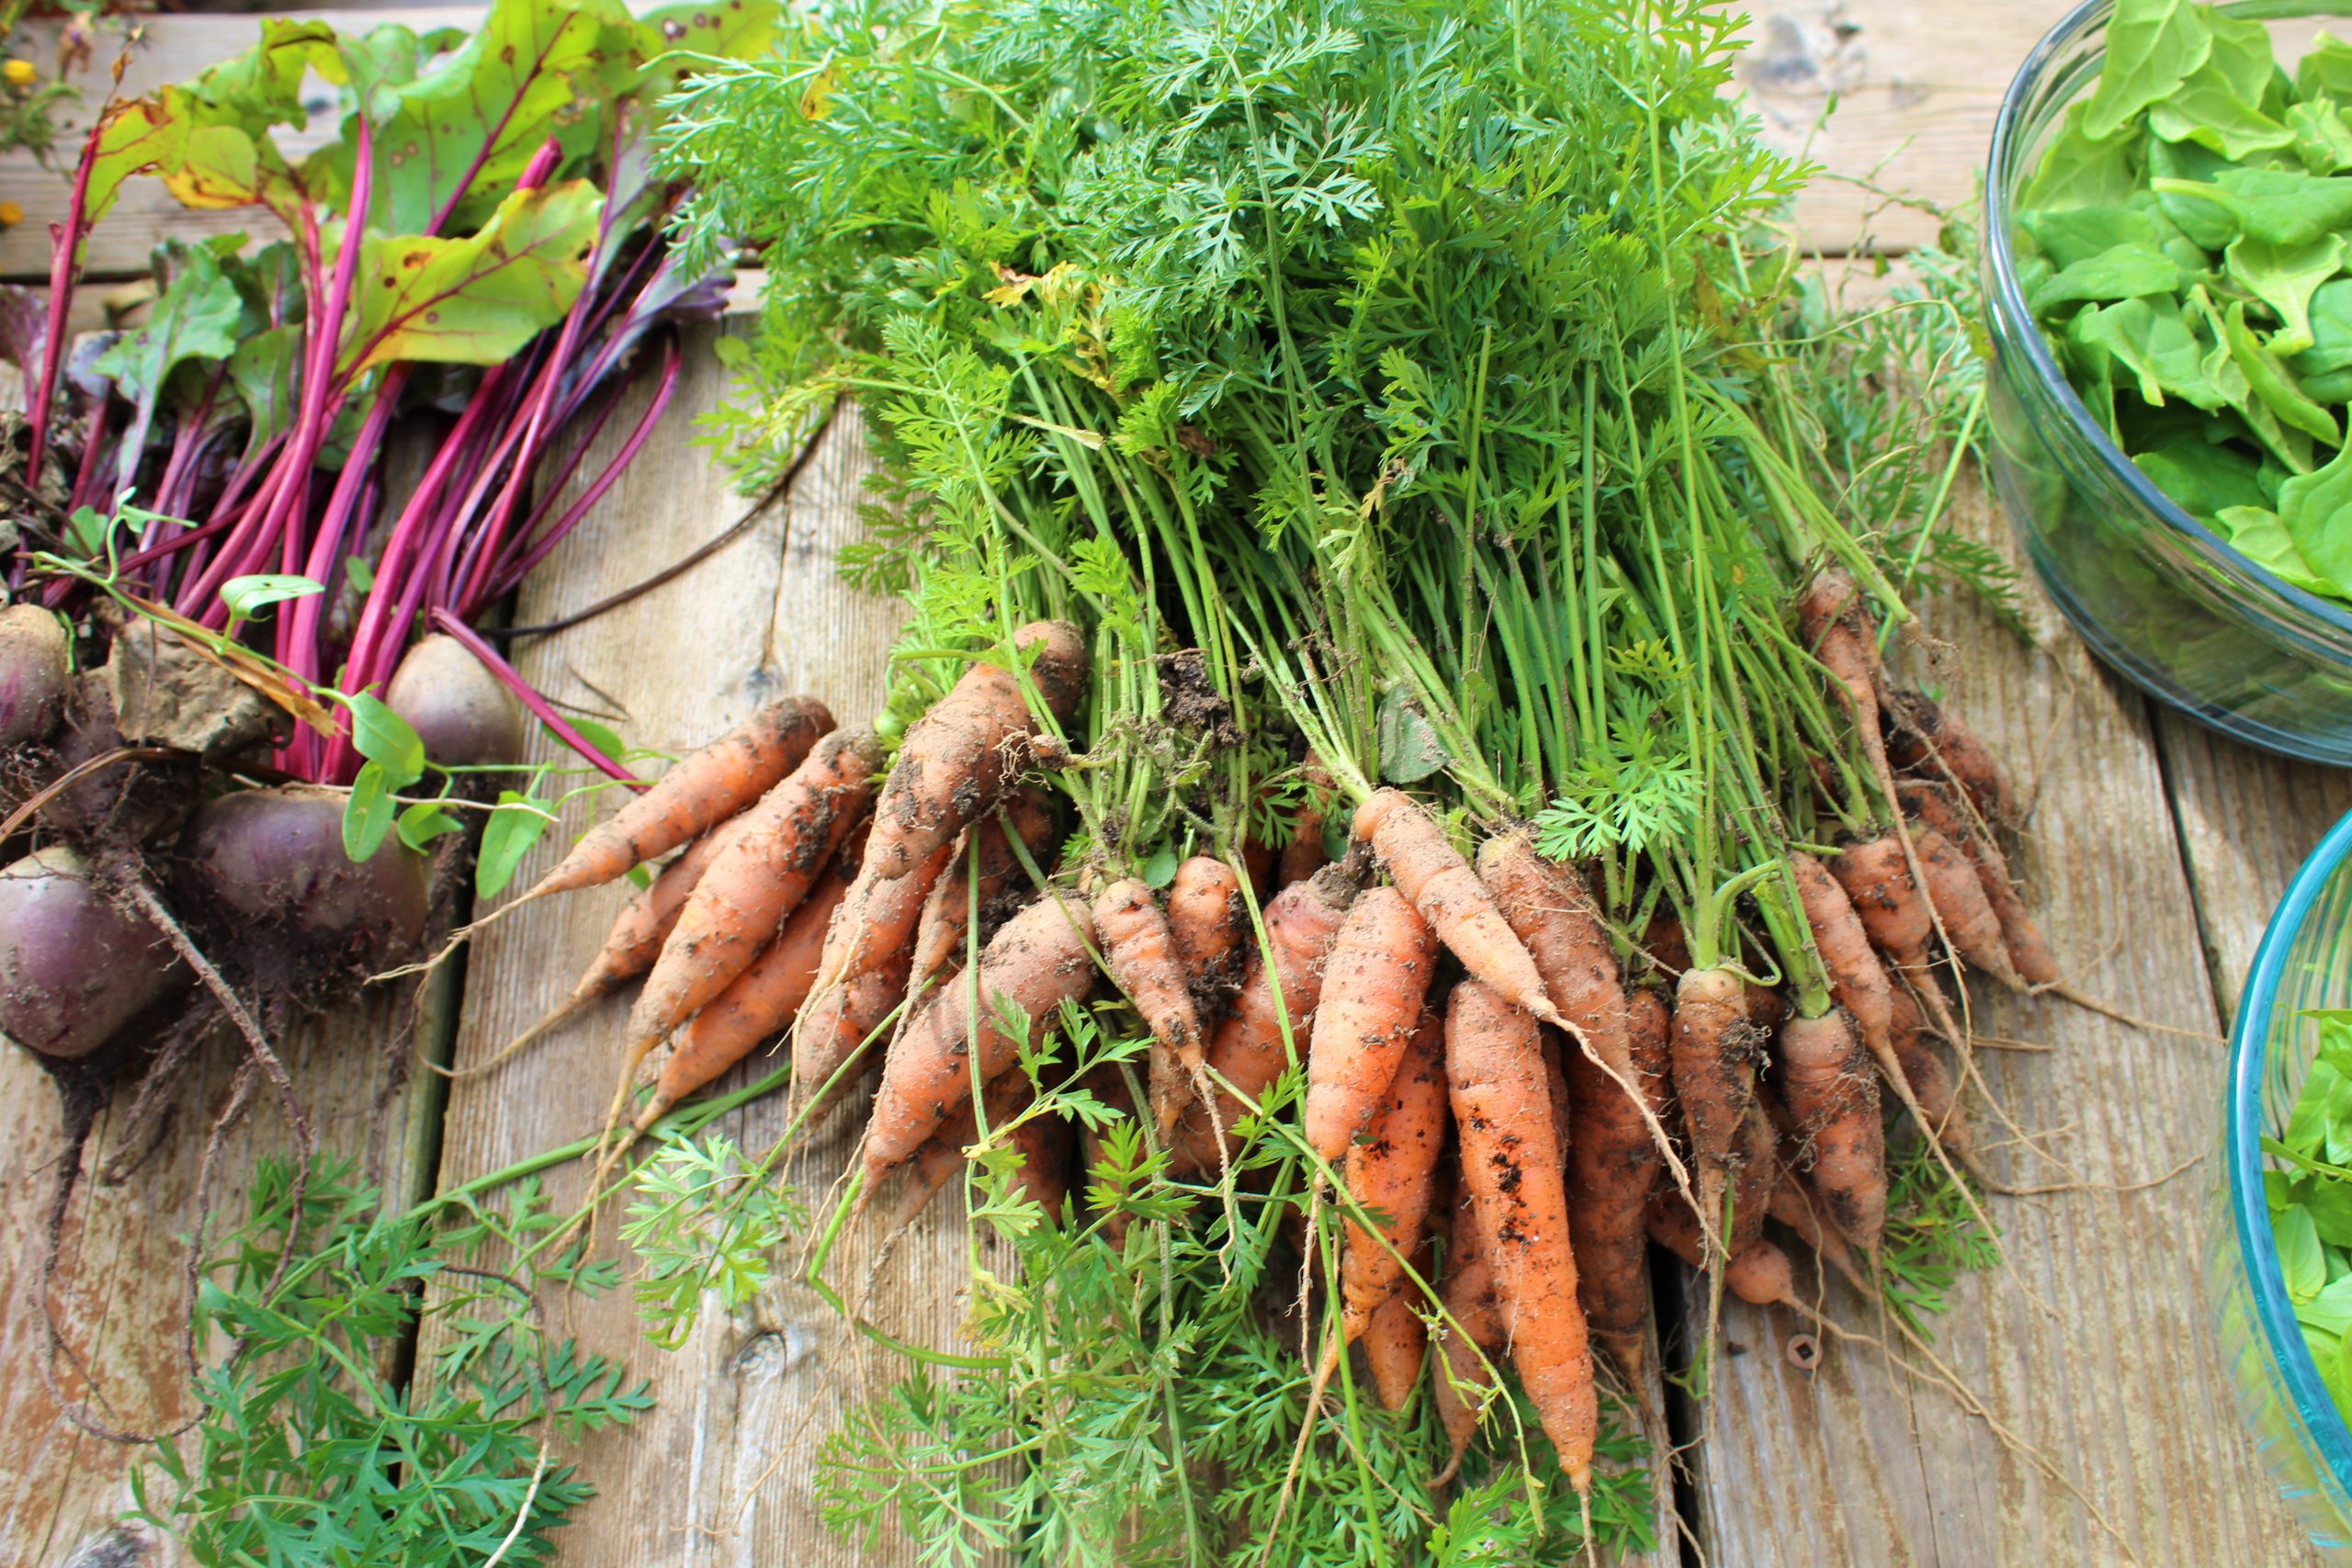
Nantes have long been my absolute favourite carrot to grow.  They are a medium sized carrot, and typically not found in the grocery stores.  They are sweet, crunchy and juicy, making them great to serve raw or to cook in your favourite recipes.  When you harvest them, be gentle though, they are susceptible to breaking.

When I prepare the area of the garden where the carrots will be sown, I like to mix in some sand.  Carrots do best in loose soil and so adding the sand to the area where I plant not only aids in seedling success but it also helps in root development.

Now, carrot seeds are very small seeds, and the general rule is that you should plant a seed only about the depth of the seed.  Carrot seeds, therefore, do best when only a  ¼ inch of soil is sprinkled on top of them.  With this in mind, sprouting carrot seeds can take a bit more work than sprouting radishes, for example.

Producers of carrot seeds, however, have provided two very easy ways to plant carrots. One is carrot seed tape and the other is pelleted carrot seeds. Both options are a bit more expensive than just carrot seeds, but in my opinion are so worth it.  I buy the carrot seed tape for planting Nantes carrots in my garden.  The tape holds the seed in place, making it very easy to put only a thin layer of soil over the seed, and it also makes wetting the surface easier.  You do not have to worry so much about your seeds washing away when you water.


The same ease of planting comes with the pelleted carrot seeds.  In fact, the pelleted carrot seeds are even better because the seed is surrounded by organic matter; you can easily see the seed and place it with a desired spacing.  But pelleted carrot seeds require even more attention to watering, meaning that the area must be damp consistently to ensure proper seedling development.

But don’t be discouraged from trying to plant carrot seeds that are not in tape or pelleted.  There are some amazing tasting and colourful varieties of carrots that do not come that way and are worth trying.  I would just suggest that you expect to pay a little more attention to the planting and watering of these seeds.  Here are my general tips for successful planting:

  1. Prepare the soil. For carrots, you never want to add fresh manure just before you plant your seedlings.  The resulting carrots will be hairy and malformed. We always add 3-year composted horse manure to our garden and cold frames in the fall to prepare for spring planting. Carrots need loose soil to grow well.  It is important therefore to loosen up the soil with a pitchfork or spade, and remove any large clumps of soil from the area. Now having said that, you do not want the soil to be so fine that it washes away easily when watered.
  2. Use carrot seed tape or pelleted carrot seeds to improve your likelihood of success. If you are not using these products to sow your seeds, make sure to sow your seeds thickly.  Thickly sown seeds produce seedlings that sprout together which means that they will aid each other in emerging from the soil.
  3. Keep the area damp where you have sown your seeds. Carrots seedlings are not very tough, and so you need to make it as easy as possible for the “babies” to push through the soil.
  4. Keep the area weed free. Again, these weak seedlings need every advantage you can give them.
  5. Don’t be discouraged if you do not see seedlings in a week; carrot seeds can take up to three weeks to germinate. Also expect only 75-80% success regardless of the seed method you use.  That is typical of carrot seeds.
  6. Make sure to keep the soil damp during the germination period and make sure to water the carrots well until you can see the root forming. You can observe the development of the carrot by brushing away the soil at the top of the root.
  7. Don’t worry too much about thinning carrots; just pick carrots and eat them to thin them.
Carrots and Beets summer 2016
Carrots and beets summer 2016

To salsa to get salsa – part one of my tomato planting story

Cansanity tomatoes

As I peer over my computer and gaze through the window that showcases my backyard, I notice the grey sky and the occasional snowflake falling to the ground.  I can’t help but wonder, did I start my tomato plants too early this year?

This is the salsa dance that Mother Nature and I perform every year.  When she offers seasonal weather, I easily glide through my eight counts alongside her, relaxed, cool and centered.  Our moves flow seamlessly.  This year, I wonder just how smooth we will be.

You see, I eagerly started some of my tomato plants this year from seed in the last week of March. I kept the soil damp knowing that the germinating seed would be very intolerant of dry soil and would die if the soil became dry for even a short period of time.  I kept my trays of newly planted seed pots near my warm gas fireplace and, as expected, within seven days my seedlings appeared.  When they were up, I moved my seedlings to my daughter’s bedroom (good use of a room for empty nesters like ourselves).  Even though it has a sunny south-facing window, I still placed my grow light on the plants for six hours a day, making sure that there is at least a couple of inches between the grow light and the plant.  I feel I am on track to keep to the general rule of having my tomato plants ready to be planted six weeks from the day they were seeded.  I am smug. I know that the typical last frost in my area is the third week of April and by early May I am usually golden for planting my tomatoes.  All is good, I think; I look up again and cringe at the snow.


The grow light that I have been using for the past three years on my plants ensures that I have a more compact tomato plant – this is good.  But the longer my tomato plants are in the container, the leggier they will be and this would not be good.  However, I know from past experience that if my tomato plants  become leggy, the best way to plant them is to trench plant them so that their long stems do not break in the wind.  So, I do have a plan if planting is delayed by the weather.  ( I will explain trench planting in the next tomato blog.)

Tomato
Garden tomatoes

Then, I smile to myself, as I daydream about eating those summer tomatoes warmed by the sun. I am excited about the tomato plants I chose to grow this year.  One variety called “Manitoba” is an heirloom bush determinate variety which grows a nice slicing tomato.  It is a very productive plant, but I am mostly excited about this plant because it is open-pollinated, and so I can save the seeds and use them to plant in the following years.

I have seeded a nice variety of tomato plants this year.  Some are indeterminate, and so will need to be staked and pruned for better yield, a small price to pay to have the quantity.  The Manitoba being my only determinate tomato plant will need less of my time because I will not have to stake or prune it, since it will only grow to 24” tall and only take up 24” in width.

Tomatoes 2015
Under ripe Tomatoes

I hope that you find time to plant even one tomato plant. It could be one of the most rewarding gardening projects you do this year.  If you think you missed the boat timing-wise on seeding tomato plants or would prefer to start your tomato story with a nursery grown tomato plant then consider the following things:


    • There are several types of tomatoes, including cherry, paste, slicers, and huge beefsteaks. So, choose the plants that best suits your culinary needs. I like to have a variety of tomatoes in my garden; so I grow some paste, cherry, medium sliced tomatoes and some beefsteaks.  Because I make 50-60 pints of tomato-based salsa in the fall, I do buy bushels of Roma and San Marzano tomatoes from farmers markets.
    • Tomatoes come in a variety of sizes and colours. Pick the size and colour that suits the way you intend to use the tomatoes. That is, are they for salads or sandwiches?
    • Determinate tomatoes are a smaller plant and do not require staking or pruning whereas indeterminate tomatoes need to be staked and pruned.
    • Tomato plants have a range of age of maturity. If you want a plant that will give you tomatoes earlier rather than later in the season then choose a tomato plant that is mature in and around 60 days.
    • Large plants sold in a nursery store that are already in large (1-gallon) containers will give you the earliest tomatoes.
    • If you buy small tomato plants in the small 4-cell packs, it will take longer before you will get a harvest.
    • Most importantly, do not buy a plant that has broken branches, is yellowing, or is really leggy and thin.


In the following couple of weeks, I hope that I can provide steps that will help you to have a smooth and easy experience with growing your tomatoes.  I know that planning when to seed and then when to plant tomatoes is much like a salsa dance. Much like dance, if we relax and let our heads follow without thinking too much we will succeed.

Garden fresh salad with home grown tomatoes


It just takes a pot or two…. How to get started growing vegetables or flowers in pots

Backyard top deck July 2015

I remember the summer that sparked my interest in gardening.  We had just moved into a 27-year-old townhouse which backed onto green space.  We had a beautiful south facing, shady backyard with a deck, a large maple and the privacy of tall cedar trees lining the back of the yard.  The sides of our yard were fenced from our neighbours by chain-link and on the east side of the yard stood a beautiful lilac tree.  We decided that our best option for growing flowers or vegetables was on that east side of the yard at the farthest point of the backyard.  We built a raised garden and set out to plant.  I have to say that at this point my husband held most of the enthusiasm for planting, and so he was the catalyst in our gardening adventures.  I wasn’t too optimistic that we would get very much out of our garden…. boy was I wrong.

We lived in this townhouse for five years, and every spring, after building that raised garden, we would take trips with our girls to the nursery stores in the area.  They loved the smell of the greenhouse; the first sign of colour and greenery would brighten our moods.  We would let the girls pick out the colours of the bedding plants, such as impatiens, and they even got to know the nursery garden’s cat by name – Pumpkin.


When we got to planting in the garden our daughters would get elbow deep into the dirt to help.  They would enjoy helping Dad in the garden watering and be constantly on the look-out for new growth on the plants.  We discovered early on that cherry tomatoes were a fantastic plant to grow with children.  Daily, once the plant was fruiting, the girls would “snack” as they saw fit.

Canna Lilly August 2016

So, I began to see that growing fruit and vegetables in the garden is so much more than getting food.  It was a family experience.  Every year I would learn just a little bit more until, before I knew it, we were all planning our garden as spring approached.  We all got just a little bit excited about when we would taste the first lettuce or tomato out of the garden, and with that have come endless stories and fond memories of being in the garden together.

Getting started today with growing your own vegetables will be the beginning of your gardening story, and it will be more than just growing a couple of plants.  In this time of uncertainty about what is happening in the world you can be assured that you are also doing your part in helping not only your family but your country.

Romaine lettuce and flowers July 2018 in Mayne container

When you grow your own herbs, fruit, and vegetables, you eliminate all the fuel spent and pollution created in transporting that food to your house.  When you improve your garden soil by composting, you remove vegetable waste from the municipal landfill.  Also, you improve biodiversity by creating a habitat that is friendly to microbes, earthworms, pollinators (like bees), and birds.  And, importantly, you improve the food security of your country by removing some of the demand on the food supply – freeing those resources for people who cannot grow their own food.

Today on April 7, 2020, it may seem early to be starting to prepare your pots for transplanting vegetable or flower plants but, in fact, it is the ideal time.  To get started you need to purchase the appropriate size pot.  I have a variety of pot sizes ranging from 9” diameter to 16” diameter.  A 9” diameter pot will only support about 3-4 small plants, and I would only recommend planting small flowers such as pansies.

Gerber Daisies, potato vine, coleus and dusty miller

Ideally, you will purchase a 12” diameter pot, as this will allow you to plant a variety of plants over the years.  You could easily plant a pepper or tomato plant, or if you prefer to plant flowers, a pot this size will allow you to plant 6-8 small plants.  Now when I say a 12” diameter pot, I am referring to the top diameter.  You want to make sure that you have a depth of at least 8”, as a small pot will really heat up in mid-summer.  If you have a shallow pot and want to plant many plants then you will need a larger top diameter 14”-16”.  This will allow a good volume of soil to support the plants.

If you want a low maintenance, weather tolerant, super functional planter, I would recommend a resin (plastic) planter that has a build-in water reservoir.  I have several of these containers around my backyard in a variety of sizes.  The manufacturer, Mayne, has quality planters of this style.  In fact, that is the brand that I purchase for use in my backyard.  I have three 35.6” x 20” Mayne black containers on my deck, and I have grown, peppers, tomatoes, lettuce, tarragon, basil, lemon verbena and even strawberries in them.  The built-in water reservoir is a time saver for you.  In the heat of the summer, I would only have to water these planters at most twice a week.  In contrast, the clay pots, even at 14” in diameter, may require a daily watering.


Let’s talk soil.  You want to create a soil in your container that has the nutrients that the plants need, so as to minimize the need to fertilize and, at the same time, maximize the capacity to hold water, which is especially important in the heat of the summer.  I don’t think that there is necessarily only one right recipe for potting soil, but here is what works for me.  I like to include some “living” soil in the pot.  By “living” I mean soil that contains the microbes and other soil creatures that you would naturally find in a garden.  So, I fill a third to a half of the container with soil that I “borrow” from my garden (I will return it in the autumn).  I then mix compost or manure into the pot (about a quarter to a third of the container’s volume).  This will be less dense than the garden soil and helps with both nutrients and water retention.  For the remainder of the container, I use a potting soil.  The potting soil will contain a fertilizer – either natural or chemical – and things like peat, perlite, and vermiculite, which help with water retention.

I hope this blog inspires you to begin your gardening story.  Even if you start this adventure with just one pot and one plant this year, you can take satisfaction in knowing that you did it!  Here’s hoping your experiences bring you joy and fond memories.

Backyard deck with tarragon with flowers in Mayne container and potted basil, rosemary and annuals July 2018


Why build a cold frame for growing vegetables and the supplies you will need


In the southeast corner of our backyard, we initially had a vegetable garden which was 15’x15′ at ground level.  This garden was sufficient for the first couple of years we lived here because there was only a 20’ maple tree to one side of the garden and some 5’ blue spruce trees towards the back of the yard.  But, as our interests in adding more edible landscaping to our yard grew, so did the number of plants growing in this particular area of our yard.  We added a tall lattice in the corner and planted three grape vines, and we also added three gooseberry plants, raspberries and some rhubarb.  All these plants were now competing for soil nutrients and water.  In the spring, we would go to turn over the garden and find the maple roots were hard to work around.

Here is where the idea of building some raised gardens in the yard made sense.  I knew that, not only did I want to make it easier to work in the spring, I also wanted to increase the number of vegetables I could plant and also add some interesting focal points to my yard.


At this point in my gardening life, I had owned three houses and created different vegetable gardens at each of these locations.  I had read several books describing how to square foot garden and so set out to design a cold frame that would be efficient for growing the vegetables that I cherished most.  These included, radishes, onions, lettuces, spinach, kale, beets, carrots and leeks.

In planning my edible landscape, I knew I wanted garden boxes that would allow me to plant my vegetables as early as possible and also allow me keep the plants going right up until the winter.

I decided we would start with one cold frame with a hinged, but removable, Plexiglas lid.  Once I knew how many vegetables I could get out of the first cold frame, I could add one or two boxes each year.  As of March 2020, I have two with lids and two without lids in my backyard.

Now that I have given you the background on why and how we made the decision to get into raised beds, here is what I would suggest you do.  It is ideal for plants to have soil that is as alive as possible, meaning good microbes, worms etc. So, with this in mind, build your cold frame at least one month before planting in it.  If you have an existing garden and can take some live soil out of it to partially fill your cold frame that is ideal.


Here is what you will need to build your own cold frame:

  • Lumber. The amount and dimensions you need will depend on how large the cold frame will be.  I just use standard spruce lumber – easily available at any building center.  You want to build the cold frame large enough that it won’t dry out quickly during the hottest days of summer.  I would suggest that, at a minimum, you make it tall enough to allow for the soil to be eight inches deep; if you are going to plant large plants (like tomatoes) you will probably want 12 inches of soil.  As for the width, I like 36 inches.  This provides space for six lettuce plants across, and yet it is not awkward to reach all parts of the surface.  The length is more of an aesthetic choice.  So, for example, with my first cold frame, I made it 24.5 inches high, 36 inches wide, and 72 inches long.  I wanted the top to be sloped when the cover was down.  So, while it was 24.5 inches at one end, it was only 20.5 inches at the other.  You may be thinking that 24.5 seems like an odd choice – why not 24 inches.  Well, standard lumber has a half inch planed off to make it smoother.  So, I used two 2x10s and one 2×6 stacked on top of each other to build the sides.  But, a 2×10 is actually 1.5×9.5 and the 2×6 is actually 1.5×5.5, which means the sides were 9.5 + 9.5 + 5.5 or 24.5 inches.
  • Paint. Use a latex exterior and put on at least two coats.  I don’t use treated lumber for the cold frame, as I don’t want any chemicals leeching into the soil.  So, the paint is needed to protect the wood from insects, water, and sunlight.  The paint is also an opportunity to add a splash of colour, which you might really appreciate in the winter.  Once the wood is cut to the appropriate dimensions, I paint it before assembly.  In that way, I ensure that all parts of the wood are covered by paint.
  • Landscape fabric. Once the cold frame is assembled and in place, I lay landscape fabric on the bottom.  I use enough so that it curls up and covers an inch or two of the sides.  This will help hold the soil in when the cold frame is new.  Eventually, the cold frame will settle firmly into the ground, but when you first build it, there may be some gaps around the bottom.  Landscape fabric will allow water to pass through.
  • Clear plastic sheeting. You can find this by the roll at the building center.  I use this to line the inside of the cold fame.  It keeps the wet soil from directly contacting the wood sides of the cold frame.  You will want to leave a gap between the top of the soil and the top of the cold frame.  So, only line the sides as high as you need to.  For example, in my first cold frame, I wanted the soil to be about 12 inches deep.  So, I only lined the sides up to the 12-inch mark.  In that way, you will only see the painted wood above the soil line.
  • Soil. This is where you can apply your own recipe.  One thing I would suggest, however, is that you include some soil from another garden in your yard.  If all you use is bagged soil your garden will lack important soil microbes.  So, I always like to add some living soil.  I also like to include compost and manure.


Keep in mind if you are planning on building your cold frame in April and then using it in May you just have to build the box part and do not have to worry about building the lid until the fall or next spring.  Better to get the soil into the box and let it settle for a month so you can get to the planting.

Why do you need to wait a month before planting?  If you have added compost to the box, and you should, you should allow the microbes a chance to break down the compost, in particular the nitrogen.  If you plant seeds directly into the bed after adding all the soil the process of the microbes breaking down the compost might interfere with germination.


Peppers – worth considering for your garden

Home grown habanero peppers
Patio pot grown habanero peppers

Peppers are such a versatile vegetable to have on hand in your pantry.  They are great fresh, amazing in a stir fry, a chili or soup, and they maintain a lot (80%) of their nutrients when canned or frozen.

Peppers keep well in the fridge – if unwashed, up to 10 days.  They also do not  require blanching before freezing, making it convenient to save for use in the winter months.

Green bell peppers 2018
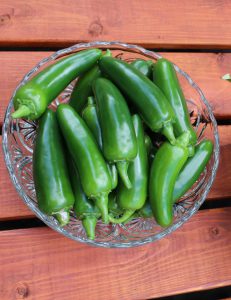
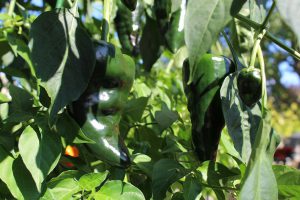
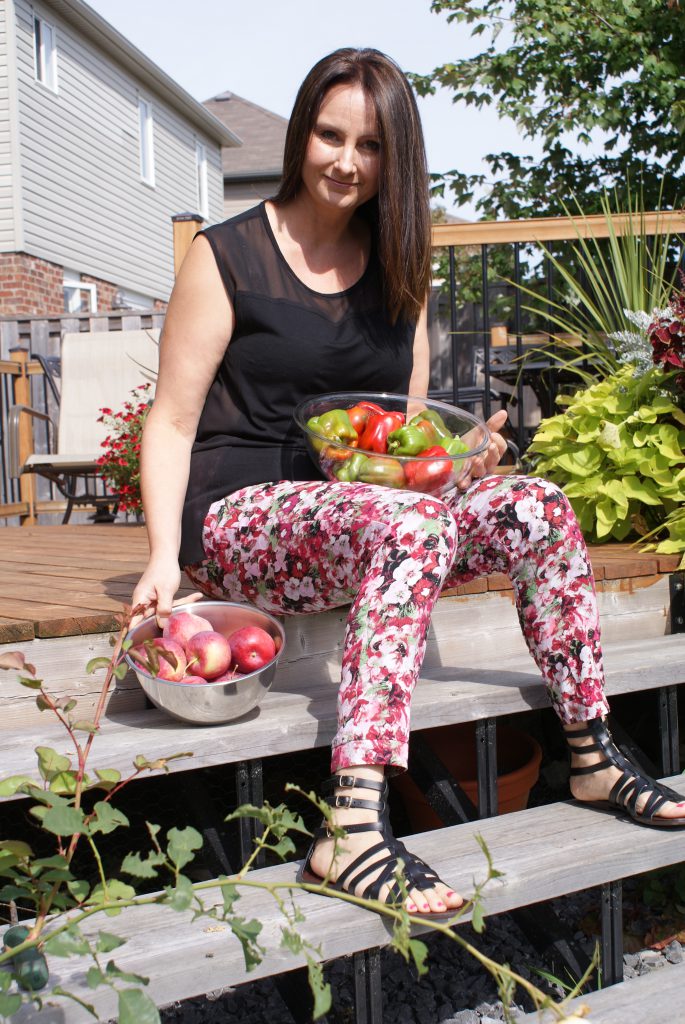
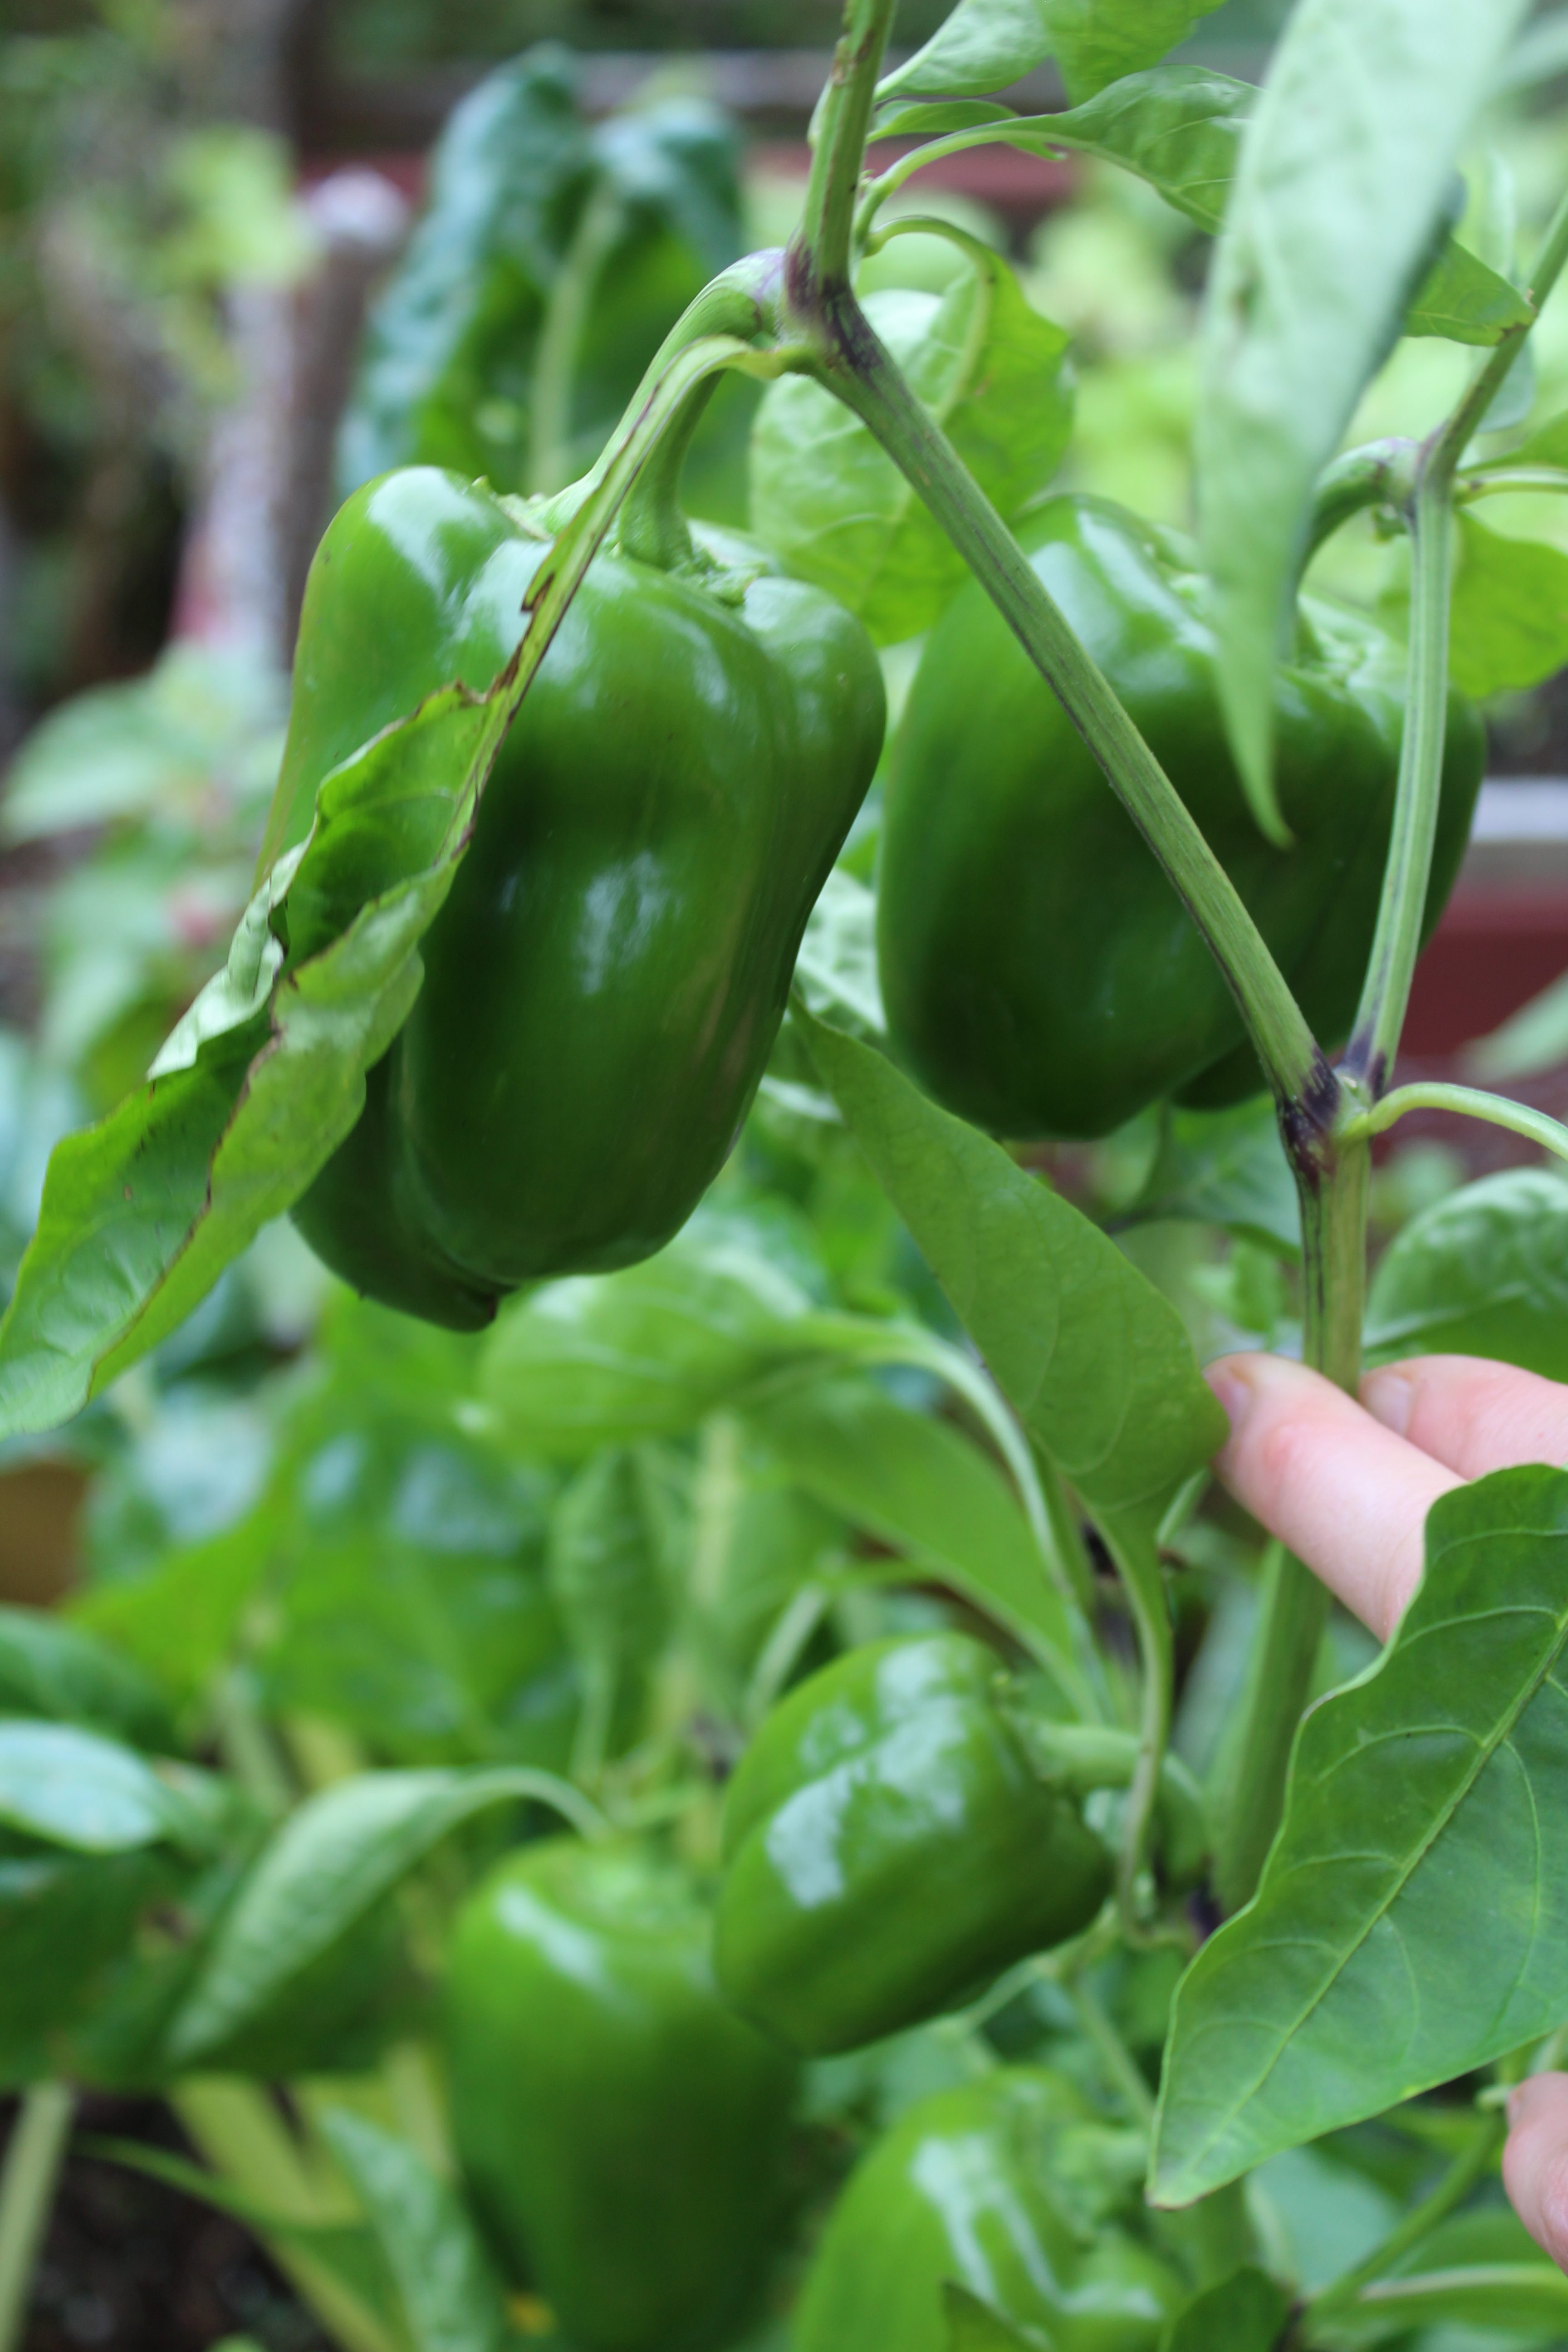
“Bell peppers” often just referred to as red, orange, yellow or green peppers are very nutritious.  One red bell pepper has twice the amount of vitamin C as an orange! These nutrient packed vegetables also have vitamins A, B6, K, E and elements such as potassium, magnesium, phosphorus and manganese.  Bell peppers are also full of antioxidants, making them a tasty super food.


Peppers are rated for heat in Scoville heat units with bell peppers at zero.  Jalapeno peppers have around 3500-8000 units and, well one of my favorite peppers habaneros, pack between 150 000 to 300 000 units.  There are even hotter peppers, such as ghost peppers. So, if habaneros do not pack enough heat for you, grow or pick up some ghost peppers at your local farmers market.


If you would like an easy way to add “kick” to your recipes, hot peppers, such as habaneros, dehydrate well using a dehydrator.  Just wash, quarter and seed your peppers, and then process them according to your dehydrator’s instructions. Then store them in a sealed container.  When you are ready to use them, blend them in a coffee grinder or food processor. I don’t want to breathe in the powder, so I blend my dried hot peppers outside or in the garage.

You may have heard that green peppers are just under ripe red peppers.  While it is true that some green peppers will in time ripen to red. Some varieties of green peppers will stay green throughout their maturation process.  I love buying my peppers for salsa making at the farmers markets because I can get a half of a bushel at a time. I like to see some peppers, in a bushel of bell peppers, that have started to turn red because that means if I want to use them as a red pepper, I just have to leave the pepper at room temperature for a couple of days, and it will turn red.

Is the red pepper more nutritious than a green pepper?  I have read that a green pepper will have less vitamin C and A compared to a red or orange pepper.  However, if you prefer the bitter taste of a green pepper, eat it!  Consider it to be part of “eating your greens”.


Fun fact, peppers belong to the nightshade family of plants.  Other nightshade plants include: chili pepper, cayenne pepper, eggplants, tomatoes and potatoes (but not sweet potatoes or yams).  It is rare, but some people have severe digestive problems when eating night shade plants so if you are finding that all the above fruits and vegetables give you some issues, you might want to avoid the nightshade family of plants.

Regarding planting peppers

jalapenos 2019
Jalapenos grown in a cold frame 2019

It took me several years to figure out how to achieve success in growing peppers in my home garden.  When I first started home gardening in Southern Ontario and was just starting to get into growing vegetables, I would buy a couple of greenhouse jalapeno pepper plants each year.  I would basically plant them and water when needed and I would be lucky to see a couple of peppers each year from each plant. It hardly seemed worth the effort.


But I am stubborn, and so over the years I have tried different pots and locations with a variety of sun and wind exposures and have found that this has resulted in the best success in growing peppers:

    1. If starting from seed indoors make sure to start your plants early.  For instance, for poblanos (ancho) peppers they should be started 5-6 weeks before the last frost. So, where I am these can be seeded indoors as early as mid March.  Habaneros can be seeded indoors even earlier.
    2. If you are going to purchase plants from a green house, choose the straightest, healthiest plants and buy your plants early.  Even if you have to baby them a bit at home before they are ready to be transplanted, by buying early you will have a good selection of healthy plants to choose from.

    3. Choose a very sunny location, at least 8 hours of direct sunlight

    4. The most successful vessel for growing peppers has been my cold frame.  We amend the soil with compost and manure.

    5. My cold frame is in a nice location, no wind issues and full sun.

    6. Seed package instructions will tell you to make sure your soil has an abundance of phosphorus and calcium. So to do this, you can add lime when applying the compost to the bed or container before transplanting.  I have found that putting both compost and manure in my cold frames has been sufficient.

    7. And most important, prepare to fertilize your peppers.  I scratch in an organic pellet fertilizer after transplanting the plant and then scratch in additional organic fertilizer every 3 weeks.

    8. Peppers will tolerate dry soil but you will get good plant growth if the soil is kept moist.

    9. Be patient, peppers do take a long time to develop.  If you don’t get your transplants in until the end of May or June, you might not have peppers until August or September.  But again, be patient, because some of my best pepper plants produced the most peppers ready for harvest at the beginning of September.

      Poblano peppers grown in a Mayne planter with reservoir

Lettuce and kale are not the only plants that you can start in March indoors from seed

seedlings in cold frame
Seedlings planted in the cold frame

Yesterday, I posted a video about how to start lettuce and kale plants from seeds. Once you have planted the lettuce and kale seeds, place them in a warm place in your house and water the soil when it is dry.  The seedlings should sprout in just a couple of days.  If you have a south facing window, put your seedlings near that window during the day so that the plants can get some filtered sun.

Before the plants can be put in the garden, they must be hardened off.  This is simply the process of acclimatizing the seedlings to the outdoor conditions.  Having been inside, they will sunburn easily and they are not strong enough to withstand the wind.  So, start by putting the plants outside for an hour out of direct sunlight and sheltered from the wind.  Then gradually expose them to more sunlight and wind.  For example, you could put them out in the morning sunlight, which is less intense for an hour one day, followed by 2 hours the next day.  Once they tolerate morning sun, allow an hour of midday sun and increase that over the coming days.  If the seedlings are getting too much intense sunlight, you’ll see a bleaching of the leaves, which can turn brown if they get burnt.  Similarly, you will want to acclimatize the seedlings gradually to the cooler evening temperatures.  They should be ready to transplant after a week.

Then, once the weather is around zero degrees at night, I plant lettuce and kale seedlings in my cold frame which has a Plexiglas lid that I can close at night to trap the heat.  When the weather is 10 degrees or more during the day, I prop the lid open to allow some air flow.

If you do not have a cold frame and want to plant them in a container or in your garden, then first, make sure your seedling has 3-4 true leaves and for best success plant after the last frost in the spring. 

Additional plants to consider starting from seeds indoors in March are:

  • Arugula, broccoli, cauliflower, cabbage, onion, peppers, tomatoes, eggplant and sweet potato.
  • Parsley can be started as well.

Because tomatoes and peppers need a long growing season, I start them indoors about 6 weeks before I plant them in the garden.  So, I’ll use a larger container – 4-inch pot, for example.  But the planting method is basically the same as kale or lettuce.  To increase my odds of success, I plant two seeds in each pot and simply trim one with scissors, if both germinate.

I usually start celery in March indoors because it takes 20-30 days for the seeds to germinate and so you might need 10-12 weeks before they are ready to be transplanted.  Transplant celery carefully, it is a little more delicate than the other plants listed above.


I have planted arugula from seedlings and also have directly sown the seeds in my garden.  The best success I have had was from transplanting seedlings and so that is usually how I plant this vegetable.  If you haven’t tried arugula fresh from the garden, you must!  I find that the fresh picked arugula has a more pronounced peppery flavour.

Broccoli transplants extremely well. I have had great success with broccoli and would definitely recommend starting some plants from seed.  The plants themselves can take at least a square foot in your garden so make sure you plant wisely and only seed the number of plants your garden can support.

I generally do not plant cauliflower in my garden, as it takes a long time for the head to form and I have had problems with pests growing this vegetable; so this is one that I pick up at the farmers markets in the summer time.  Hey, if you have had success with this vegetable in your home garden, great!  I would love to hear some advice on growing this vegetable.

I love growing cabbage plants and Brussels sprouts!  They are fairly easy to grow and look fabulous in the garden, especially Brussels sprouts.  I have had some years where my Brussels sprouts have turned out great and some years where the plants have done very poorly.  I still recommend trying them because they are just beautiful, almost stately plants in your garden.


Onions are fabulous to have in a home garden! It is so nice just to pop outside and pick a fresh onion for a salad or a meal you are about to prepare.  I like to cheat a little bit and plant the onion sets at the end of March which usually you let grow to a mature palm size onion. However, I pick some early and just use them as you would green onions.  Alternatively, you can plant onion seeds and grow them into seedlings indoors and then transplant them once there is no longer a risk of a frost.

I have not yet tried to grow eggplants from seed but have had great success growing eggplants from nursery garden plants.  You do need a good amount of summer to grow this fruit.

Last year, I picked up sweet potato vines from a nursery and was extremely pleased with the results of growing this vine.  The potatoes were small but very yummy!

In March, I can’t hardly wait for fresh parsley from the garden. So, I do like to get a couple of these herbs started, as well. I grow Italian parsley and find this herb super easy to grow.  Seed many plants, you will not be disappointed! 

Lettuce after a few weeks

Growing, cooking and canning food – March is a good time to get started

Garden fall bounty

I created this website this year so that I can share my passion for growing, cooking and canning food with people who share this same passion. I have been an avid gardener for 20 years, starting when I was a stay-at-home mom with young children. At first, I only planted typical plants such as flowers like impatiens and geraniums around my yard. But, as the winters can be long in Canada, I would start to daydream in January about the hot summer months, and this led to a habit of doing a bit of research about gardening each winter as spring approached.

Twenty years later, I now grow cherries, apples, gooseberries, raspberries, blackberries, black currants, red currants and concord grapes. My yard is bordered with cold frames, boxes and a raised garden and on my deck I have several planters with built in reservoirs, and countless clay pots. I am able to grow garlic, lettuce, kale, carrots, beets, turnips, tomatoes, onions, potatoes, arugula, spinach, peppers and more – all on a property the size of about 55’X110′, proving that you don’t have to live on acreage to grow your own food.


Today on March 25th 2020, Canada, and the world, is a different place; the COVID-19 pandemic has forced us all into self isolation in an effort to “flatten the curve” and slow the rate of infection of the novel coronavirus.  It is my hope that the videos and content that I share with you in the next couple of months will brighten your day and help you focus on something positive that you can do around your home and garden.

It is quite rewarding to start a plant from seed and see it germinate and watch it grow into a little seedling in your home. And, after just a couple of weeks be able to plant it in your garden or a container and watch it blossom and fruit. Never mind the joy you and your family will feel when it is HARVEST DAY – to quote Rabbit from Winnie the Pooh!

I looking forward to spending time with you over the next couple of months through my website Cansanity. When you find yourself getting tired of the tasks and chores you are doing around your home, escape into the world of gardening, cooking and canning. Trust me… it won’t take long to get you hooked!

Cansanity…

Picking tomatoes


As I gaze out into my backyard this first day of January 2020, I daydream of warm summer days where I can pick my garden fresh veggies. It seemed fitting that I would introduce my new canning website and blog Cansanity today. Hope you enjoy the information and recipes that get posted in the days and years that follow!