In the southeast corner of our backyard, we initially had a vegetable garden which was 15’x15′ at ground level. This garden was sufficient for the first couple of years we lived here because there was only a 20’ maple tree to one side of the garden and some 5’ blue spruce trees towards the back of the yard. But, as our interests in adding more edible landscaping to our yard grew, so did the number of plants growing in this particular area of our yard. We added a tall lattice in the corner and planted three grape vines, and we also added three gooseberry plants, raspberries and some rhubarb. All these plants were now competing for soil nutrients and water. In the spring, we would go to turn over the garden and find the maple roots were hard to work around.
Here is where the idea of building some raised gardens in the yard made sense. I knew that, not only did I want to make it easier to work in the spring, I also wanted to increase the number of vegetables I could plant and also add some interesting focal points to my yard.
At this point in my gardening life, I had owned three houses and created different vegetable gardens at each of these locations. I had read several books describing how to square foot garden and so set out to design a cold frame that would be efficient for growing the vegetables that I cherished most. These included, radishes, onions, lettuces, spinach, kale, beets, carrots and leeks.
In planning my edible landscape, I knew I wanted garden boxes that would allow me to plant my vegetables as early as possible and also allow me keep the plants going right up until the winter.
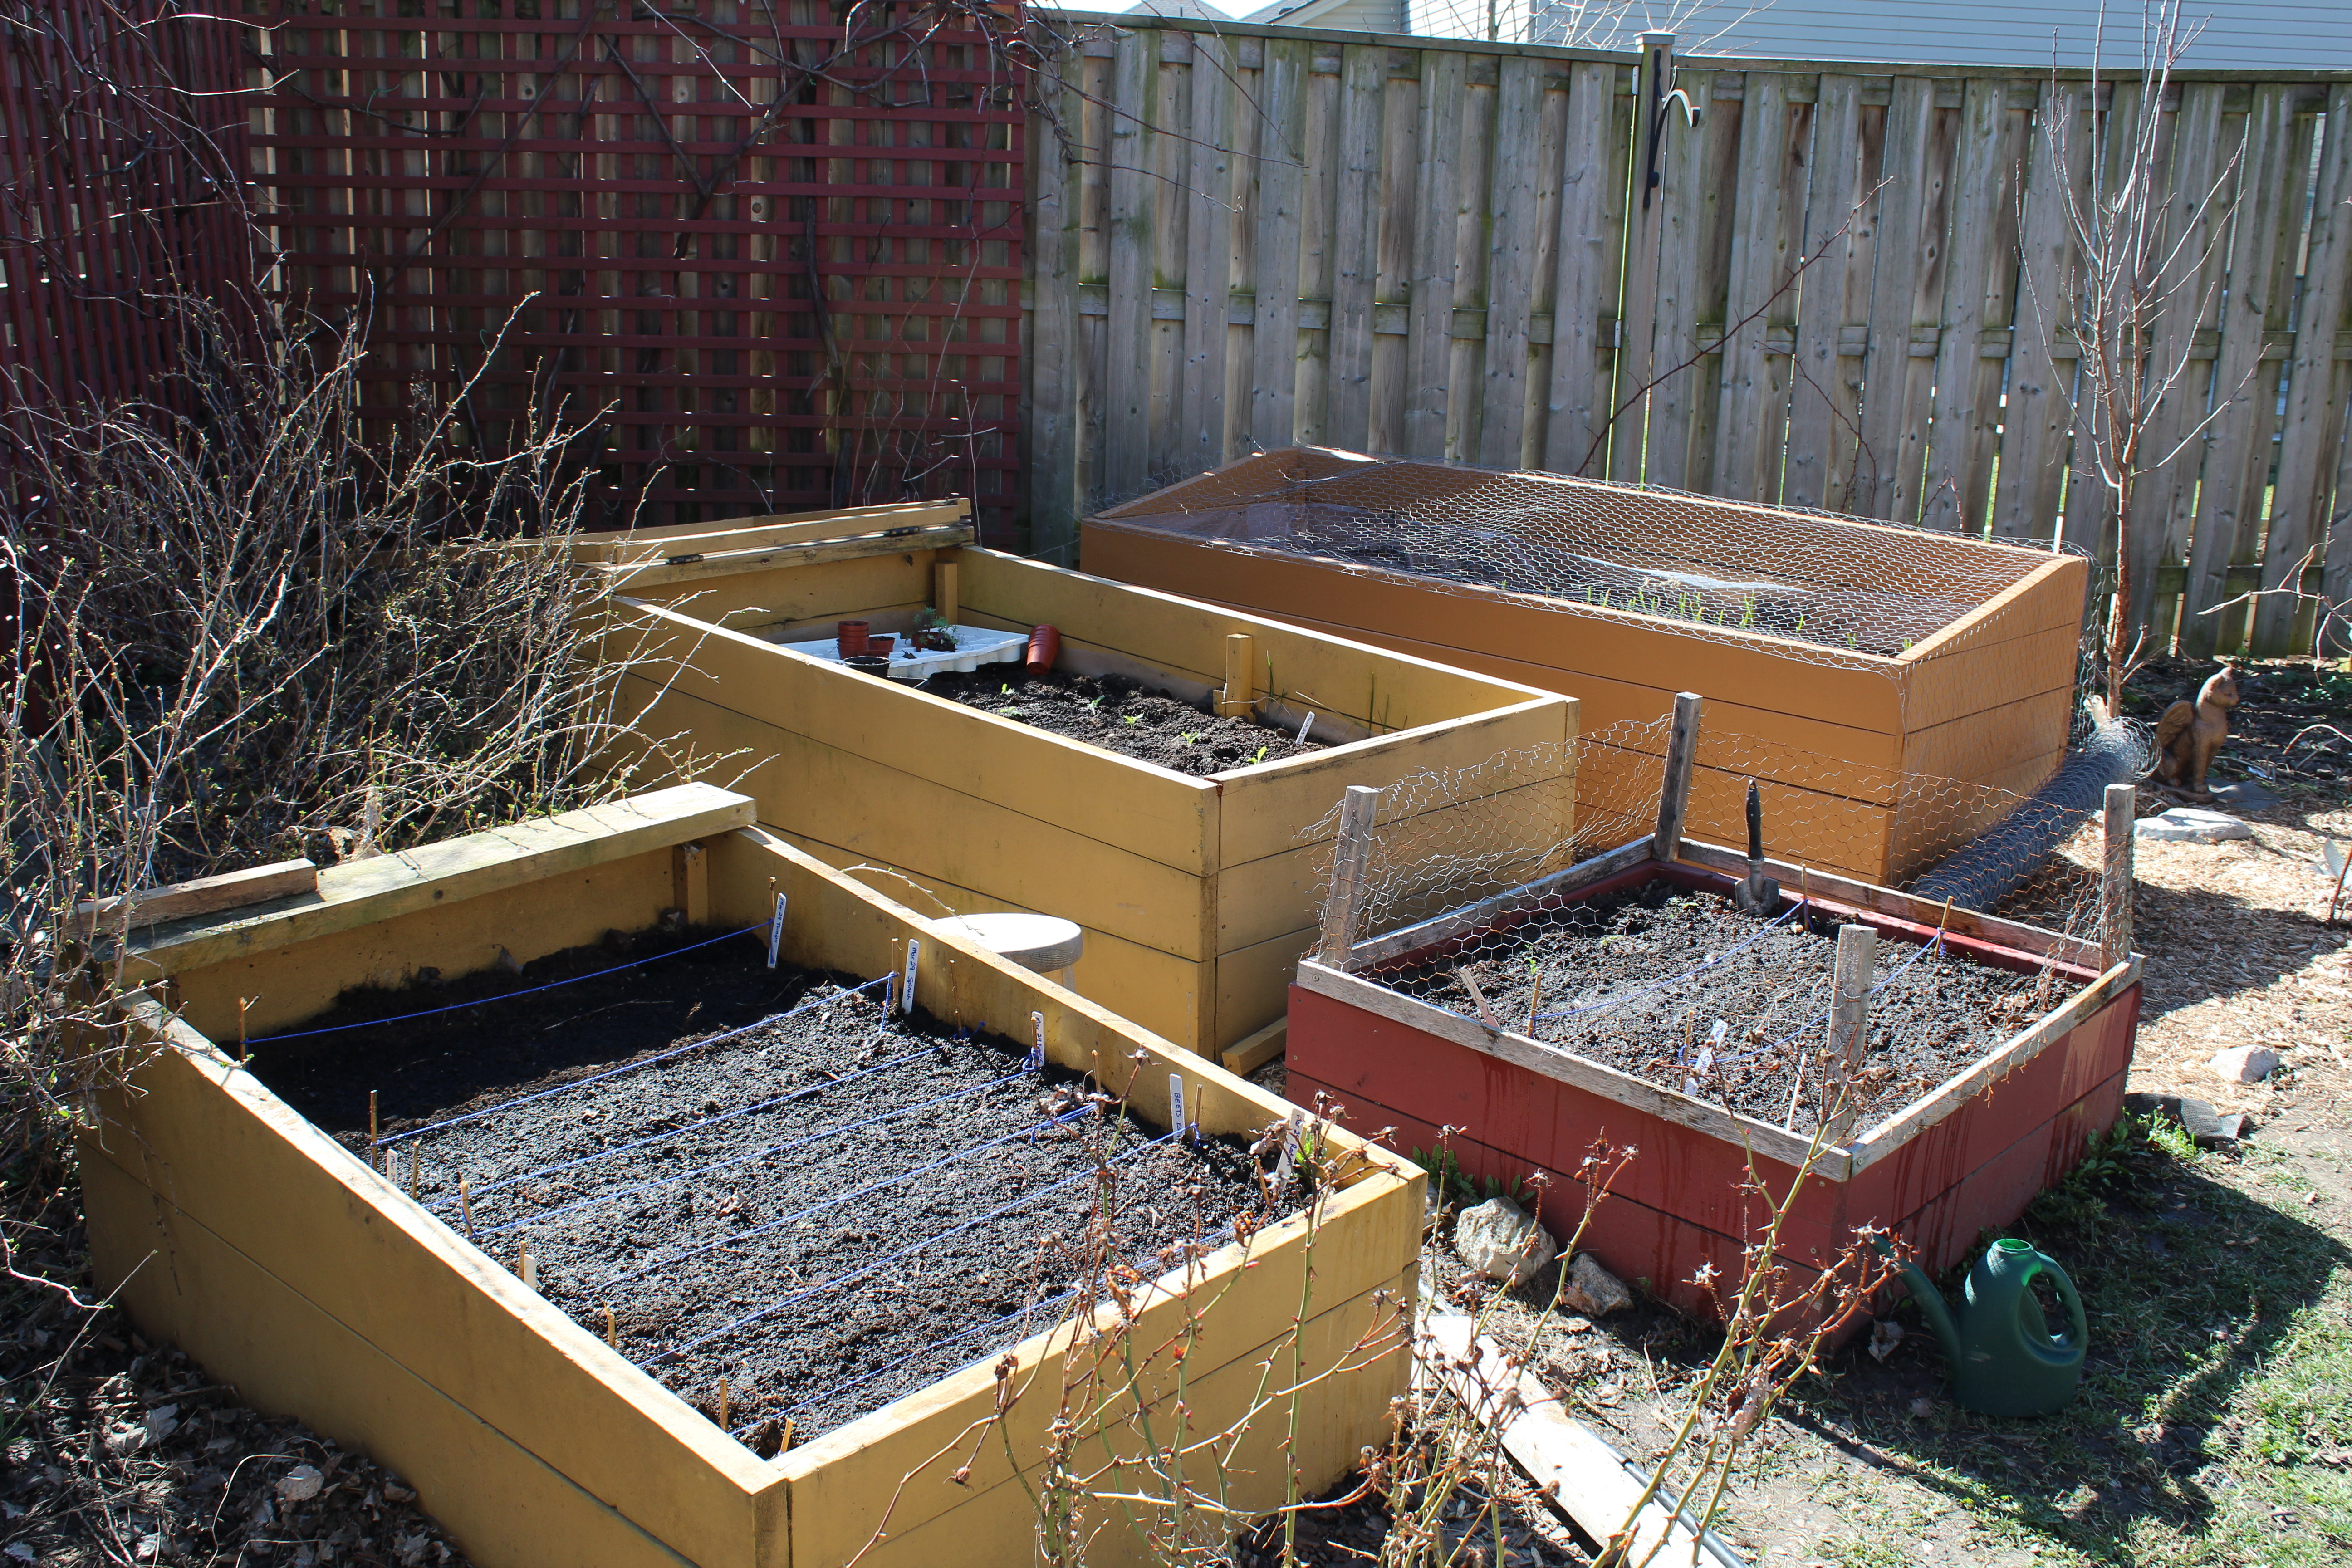
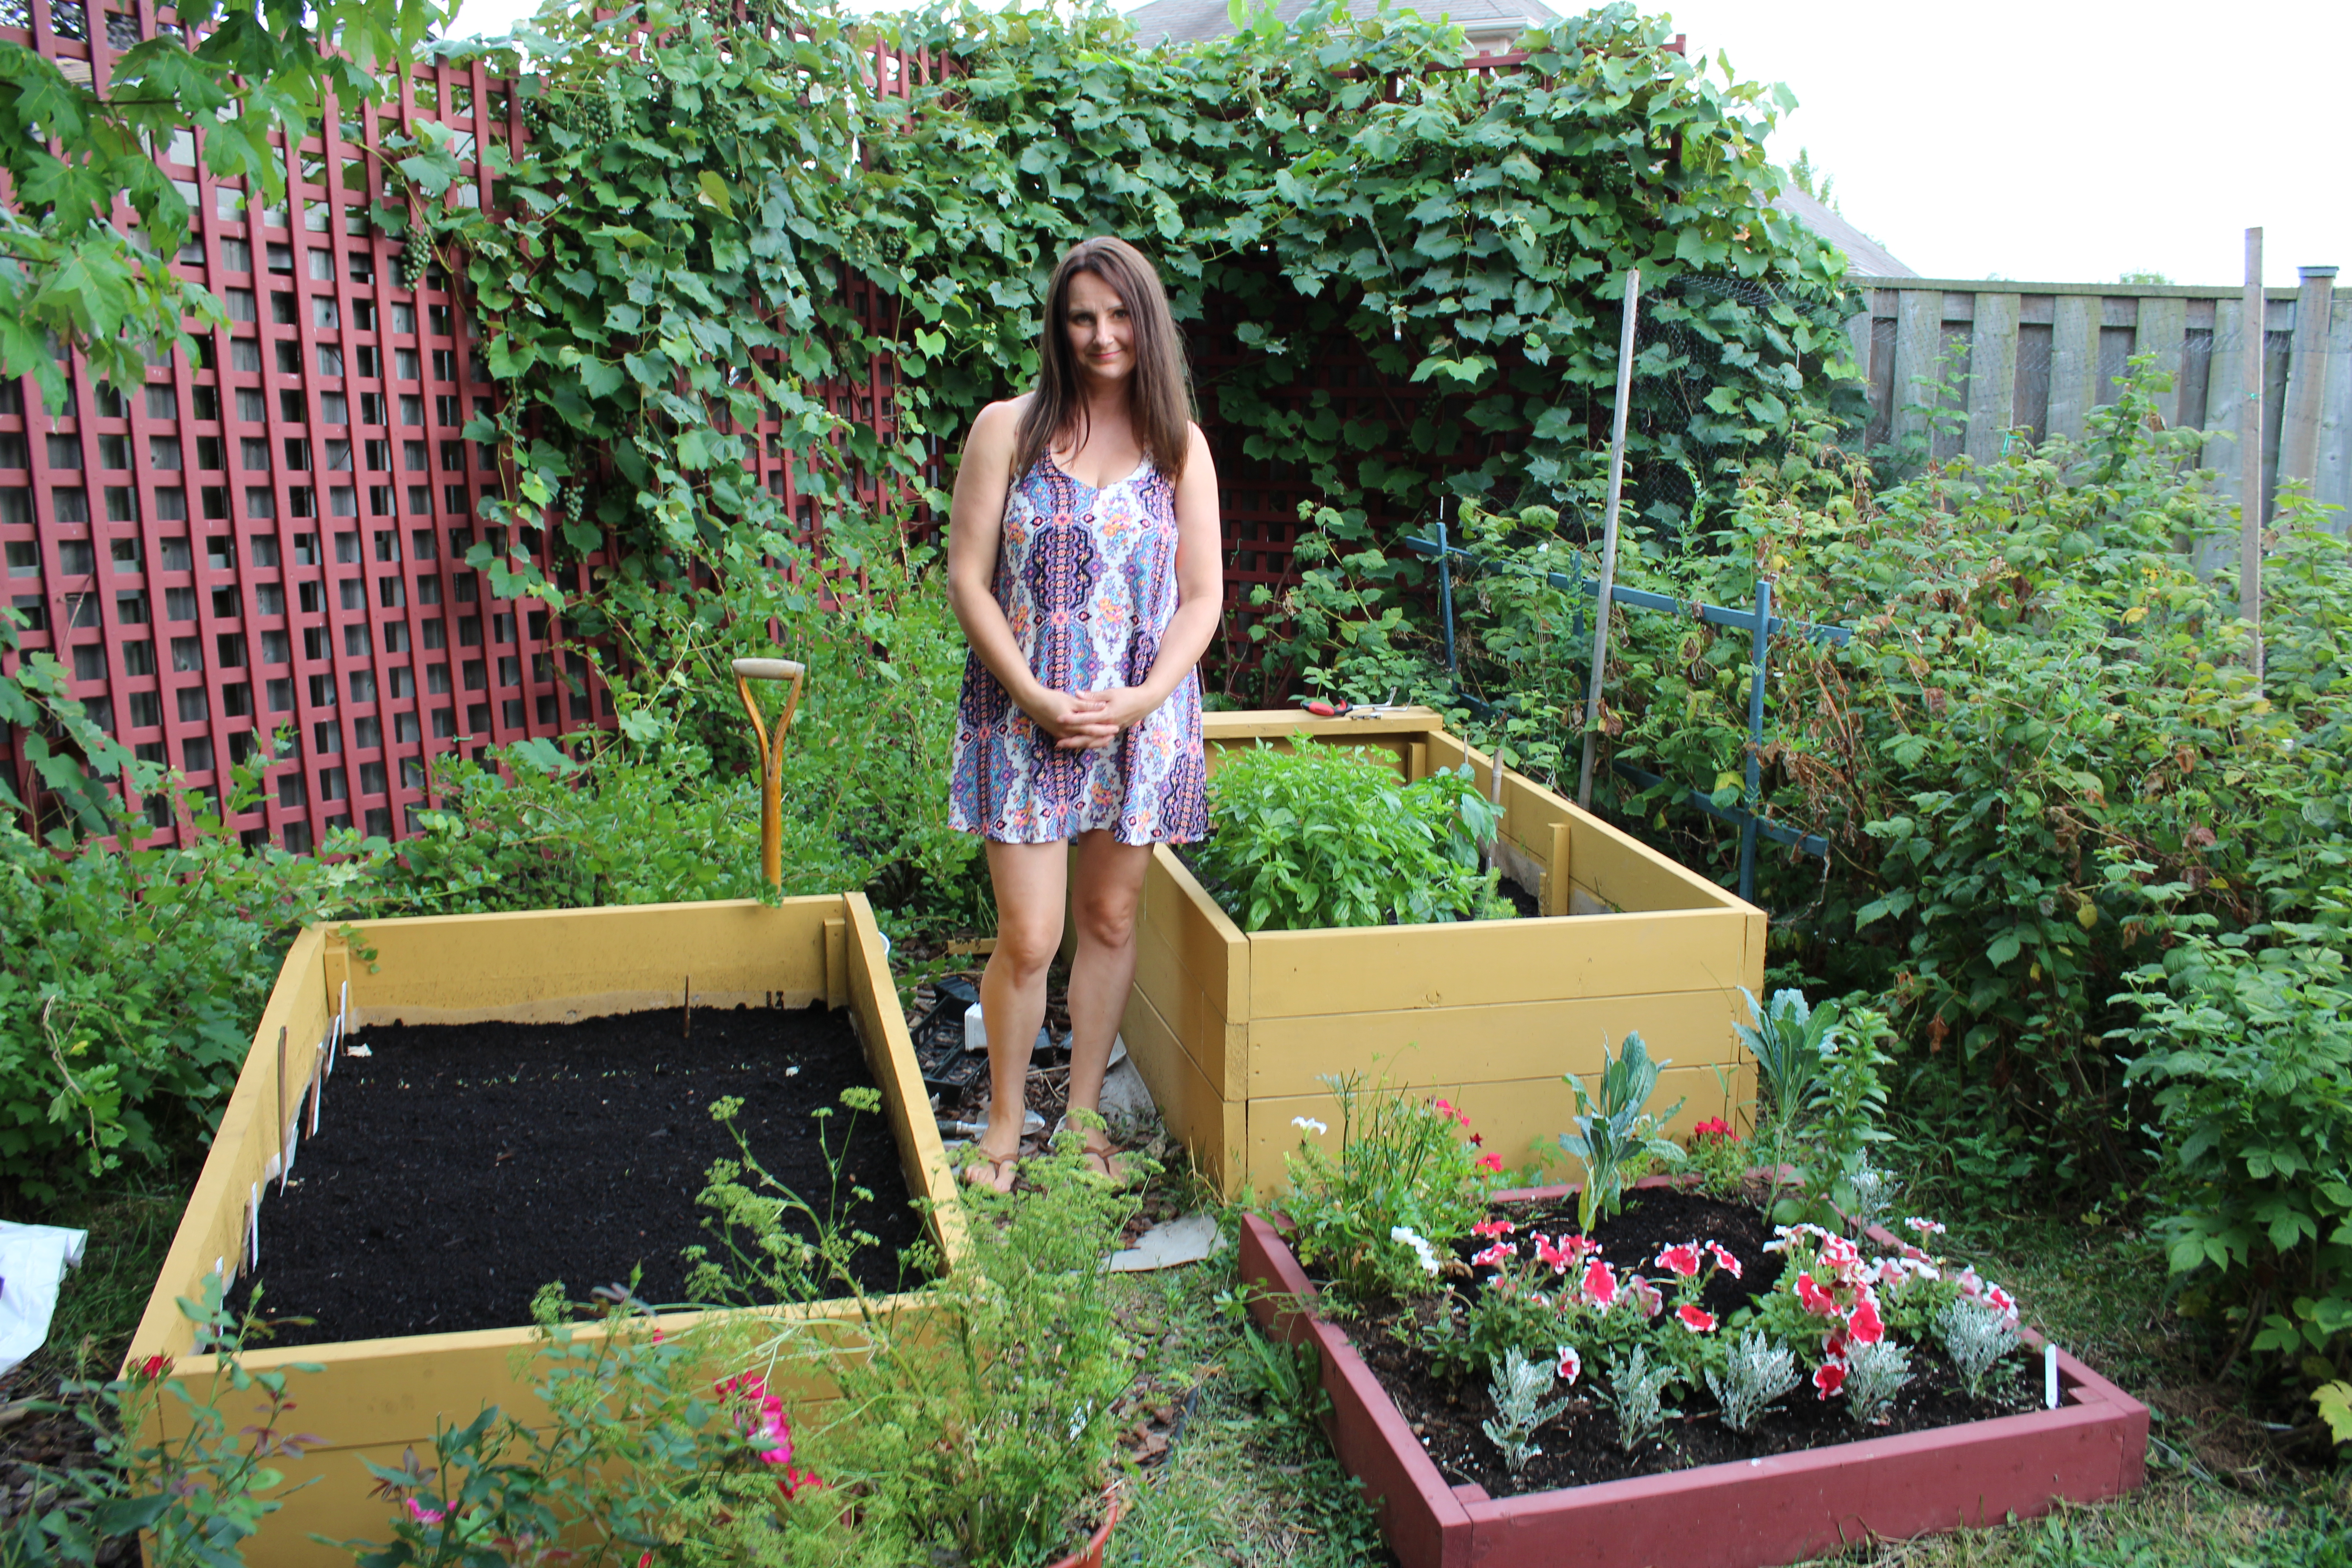
I decided we would start with one cold frame with a hinged, but removable, Plexiglas lid. Once I knew how many vegetables I could get out of the first cold frame, I could add one or two boxes each year. As of March 2020, I have two with lids and two without lids in my backyard.
Now that I have given you the background on why and how we made the decision to get into raised beds, here is what I would suggest you do. It is ideal for plants to have soil that is as alive as possible, meaning good microbes, worms etc. So, with this in mind, build your cold frame at least one month before planting in it. If you have an existing garden and can take some live soil out of it to partially fill your cold frame that is ideal.
Here is what you will need to build your own cold frame:
- Lumber. The amount and dimensions you need will depend on how large the cold frame will be. I just use standard spruce lumber – easily available at any building center. You want to build the cold frame large enough that it won’t dry out quickly during the hottest days of summer. I would suggest that, at a minimum, you make it tall enough to allow for the soil to be eight inches deep; if you are going to plant large plants (like tomatoes) you will probably want 12 inches of soil. As for the width, I like 36 inches. This provides space for six lettuce plants across, and yet it is not awkward to reach all parts of the surface. The length is more of an aesthetic choice. So, for example, with my first cold frame, I made it 24.5 inches high, 36 inches wide, and 72 inches long. I wanted the top to be sloped when the cover was down. So, while it was 24.5 inches at one end, it was only 20.5 inches at the other. You may be thinking that 24.5 seems like an odd choice – why not 24 inches. Well, standard lumber has a half inch planed off to make it smoother. So, I used two 2x10s and one 2×6 stacked on top of each other to build the sides. But, a 2×10 is actually 1.5×9.5 and the 2×6 is actually 1.5×5.5, which means the sides were 9.5 + 9.5 + 5.5 or 24.5 inches.
- Paint. Use a latex exterior and put on at least two coats. I don’t use treated lumber for the cold frame, as I don’t want any chemicals leeching into the soil. So, the paint is needed to protect the wood from insects, water, and sunlight. The paint is also an opportunity to add a splash of colour, which you might really appreciate in the winter. Once the wood is cut to the appropriate dimensions, I paint it before assembly. In that way, I ensure that all parts of the wood are covered by paint.
- Landscape fabric. Once the cold frame is assembled and in place, I lay landscape fabric on the bottom. I use enough so that it curls up and covers an inch or two of the sides. This will help hold the soil in when the cold frame is new. Eventually, the cold frame will settle firmly into the ground, but when you first build it, there may be some gaps around the bottom. Landscape fabric will allow water to pass through.
- Clear plastic sheeting. You can find this by the roll at the building center. I use this to line the inside of the cold fame. It keeps the wet soil from directly contacting the wood sides of the cold frame. You will want to leave a gap between the top of the soil and the top of the cold frame. So, only line the sides as high as you need to. For example, in my first cold frame, I wanted the soil to be about 12 inches deep. So, I only lined the sides up to the 12-inch mark. In that way, you will only see the painted wood above the soil line.
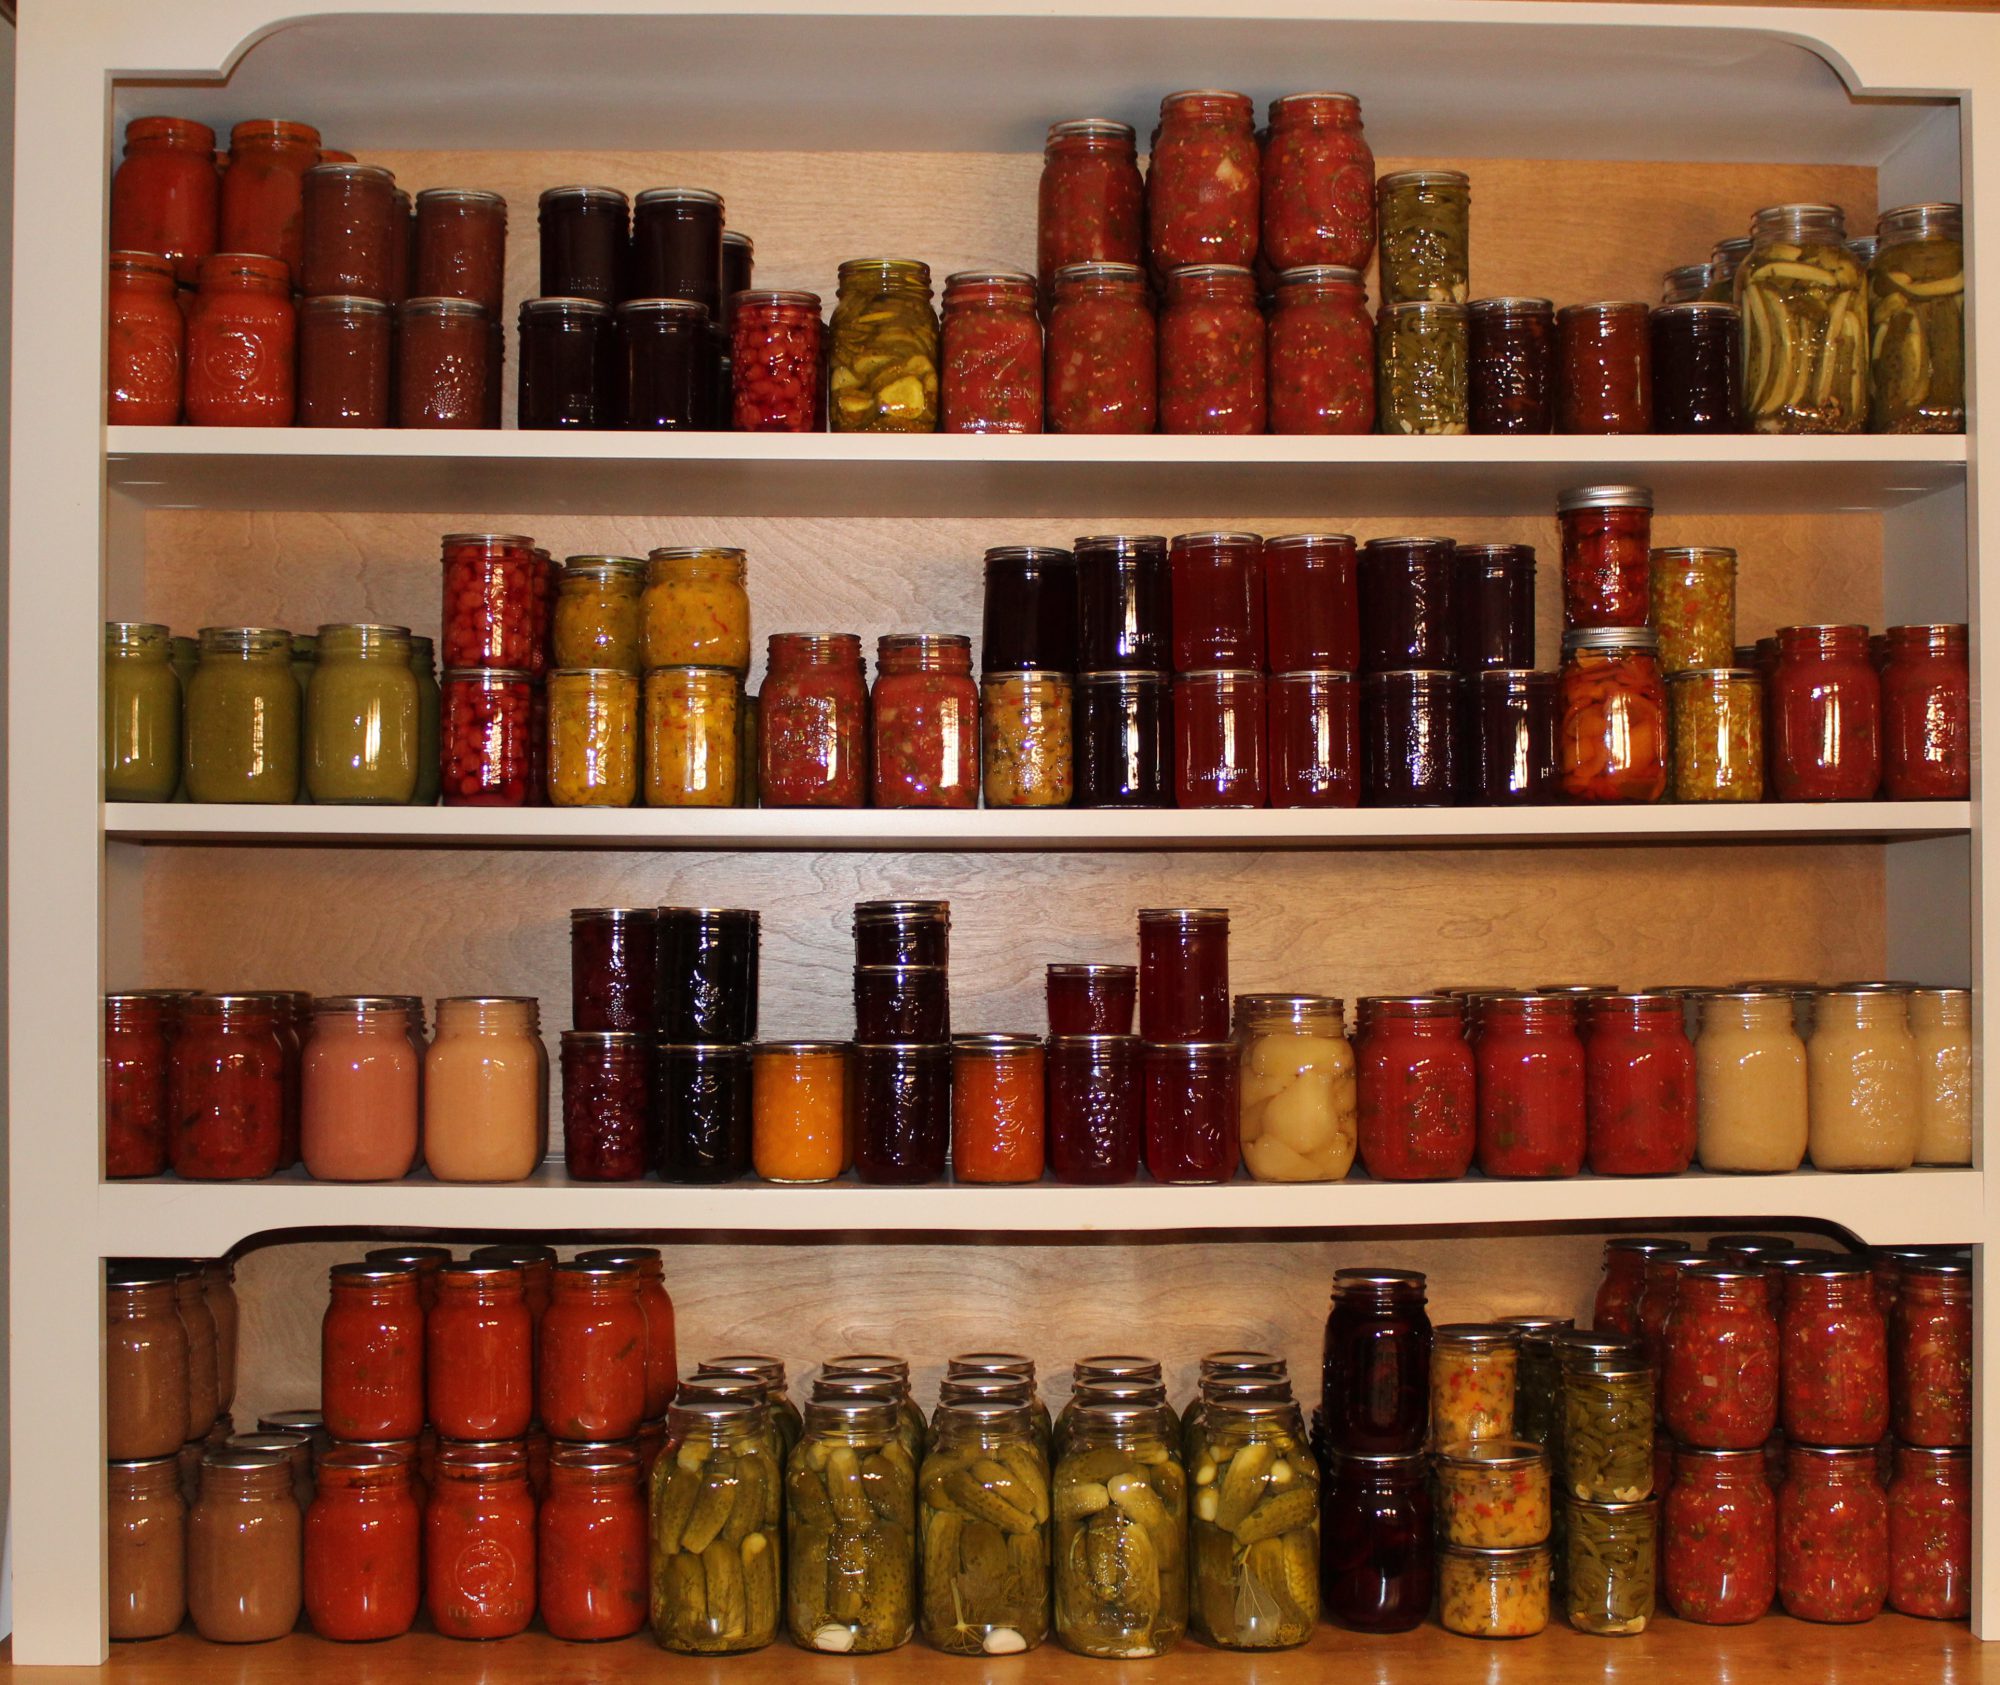
- Soil. This is where you can apply your own recipe. One thing I would suggest, however, is that you include some soil from another garden in your yard. If all you use is bagged soil your garden will lack important soil microbes. So, I always like to add some living soil. I also like to include compost and manure.
Keep in mind if you are planning on building your cold frame in April and then using it in May you just have to build the box part and do not have to worry about building the lid until the fall or next spring. Better to get the soil into the box and let it settle for a month so you can get to the planting.
Why do you need to wait a month before planting? If you have added compost to the box, and you should, you should allow the microbes a chance to break down the compost, in particular the nitrogen. If you plant seeds directly into the bed after adding all the soil the process of the microbes breaking down the compost might interfere with germination.