Beautiful blossoms and delicious fruit and all yours with one Montmorency sour cherry tree

My Montmorency Sour Cherry Tree July 2016

When I first moved to Southern Ontario, I was amazed at all the fresh fruit that was locally grown: apples, pears, peaches, plums, Concord grapes, and my favourite, cherries! The very first cherry pie I ever made was a sour cherry pie, the perfect blend of sweet and sour, and it was love at first bite.  At the time, we lived in a high-rise apartment building, and I vowed that if I ever had room to grow a fruit tree that it would be a sour cherry tree.

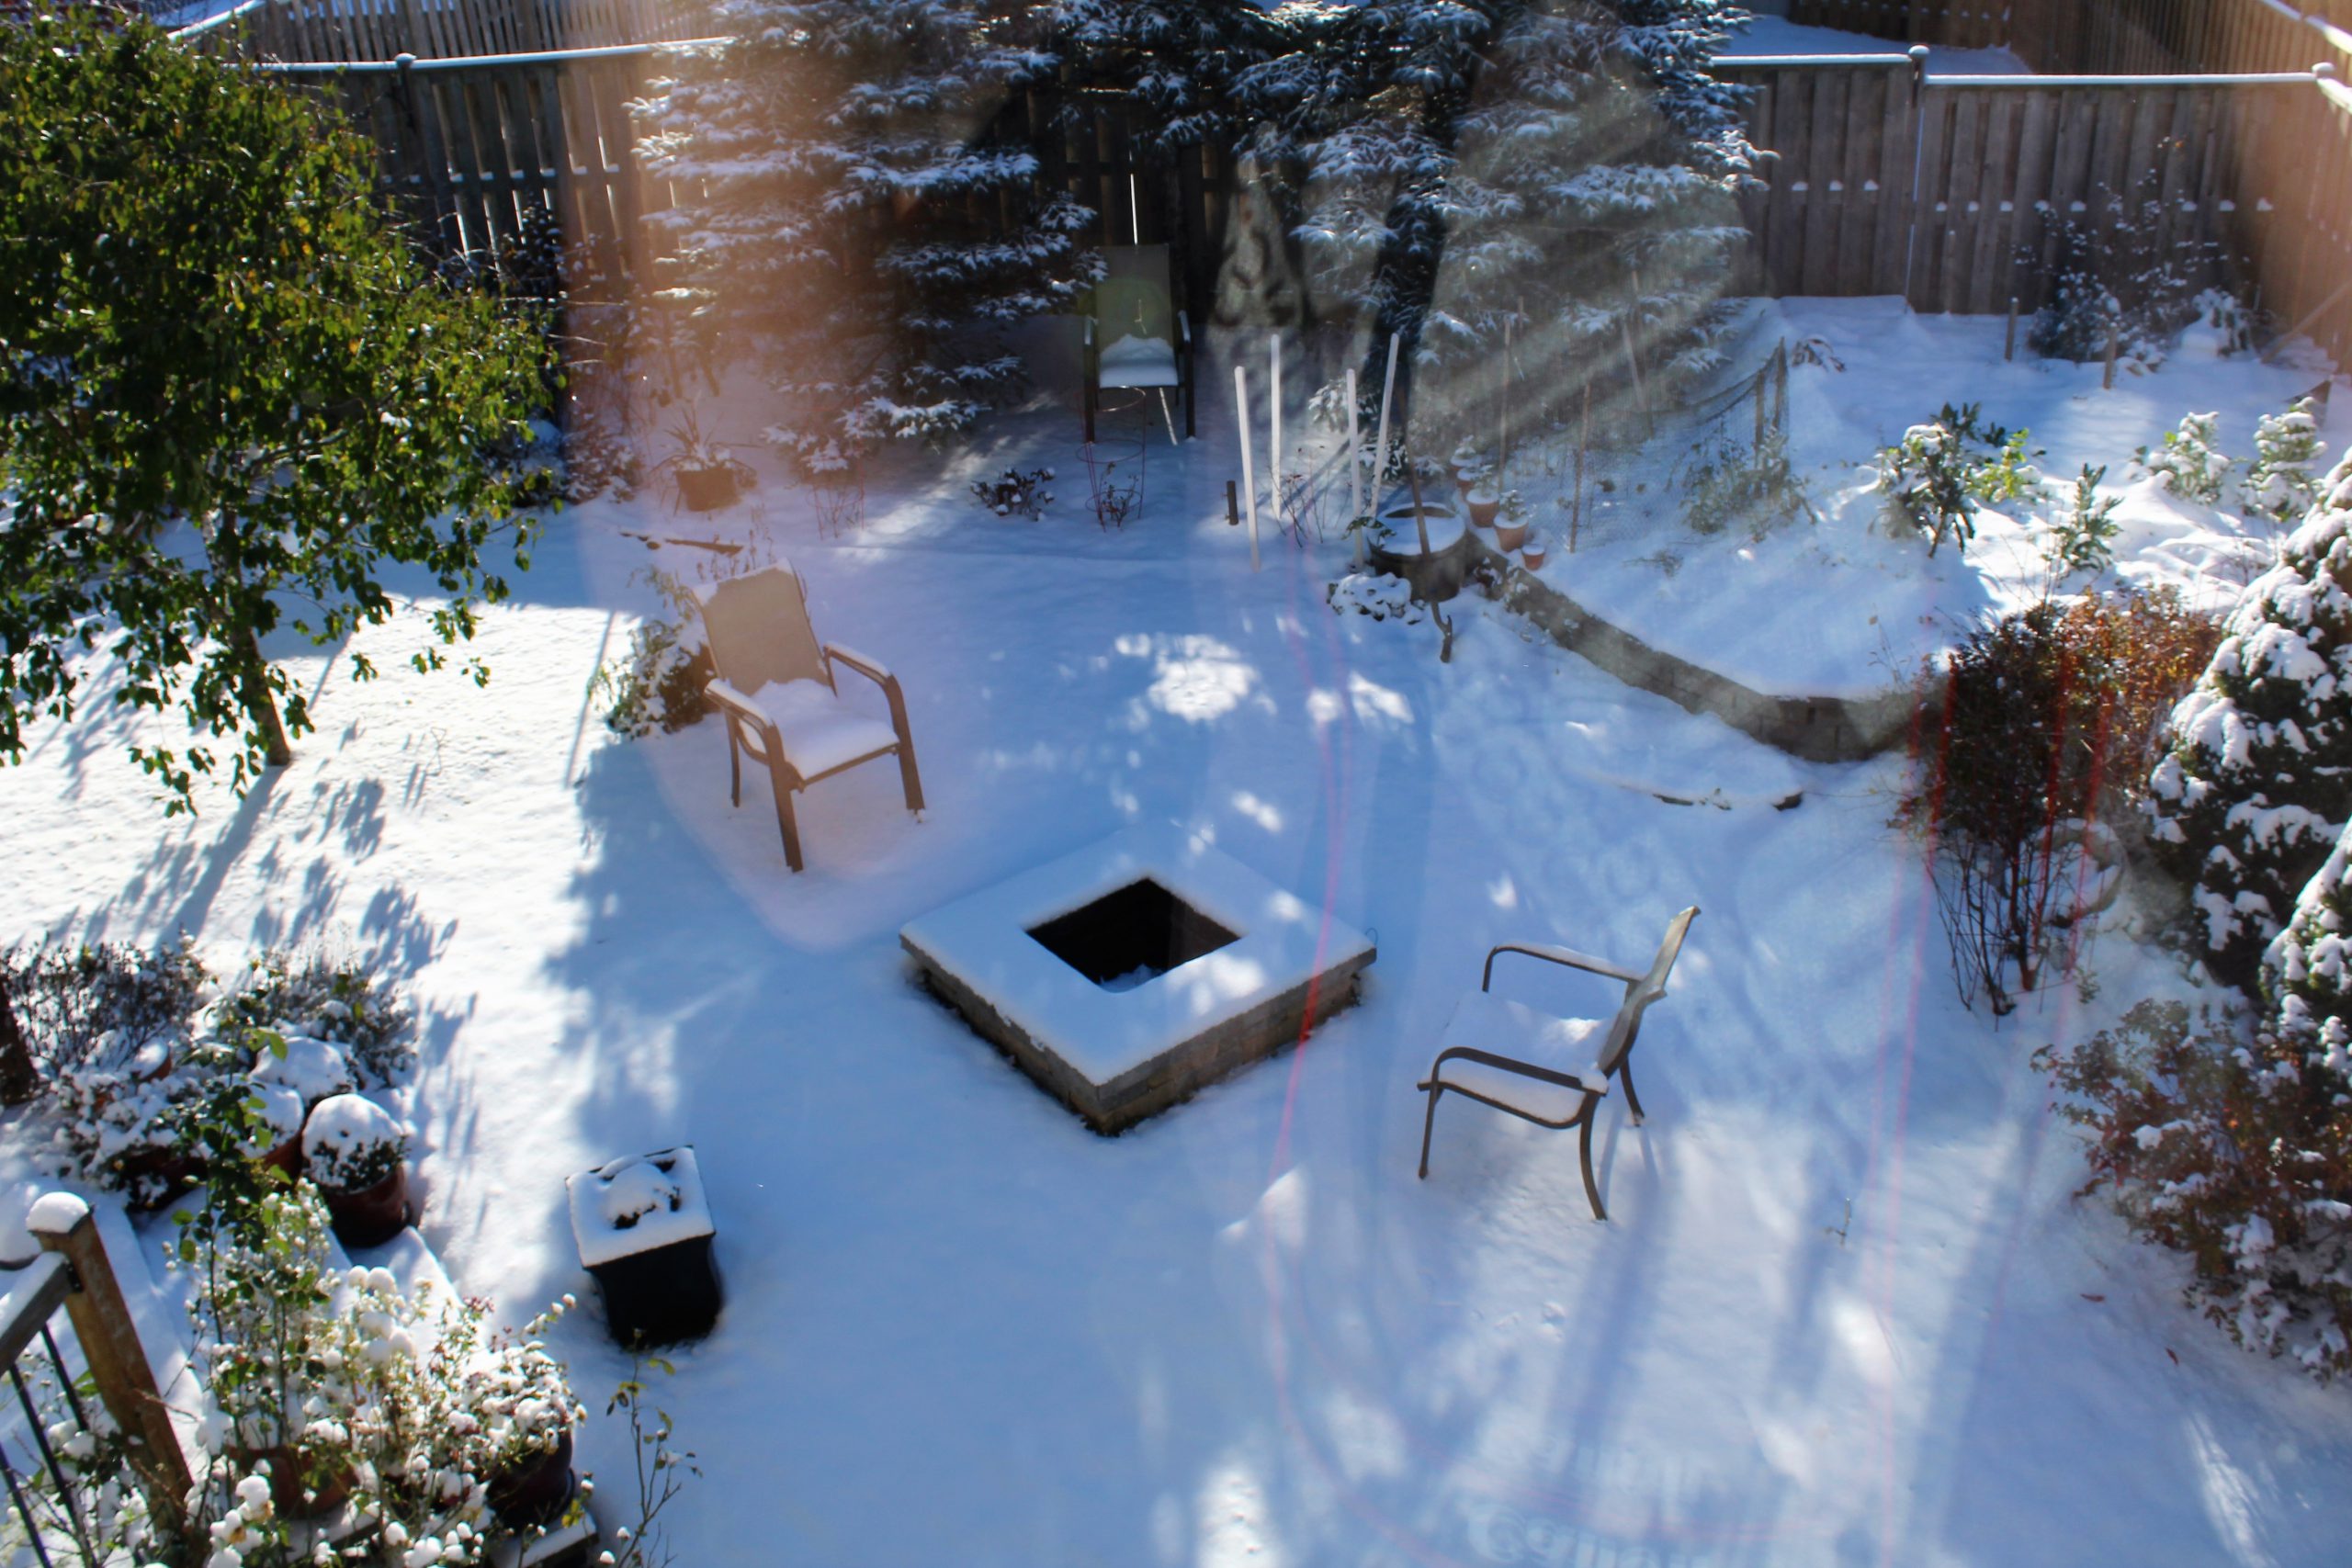
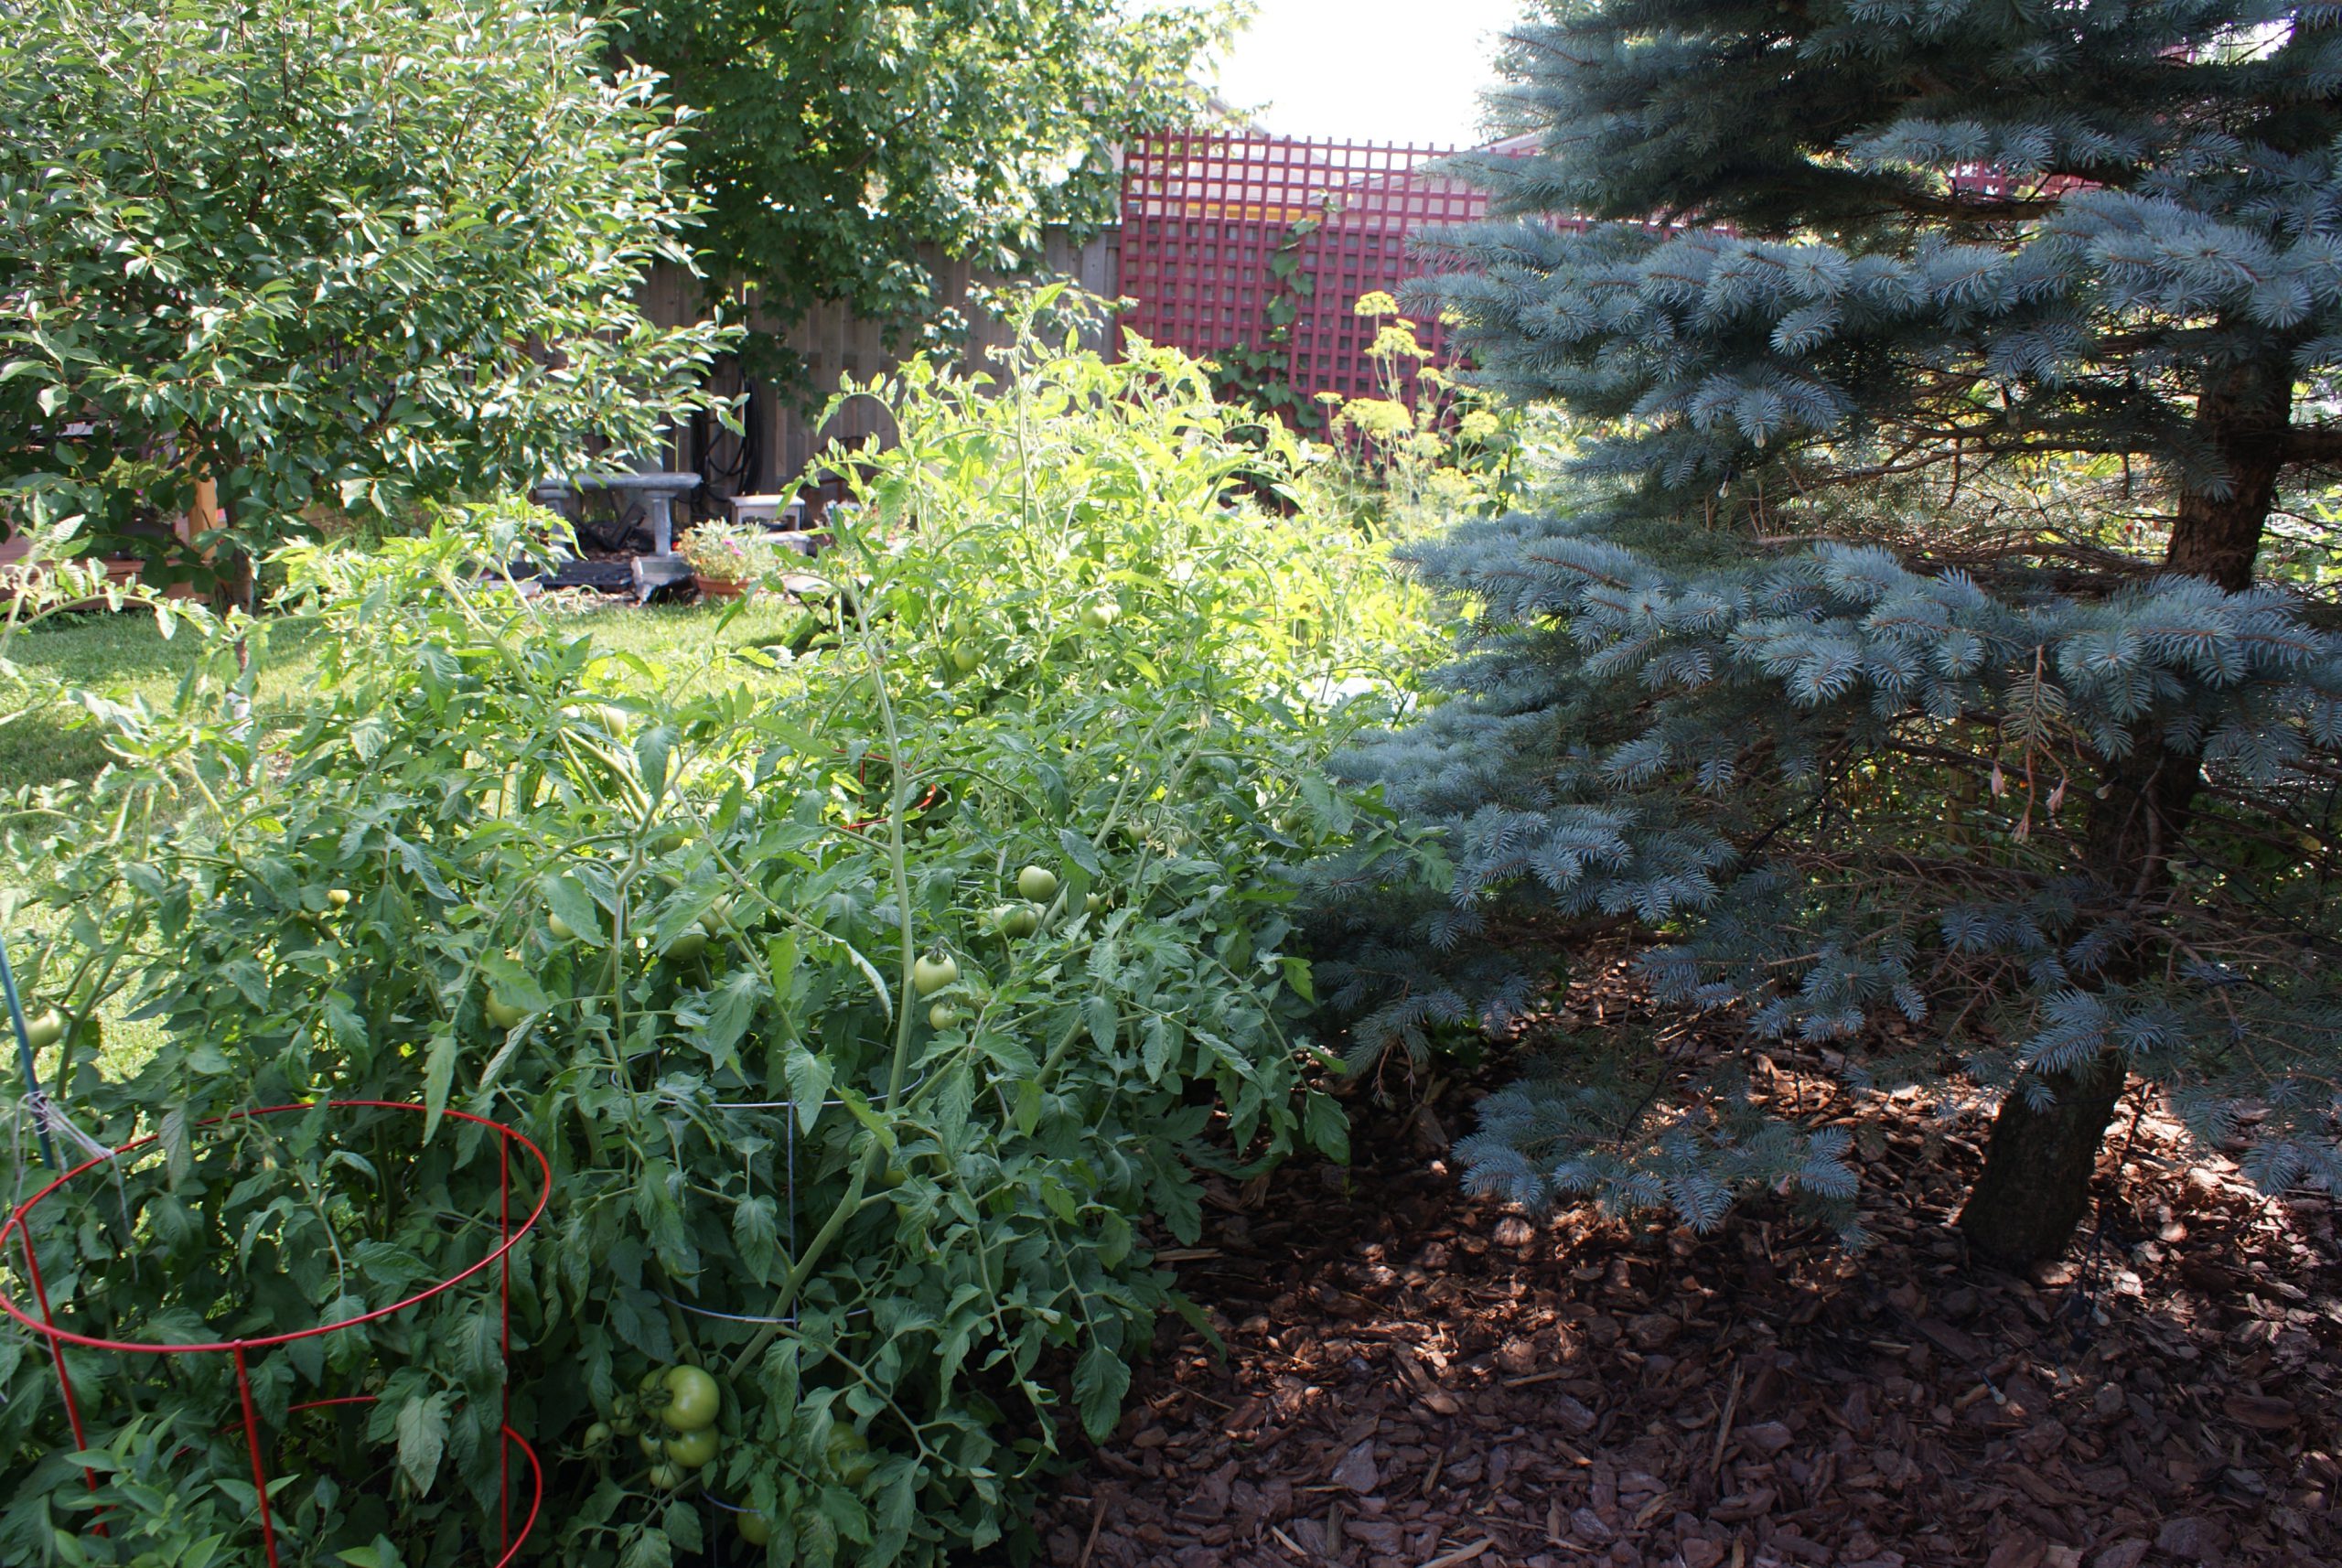
In 2006, my husband and I moved our family to a beautiful brand-new home with a south facing backyard just north of London Ontario. That fall, anxious to start our landscaping, we planted the first of our trees. And, in order to get some immediate shade we opted to buy large trees which required having a landscape company use a tree spade to transplant the trees to our yard.  Voila!  Instant shade!  I decided to border the backyard with three beautiful blue spruce trees along the back fence, five Alberta spruce trees on the southwest side and a large maple on the southeast side. The plan was that the next year I would expand the garden by adding  my favourite flowering trees, shrubs and perennials.

So, you guessed it, the next spring the first tree I chose at the nursery was my beloved Montmorency sour cherry tree. Now I have to admit, I had not picked out the exact location for this tree when I bought it.  I knew I would make it work, or at least that is what I told myself proudly as I put my newly purchased “tree baby” in the truck. That year, the cool spring weather turned hot quickly – not the best time to be digging holes or planting a tree.


And so, unsure of where exactly I wanted to plant it, I just dug a hole in one of the garden beds, and, pot and all, stuck it in the ground, and there it grew for one year. Not the best start for the tree, but a testament to just how resilient these trees are.

The next spring, I knew I needed to move it to its forever home to give it optimal room to grow.  I decided to make it a focal point in the yard and so dug it up and moved it to the centre of my backyard. And there it has grown, in perfect view from my dinette table.  One of the best landscaping decisions I ever made!

Sour Cherry Blossoms April 28 2021

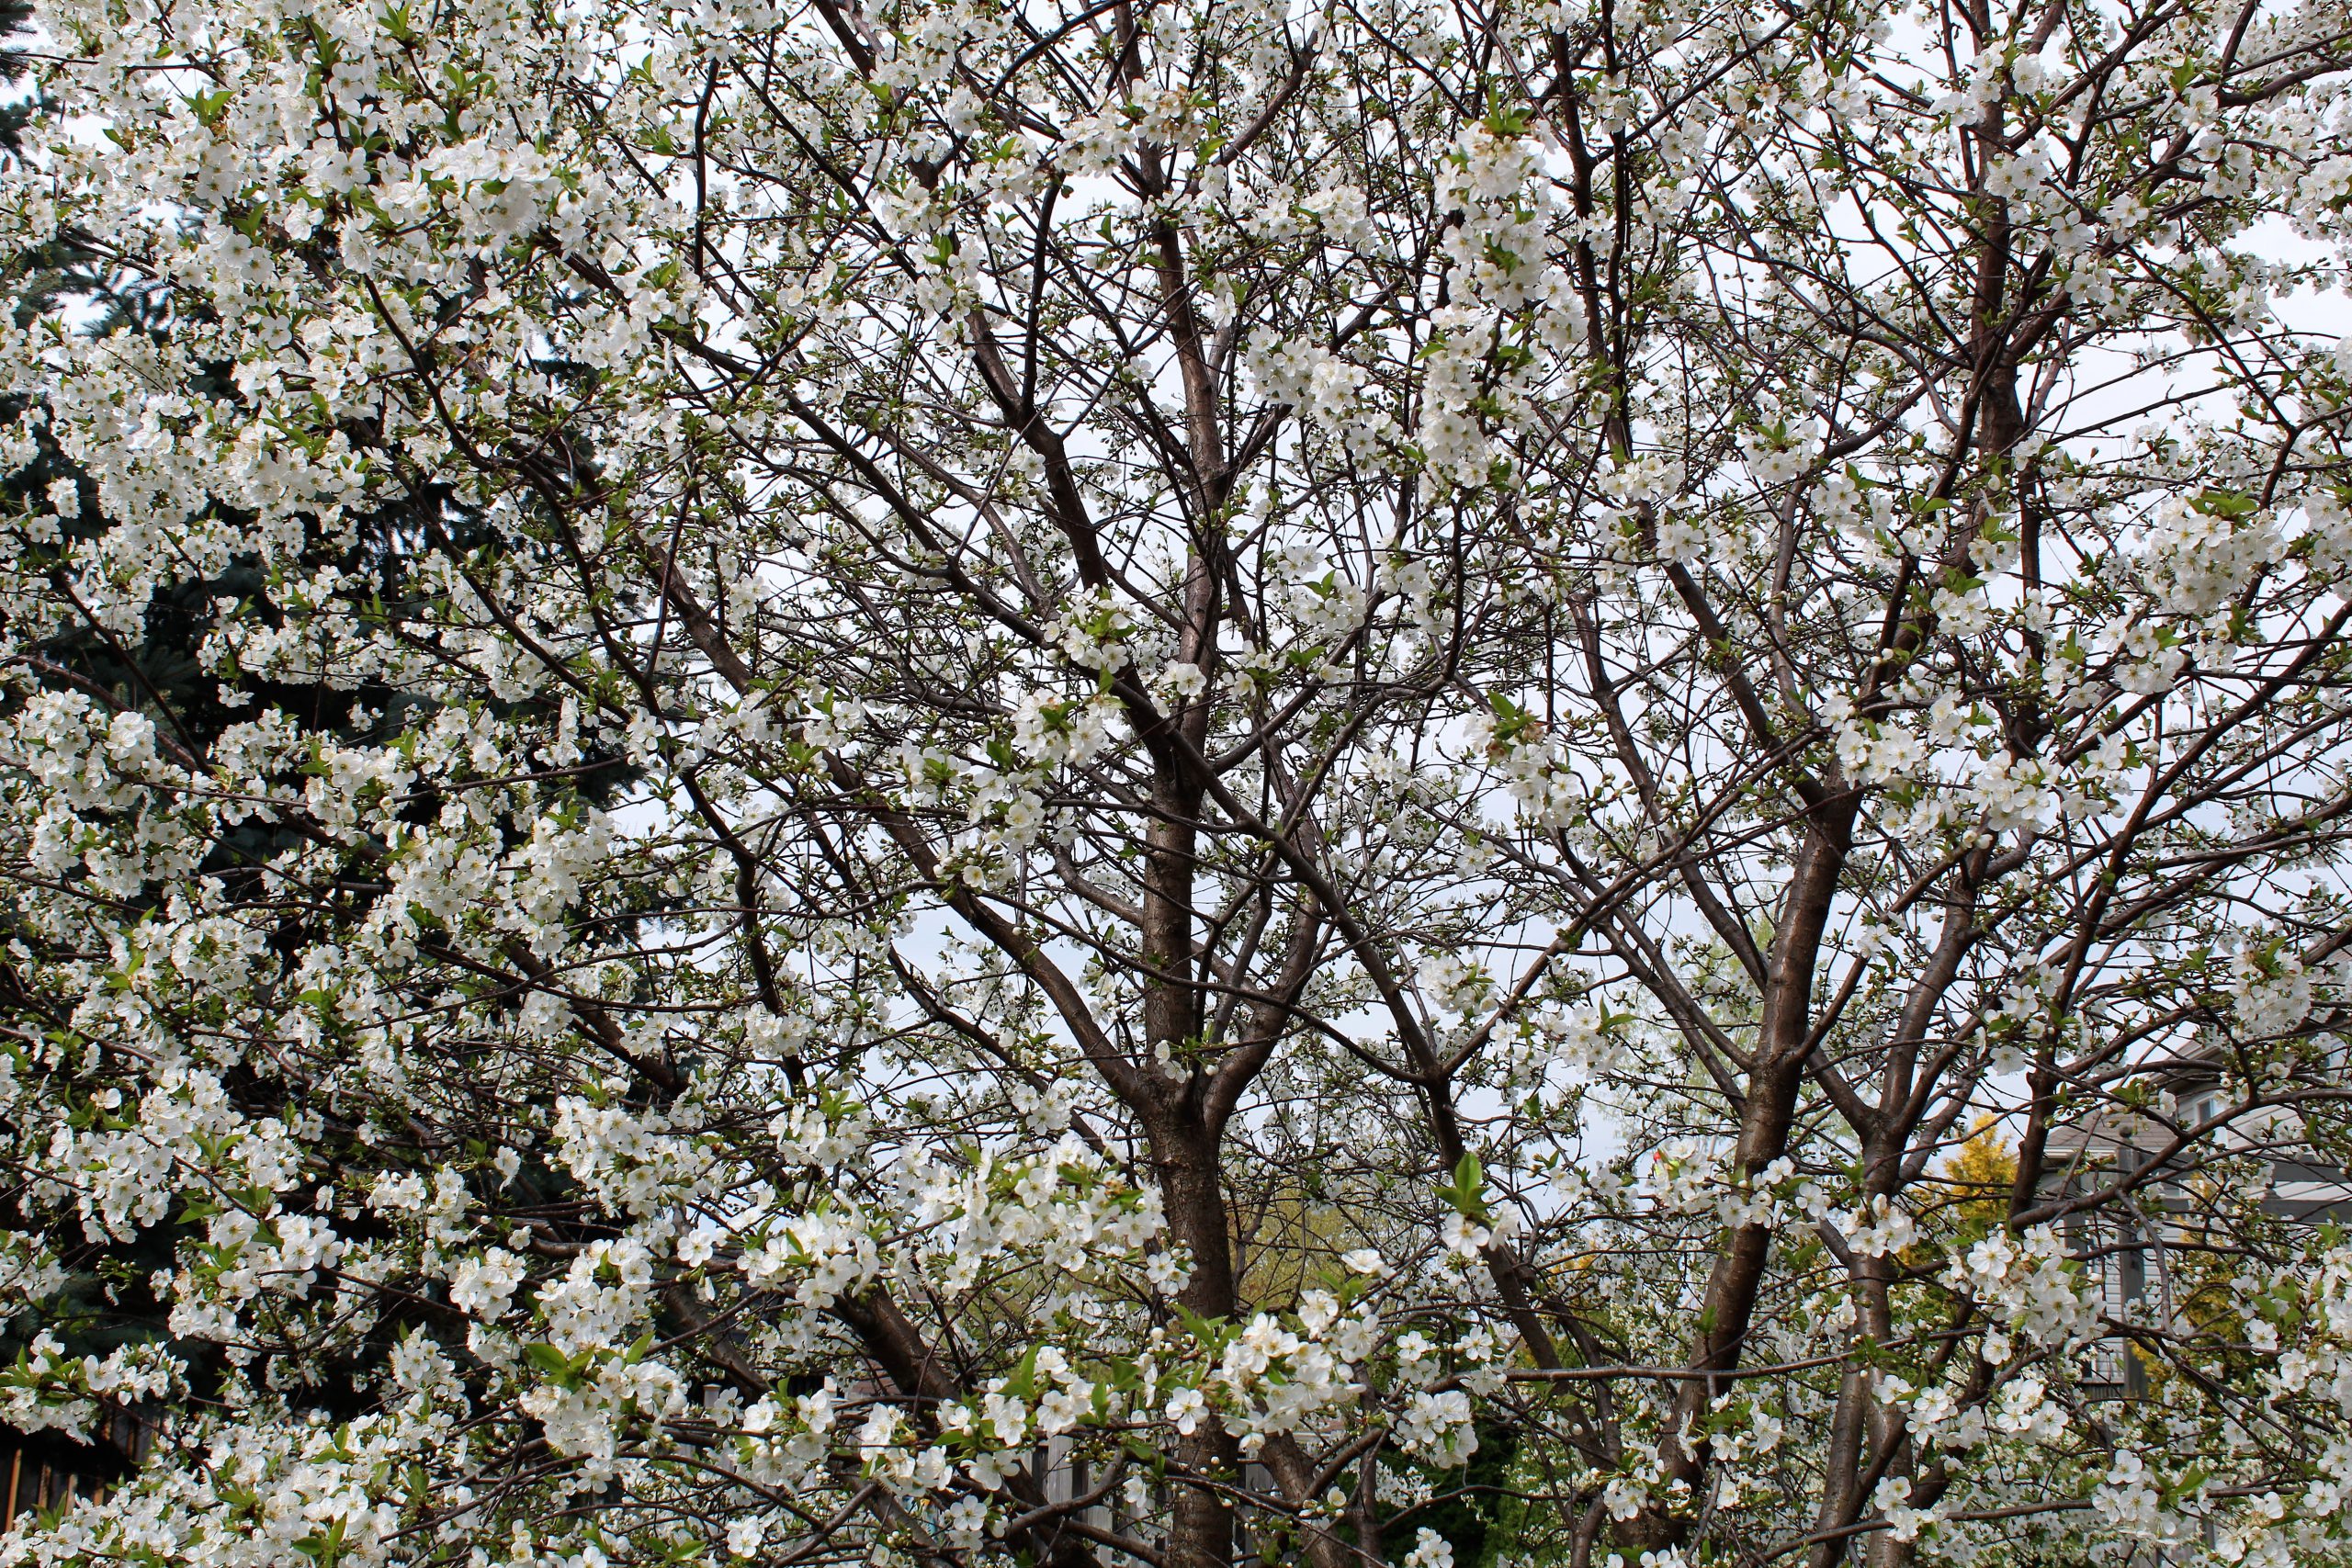
In the early spring, around the end of April or beginning of May, this amazing tree bursts with snow white blossoms, which are short lived but often last until Mother’s Day – making for many lovely Mother’s Day pictures over the years.

Mother’s Day 2015

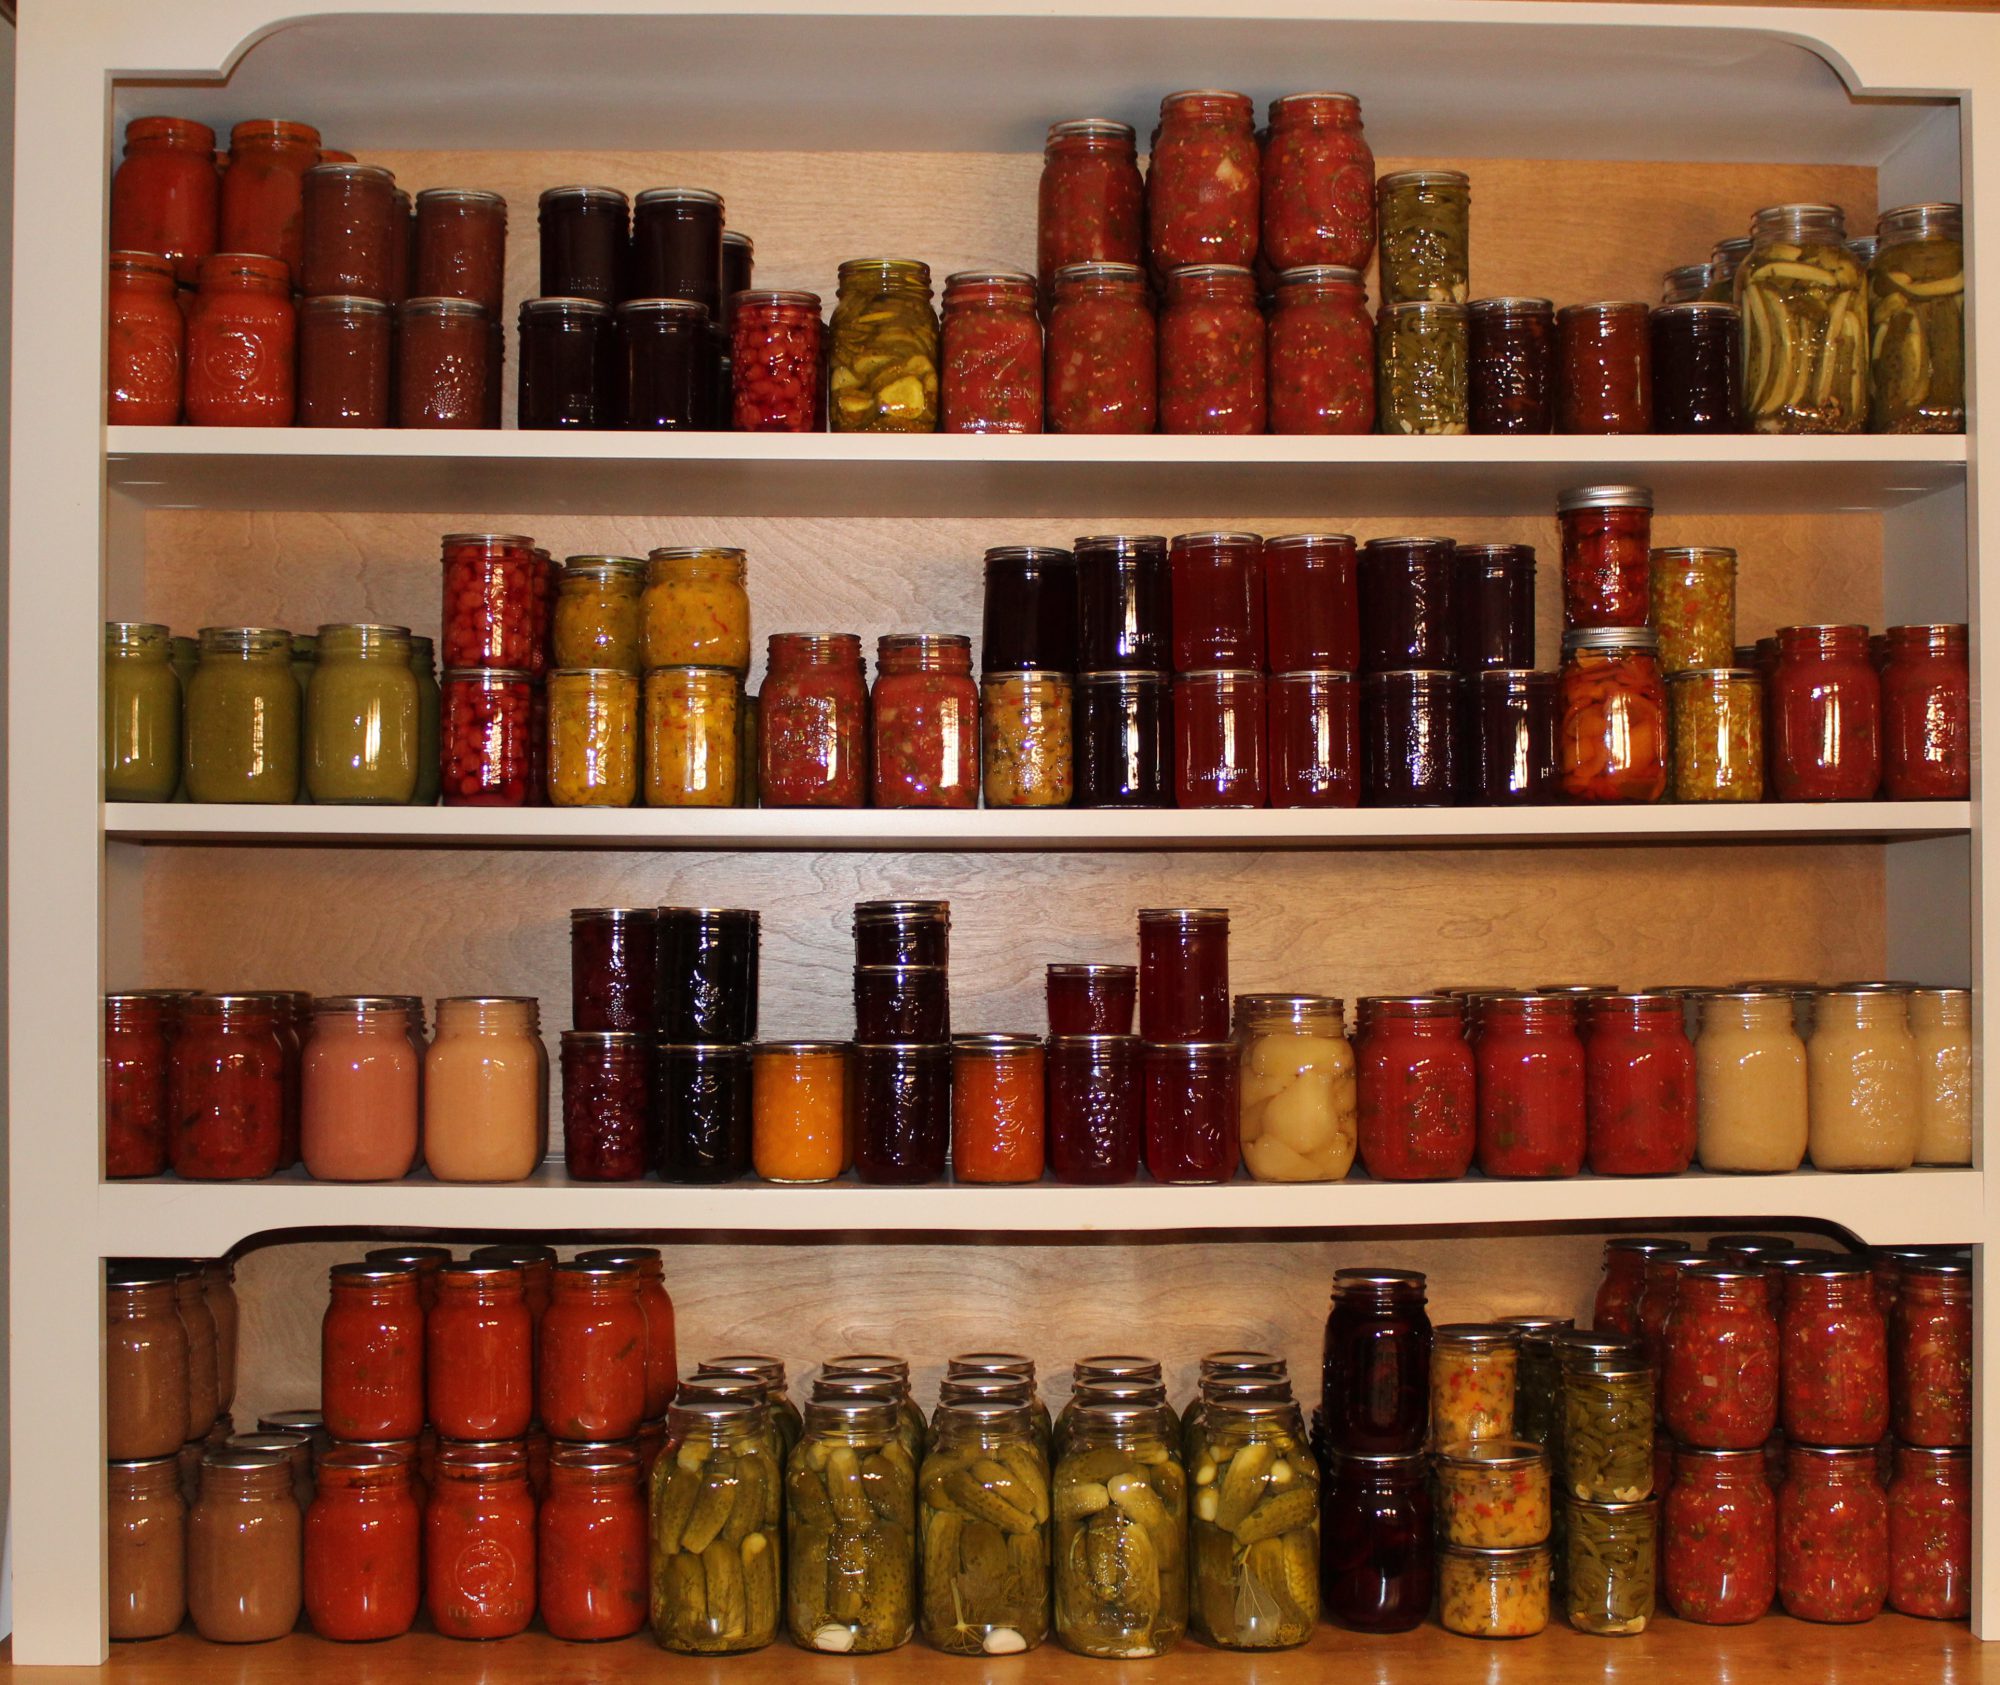
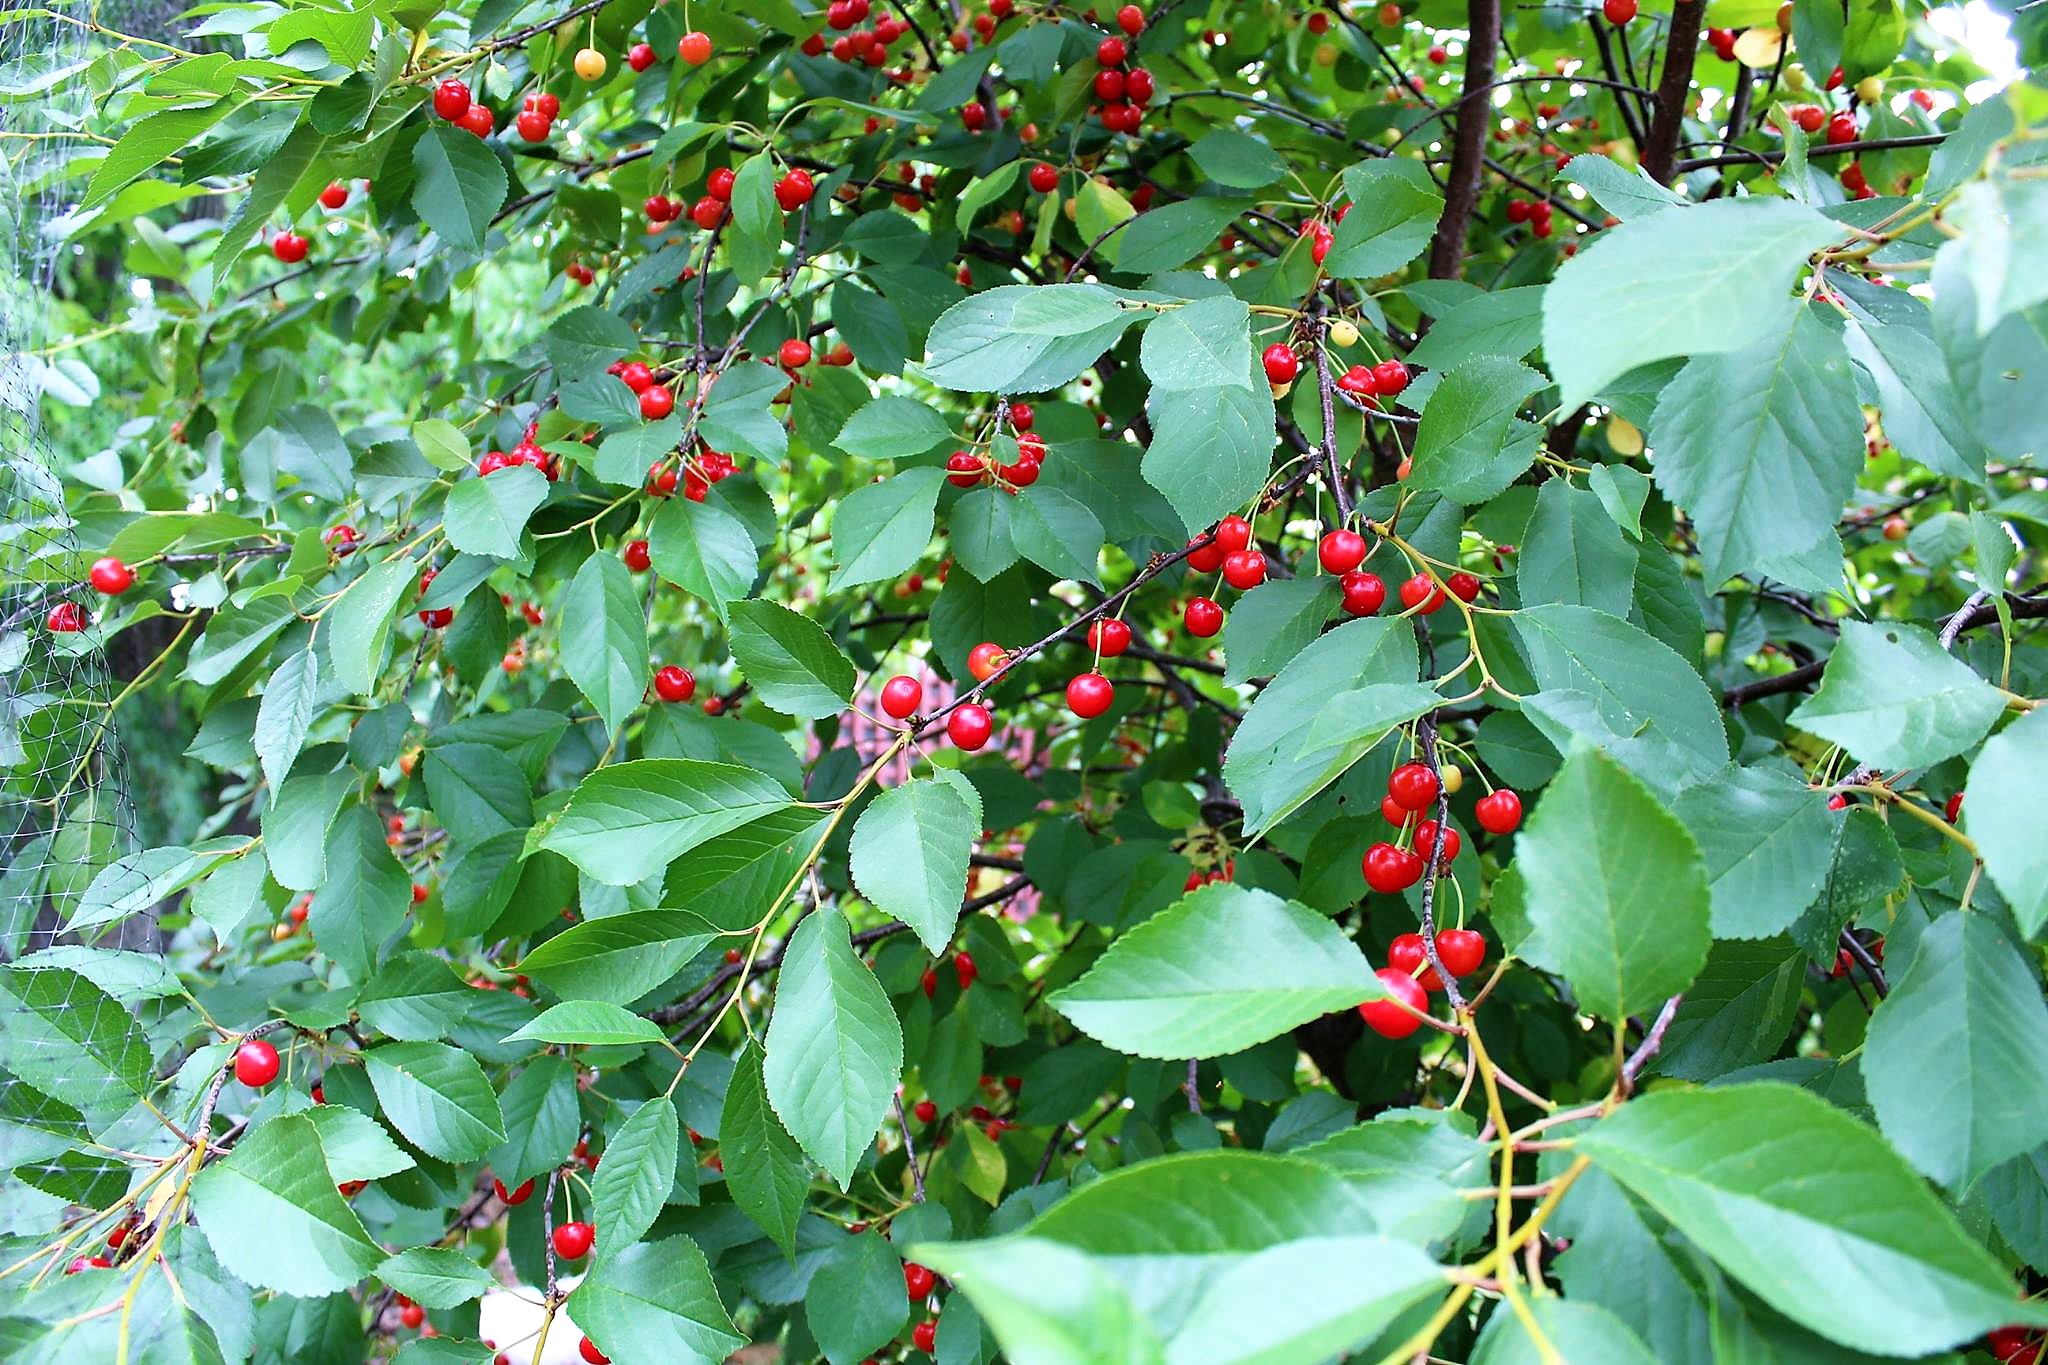
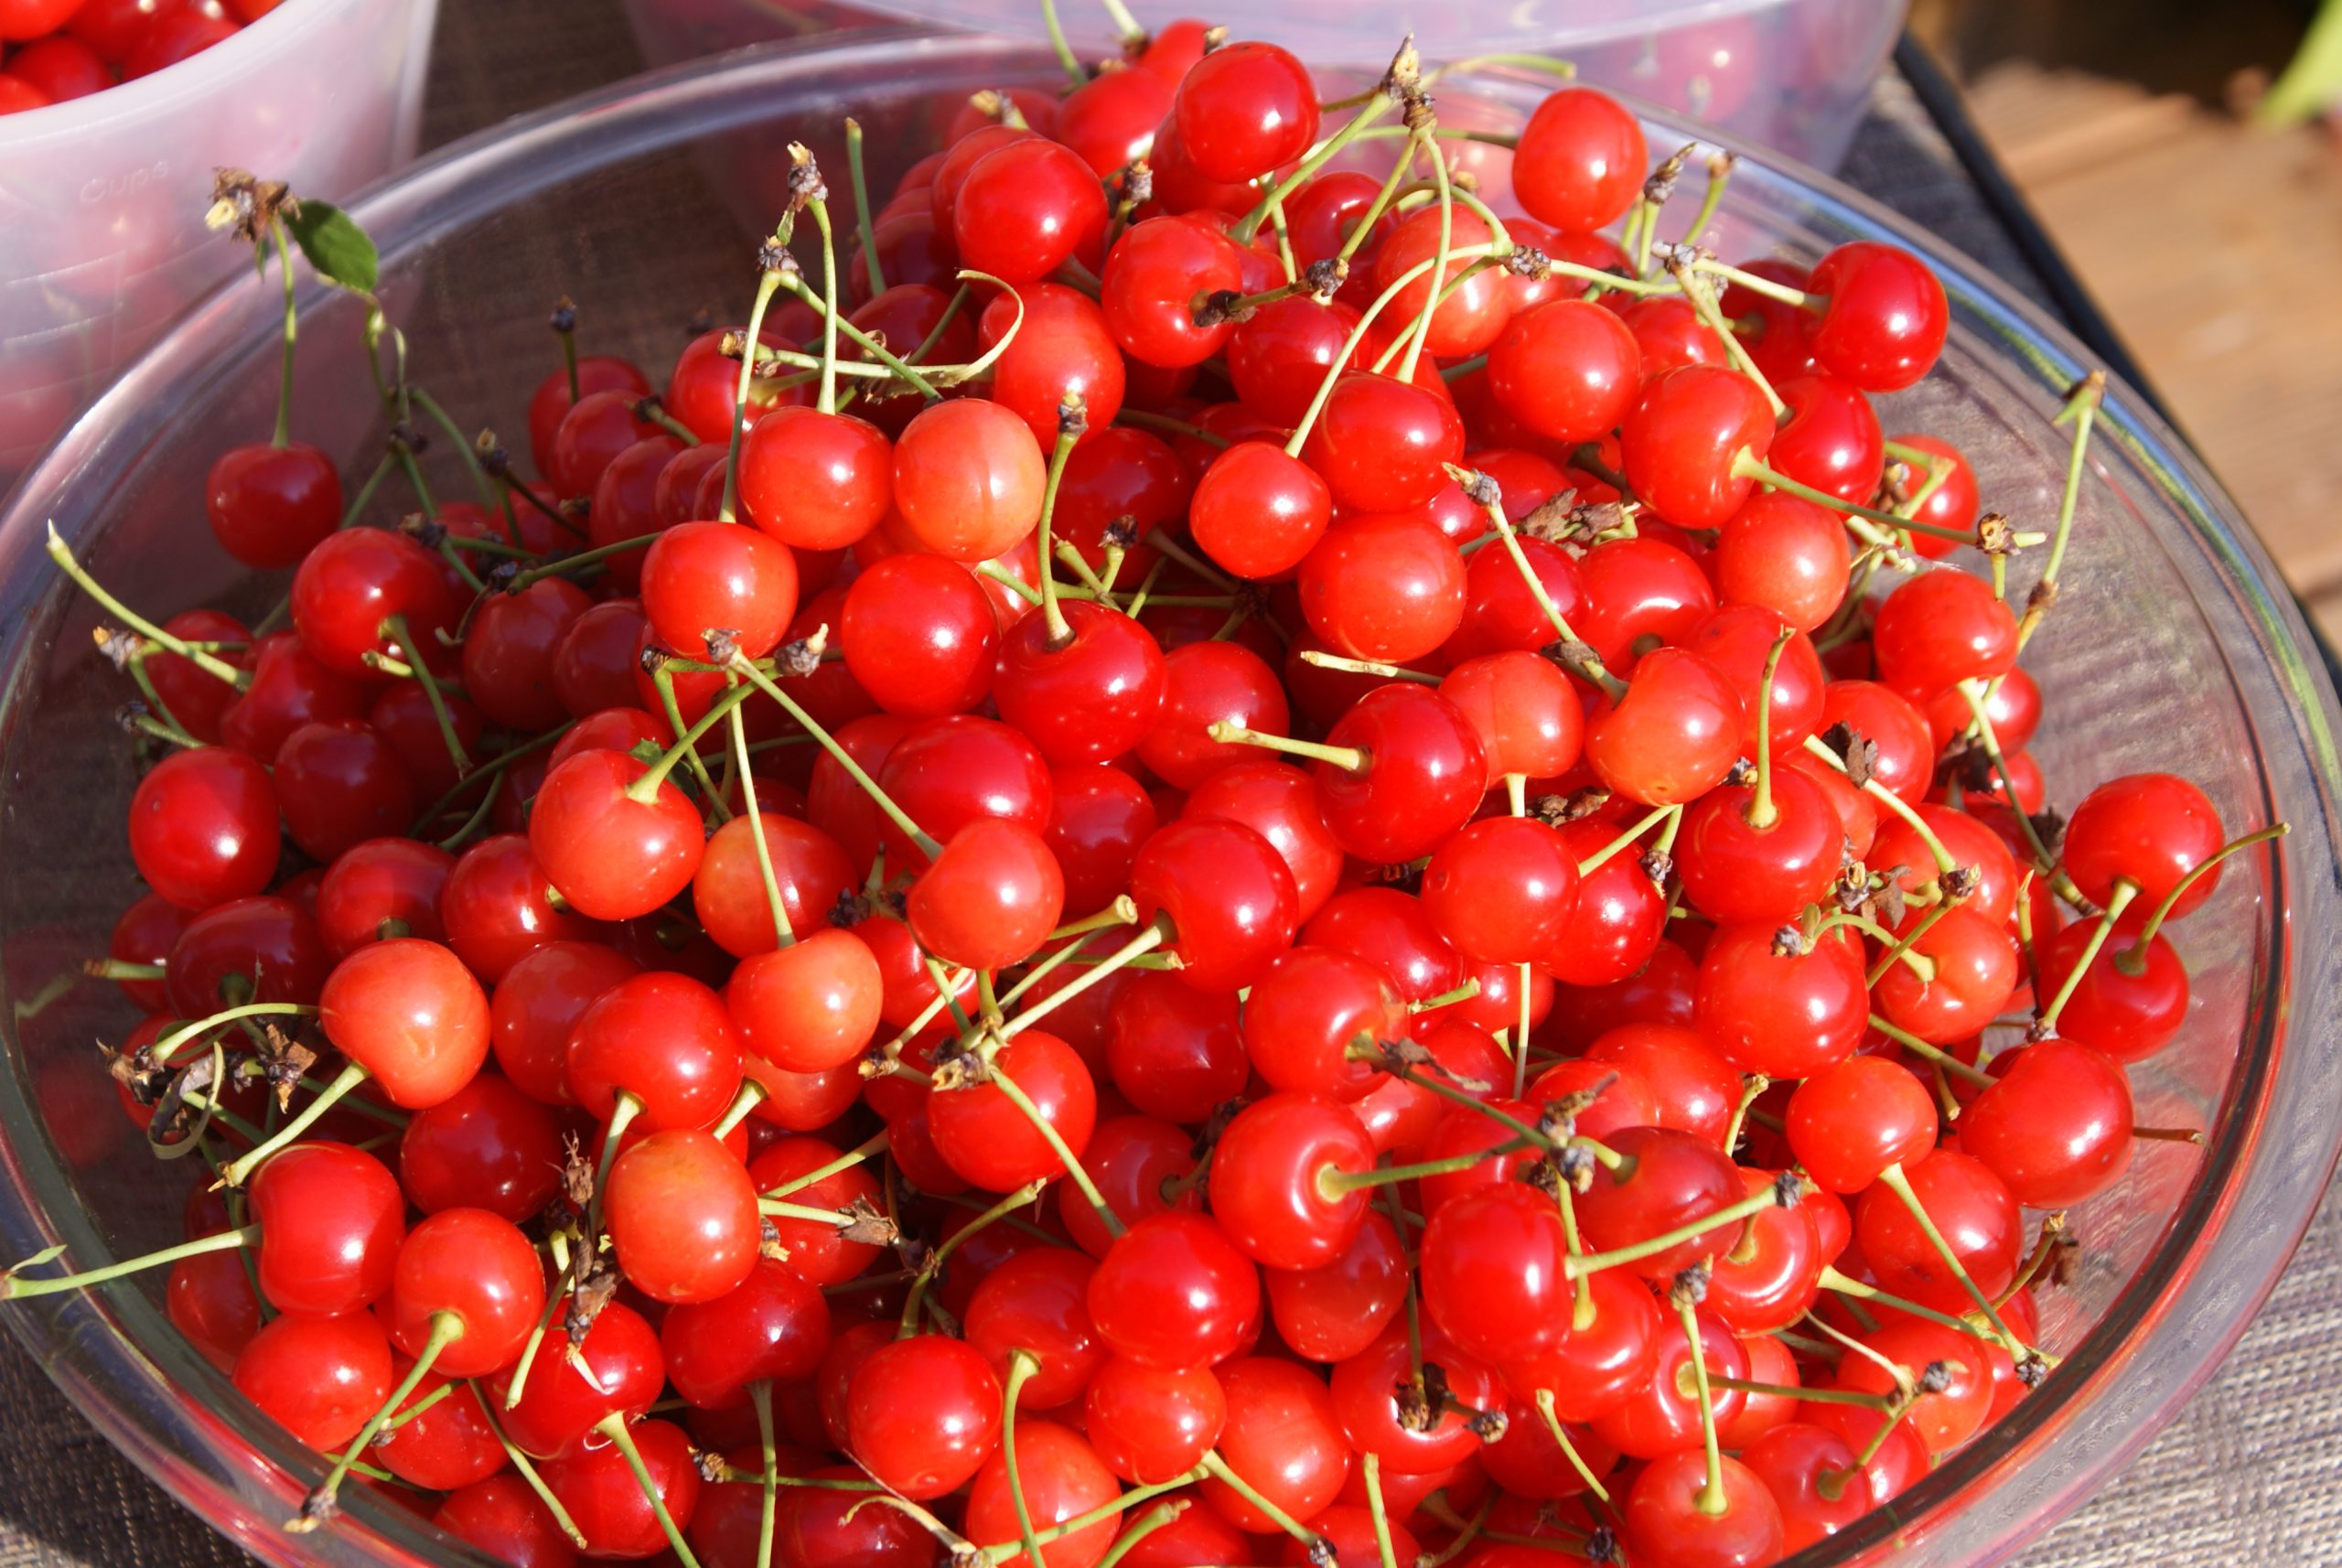
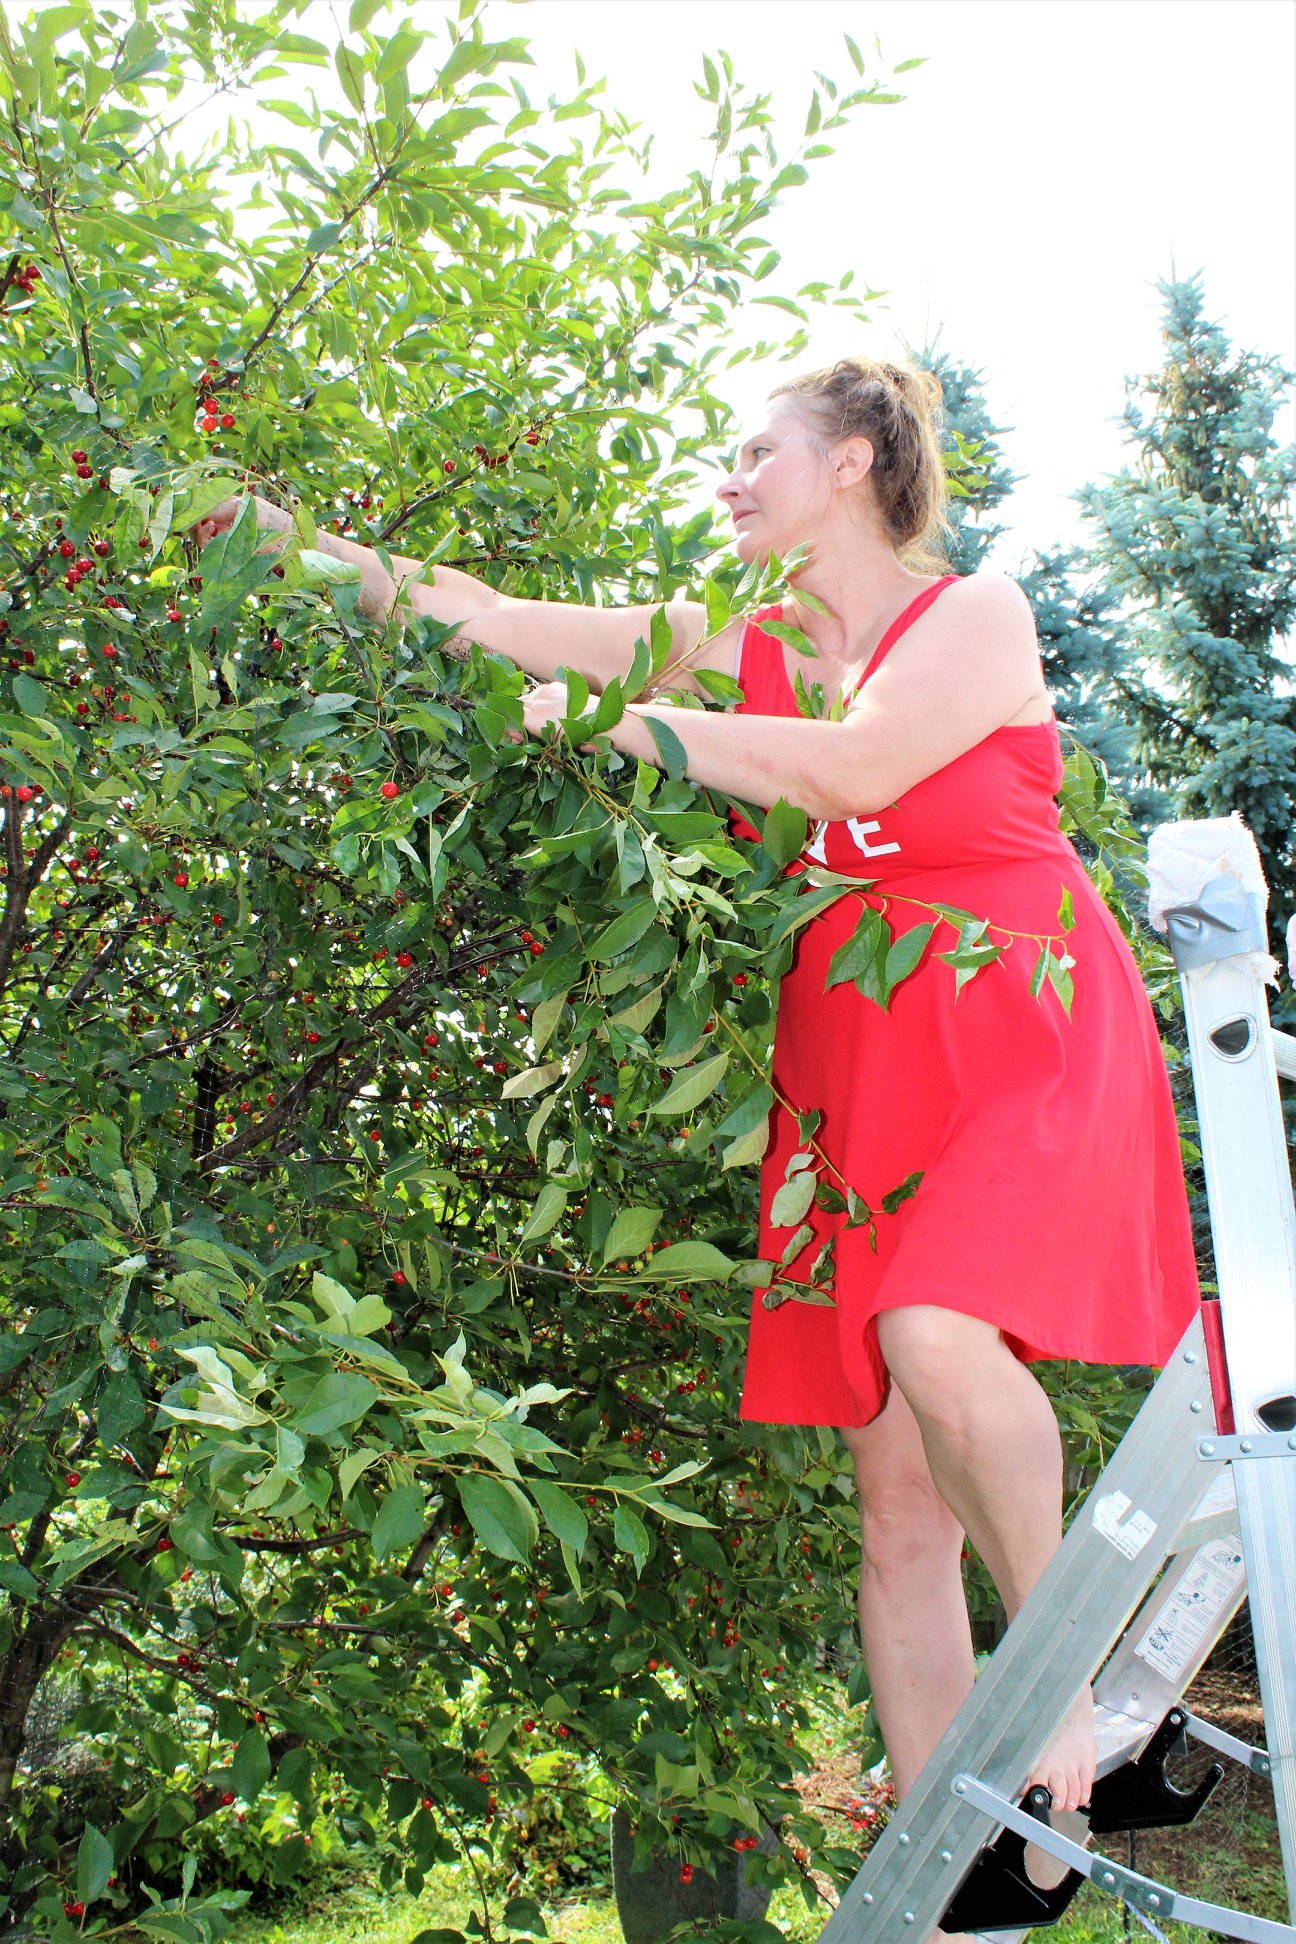
By June the fruit has formed and usually two months after the tree blooms, by the first week of July, the bright red fruit with yellow flesh is ready for picking. This rich, tart, tangy fruit, like when the tree blooms, happens all at once and so be prepared to harvest all those delicious cherries in one to two weeks. Check out this link to learn how to pit sour cherries and make my all time favourite  Sour Cherry Preserves

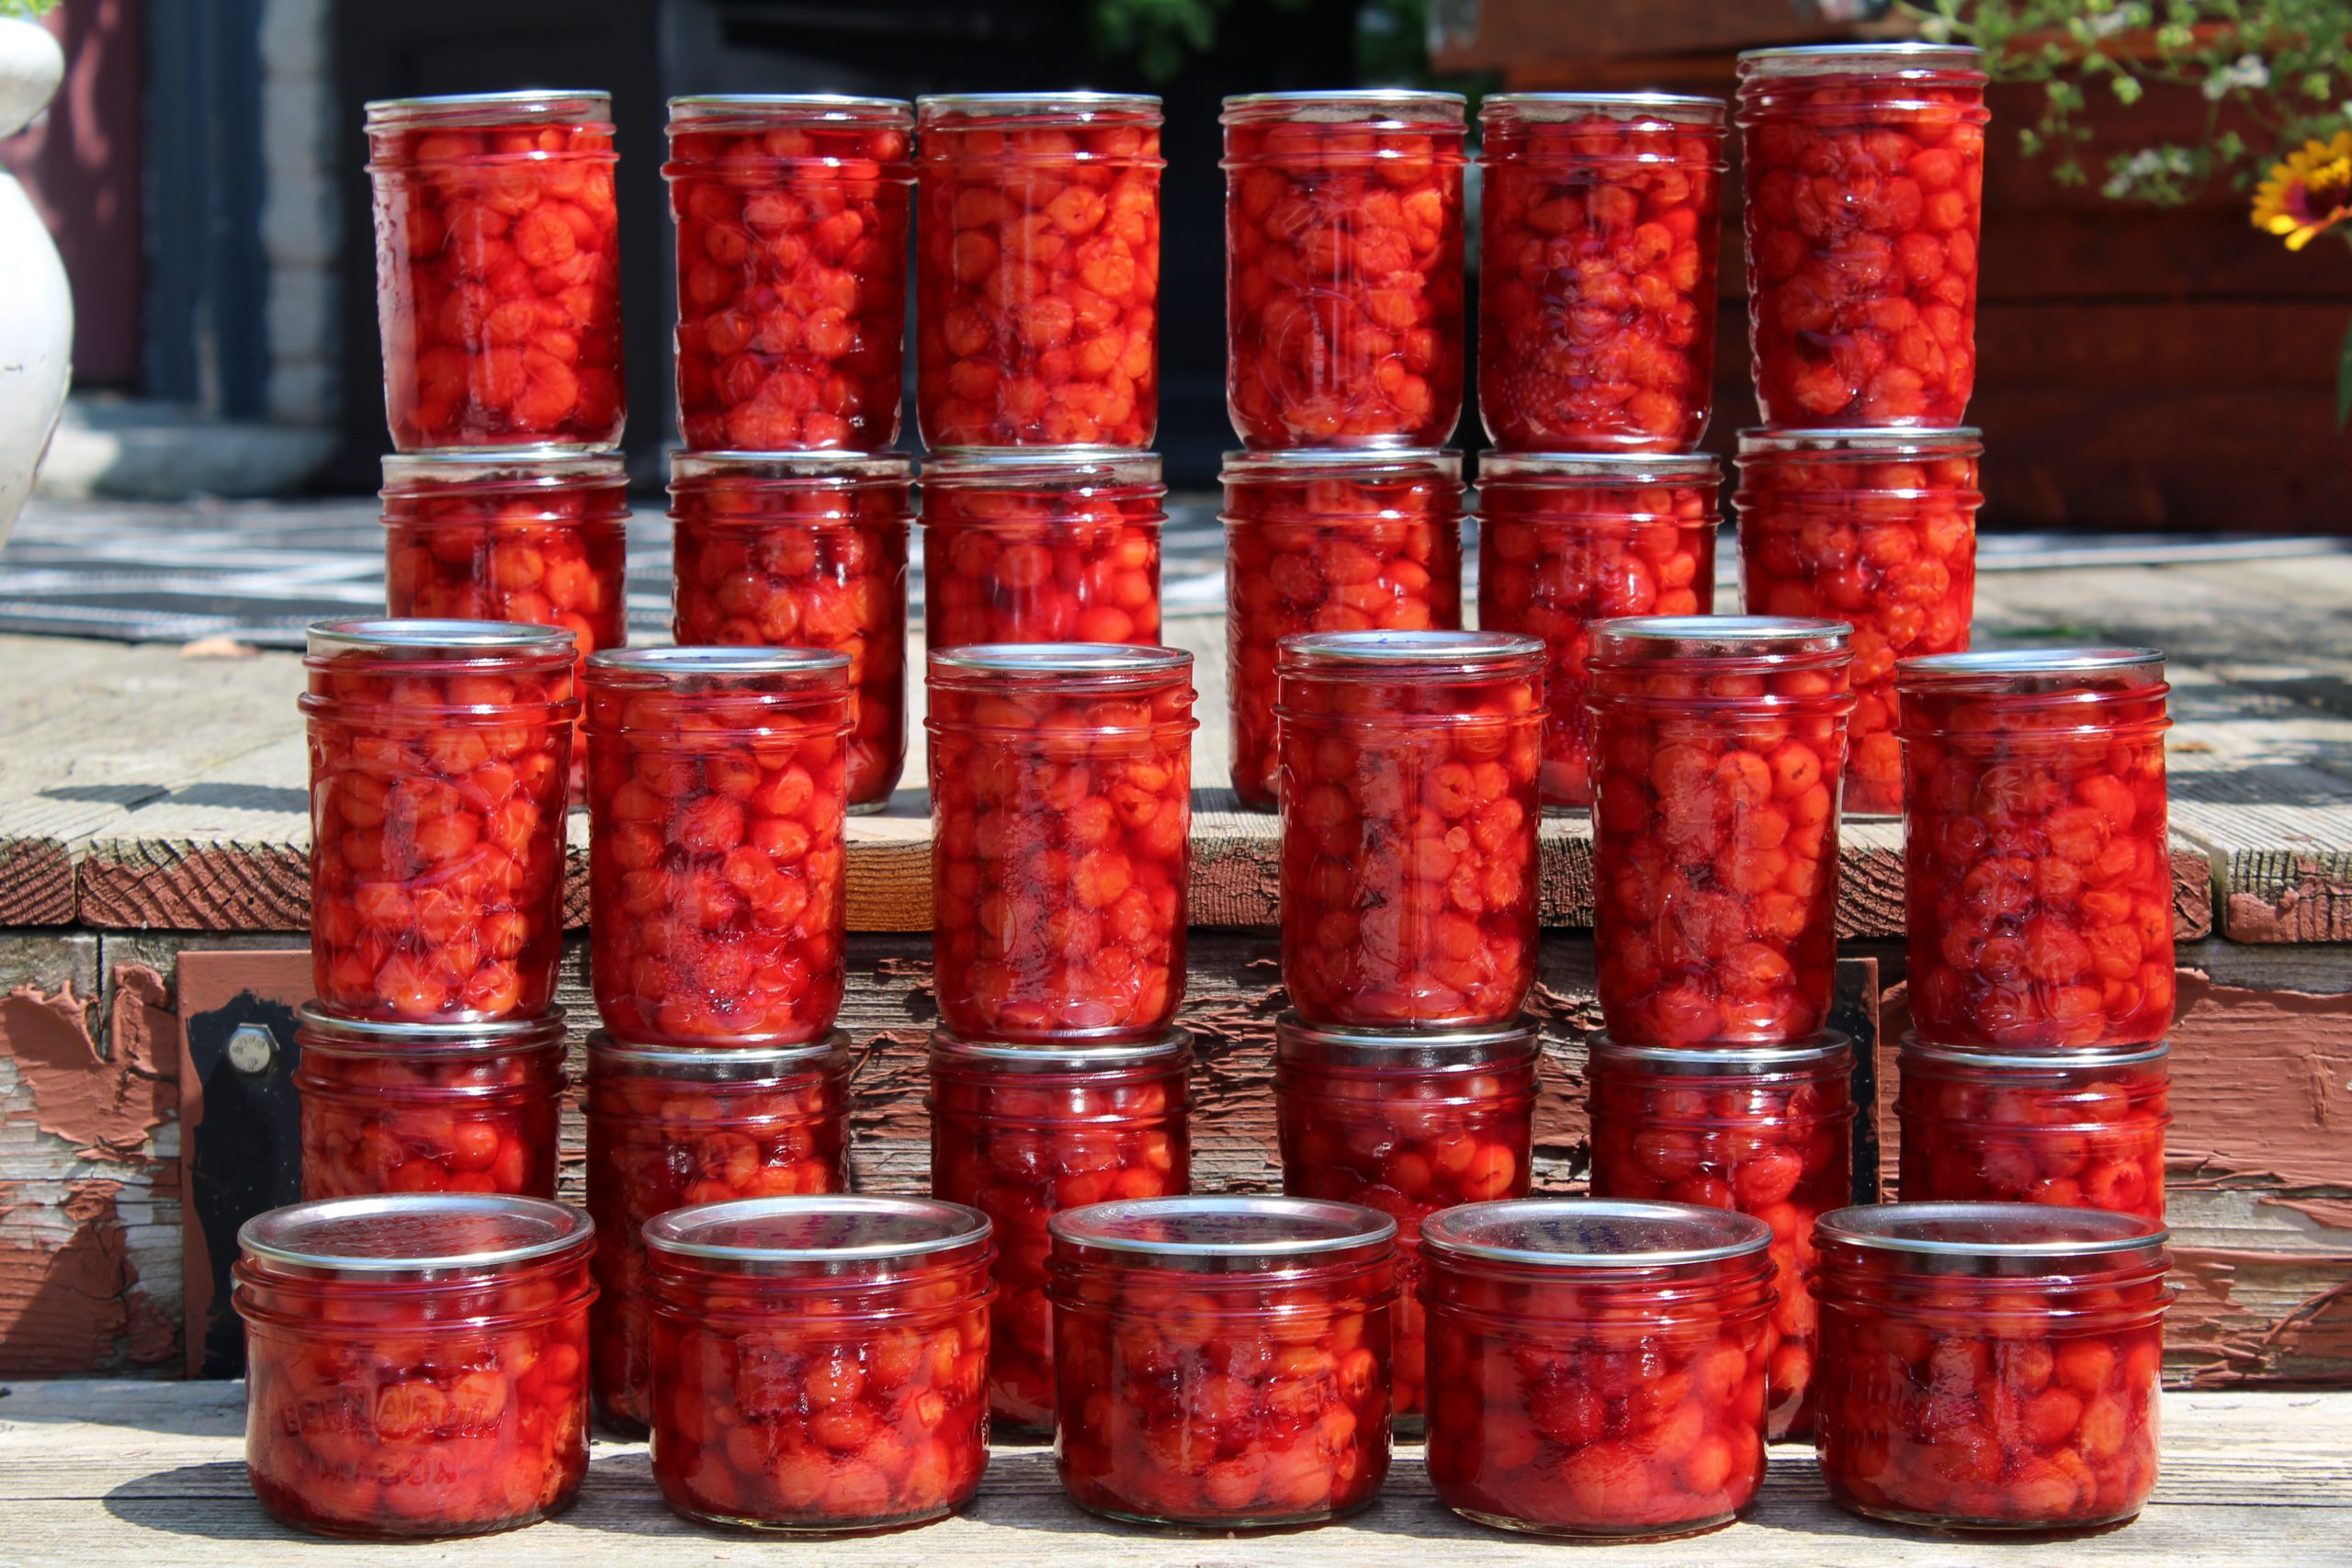
Sour Cherry Preserves 2019

For the most delicious sour cherry pie use the Busy Life Pie Crust and make a sour cherry filling using this Blueberry, Berry or Cherry Pie  recipe.

Now why does this fruit tree make sense for absolutely anyone interested in growing fruit in their yard? First, although these trees grow optimally in sandy, loamy soil, they also grow well in a variety of soil conditions with good drainage. It is self fertile and so you do not need to plant an orchard in order to get fruit. And the tree is hardy in areas as cool as zone 4a and in fact requires about 700 chill hours or a typical winter like here in Southern Ontario. The best part- it does not need to be sprayed with insecticides or fungicides to keep pests away,

The tree can be kept at a manageable height for home gardeners, making it an ideal tree to harvest.

Picking Sour Cherries 2019

I prune my tree in the late winter, (late March in my area) and net the tree to save the cherries from the birds. To ensure plump fruit, I  make sure to water the tree once a week when the fruit is on the tree especially during really hot stretches without rainfall. You can fertilize the tree but the tree that I have in my backyard has never been fertilized.  I do however, amend the soil in the gardens around the tree and it certainly benefits from this.


When planting a sour cherry tree, you will need to care for it in the first year.  This is to ensure that it gets established and makes it through the winter. Here is a summarized planting guide or you can check out this video:


  1. Plant your tree in the early spring (after the risk of frost) or in the fall.
  2. For a tree that is in a pot with a 12″ diameter, dig a hole about 20 “deep and a diameter of 24″ and backfill with about a foot of triple mix soil. Sour cherry trees like slightly acidic soil so you can also mix in some peat moss with your soil. Make sure to make the hole twice the diameter of the pot. This will make it easy for the roots to grow out and down.
  3. After you backfill, add about a half cup of bone meal and mix it in.
  4. Take the tree out of the pot and pull the roots down from the bottom. You don’t want to leave the roots at the bottom wound up.
  5. Fill the rest of the hole with triple mix and then work in some soil acidifier  around the drip line. Don’t add the acidifier close to the roots.
  6. Water the tree.
  7. Wrap some bark protector around the lower trunk of the tree to protect the tree from rabbits and small critters.
  8. Put a layer of mulch around the planting area but not right up to the trunk of the tree. This mulch will keep the weeds down and help the planting area retain moisture.
  9. Stake the tree. Place the stake on the side of the tree where the prevailing winds arise. Thread some rope through a rubber hose. Tie the tree with just light tension making sure that the rubber hose rests on the bark of the tree.
  10. Make sure to water your tree every week this first summer.
Sour Cherry Blossoms April 2021


Winter is coming….what’s next?

Winter backyard photo
First light snowfall winter 2017

Well, it has been a busy couple of months! For starters, I have added over 150 recipes to the Cansanity website and taken some incredibly interesting photos of delicious food and fun gardening projects, which will be featured in some upcoming blogs. It has been eleven months since I first published the website and I feel I have only scratched the surface on all the gardening and cooking tips that I want to share with you. This is so exciting for me because I am loving this journey. I want to say I am so thankful to all of you for supporting Cansanity by following the posts on all the social media platforms, including Facebook, Instagram, YouTube and Pinterest. You make my day when you like, comment and share the posts and I hope Cansanity has been a wonderful distraction from the COVID-19 pandemic for you; it sure has been for me!

As November draws to a close, I want to share with you some of the ways I put the garden to bed for the winter.  To begin, we have rabbits that frequent our yard in the winter, and so we have found that putting up a temporary fence around the roses protects the bark.


Rabbits 2011

Rabbits have amazing jaws and will gnaw at these plants – thorns and all.  Even though roses are pretty hardy and have withstood considerable damage in past years, I find that protecting them this way gives me peace of mind that the roses will come back strong and healthy the following year. If you grew roses for the first time this year, you should not prune them until the spring. The rose hips that form on the stems signal the rose to go dormant. They may look scraggly this winter but just leave them. In 2021, I will be doing a series of blogs talking about roses.  So, if that is of interest to you, stay tuned.

I have a raspberry patch near the back fence, and once the last leaves fall from the plants, I like to get in there and prune the canes.  By cutting the canes back by a third, I encourage new growth and more berries the following year.  While I’m in there, I will also find those canes that have died, and I remove them, making the patch tidier and more pleasing to look at.

Garlic Planted Fall 2020

For my garden boxes in which I planted garlic, we rake up the leaves and add them to the top of the box. This does two things.  First, it acts as a blanket to protect the soil from wind and rain erosion, and then secondly, as they start to decay, the leaves add compost to the box.

The garden boxes that we leave empty without any winter plantings are just amended with some well rotted cow manure and compost, and the soil is turned over, leaving the box set for early planting in March the following year. You can leave the amendments to the following spring, but I like to do it in the fall so that as soon as the ground is workable, I can plant.

For the many dozens of planters that housed flowers or vegetables, we remove the soil and add it to our raised vegetable garden. We turn the soil over and leave it for early planting the next spring. The potting soil has vermiculite or perlite and adding it to your garden soil will help with the quality of your soil.  Once emptied, I like to clean the containers and put them away in the garage, as this will prevent the cold weather from causing cracks in the containers. I do, however, leave my 3’ Mayne garden boxes half full of dirt on my deck and have not had any problems with them cracking or getting damaged.


Most of the plants that were in our gardens or pots are composted but there are some exceptions. We never compost kale, Brussels sprouts, cabbage, broccoli, cauliflower or any of the plants from the Brassica family. If you compost these plants, you may be overwintering pests like the cabbage moth which will lead to damage to the leaves of brassicas the following year.  We always, however, remove them from the garden. You may be tempted to leave the kale in the garden because it might come back the following spring. But in doing so, you may be encouraging pests like the cabbage moth, which will overwinter even in extreme winter temperatures.

One other tip to deter pests overwintering in your garden is to create hills in the garden. By doing this, when the temperature drops to the frigid, the cold is more likely to  penetrate through the soil and kill off pests.

Plants I leave in the garden boxes include herbs like parsley, thyme and sage, which will continue to hold onto their leaves even after a couple of light snowfalls and low overnight temperatures. I can usually harvest my parsley well into December.

Carrots after three snowfalls November 2020
Carrots after three snowfalls 2020

Root vegetables like carrots and beets can stay in the soil until you are ready to use them. I usually harvest carrots right up until the ground freezes, but I do have to say that I have left carrots in over the winter and have harvested them the following spring too!


Picked Nov 29 2020

I love growing celery even though it takes a long time to develop in the garden. I usually leave most of my celery in the garden until the snow accumulates. When the snow is here to stay, I harvest the remaining celery and make chicken or vegetable stock that I then pressure can or freeze  for the winter.


Now, like I said, I do take out all the brassicas plants and toss in the garbage but some I leave until the winter sets in because kale and Brussels sprouts can withstand a couple light snowfalls.  So, before you pull out the plants and discard them, get the most out of the plants by using them in your fall recipes. And when the snow looks like it is there to stay, remove the plants.


I have only touched the surface of all the information I plan on sharing with you. I look forward to expanding on this content in future blogs, and I am very excited about new topics to be covered. As we move into December and the holiday season, I will be sharing my favourite Christmas recipes and, for those that are following Cansanity for canning recipes and tips, stay tuned because the “Cansanity” has just begun!

Cansanity 2018
Fall Canning At Cansanity 2018


To salsa to get salsa – part one of my tomato planting story

Cansanity tomatoes

As I peer over my computer and gaze through the window that showcases my backyard, I notice the grey sky and the occasional snowflake falling to the ground.  I can’t help but wonder, did I start my tomato plants too early this year?

This is the salsa dance that Mother Nature and I perform every year.  When she offers seasonal weather, I easily glide through my eight counts alongside her, relaxed, cool and centered.  Our moves flow seamlessly.  This year, I wonder just how smooth we will be.

You see, I eagerly started some of my tomato plants this year from seed in the last week of March. I kept the soil damp knowing that the germinating seed would be very intolerant of dry soil and would die if the soil became dry for even a short period of time.  I kept my trays of newly planted seed pots near my warm gas fireplace and, as expected, within seven days my seedlings appeared.  When they were up, I moved my seedlings to my daughter’s bedroom (good use of a room for empty nesters like ourselves).  Even though it has a sunny south-facing window, I still placed my grow light on the plants for six hours a day, making sure that there is at least a couple of inches between the grow light and the plant.  I feel I am on track to keep to the general rule of having my tomato plants ready to be planted six weeks from the day they were seeded.  I am smug. I know that the typical last frost in my area is the third week of April and by early May I am usually golden for planting my tomatoes.  All is good, I think; I look up again and cringe at the snow.


The grow light that I have been using for the past three years on my plants ensures that I have a more compact tomato plant – this is good.  But the longer my tomato plants are in the container, the leggier they will be and this would not be good.  However, I know from past experience that if my tomato plants  become leggy, the best way to plant them is to trench plant them so that their long stems do not break in the wind.  So, I do have a plan if planting is delayed by the weather.  ( I will explain trench planting in the next tomato blog.)

Tomato
Garden tomatoes

Then, I smile to myself, as I daydream about eating those summer tomatoes warmed by the sun. I am excited about the tomato plants I chose to grow this year.  One variety called “Manitoba” is an heirloom bush determinate variety which grows a nice slicing tomato.  It is a very productive plant, but I am mostly excited about this plant because it is open-pollinated, and so I can save the seeds and use them to plant in the following years.

I have seeded a nice variety of tomato plants this year.  Some are indeterminate, and so will need to be staked and pruned for better yield, a small price to pay to have the quantity.  The Manitoba being my only determinate tomato plant will need less of my time because I will not have to stake or prune it, since it will only grow to 24” tall and only take up 24” in width.

Tomatoes 2015
Under ripe Tomatoes

I hope that you find time to plant even one tomato plant. It could be one of the most rewarding gardening projects you do this year.  If you think you missed the boat timing-wise on seeding tomato plants or would prefer to start your tomato story with a nursery grown tomato plant then consider the following things:


    • There are several types of tomatoes, including cherry, paste, slicers, and huge beefsteaks. So, choose the plants that best suits your culinary needs. I like to have a variety of tomatoes in my garden; so I grow some paste, cherry, medium sliced tomatoes and some beefsteaks.  Because I make 50-60 pints of tomato-based salsa in the fall, I do buy bushels of Roma and San Marzano tomatoes from farmers markets.
    • Tomatoes come in a variety of sizes and colours. Pick the size and colour that suits the way you intend to use the tomatoes. That is, are they for salads or sandwiches?
    • Determinate tomatoes are a smaller plant and do not require staking or pruning whereas indeterminate tomatoes need to be staked and pruned.
    • Tomato plants have a range of age of maturity. If you want a plant that will give you tomatoes earlier rather than later in the season then choose a tomato plant that is mature in and around 60 days.
    • Large plants sold in a nursery store that are already in large (1-gallon) containers will give you the earliest tomatoes.
    • If you buy small tomato plants in the small 4-cell packs, it will take longer before you will get a harvest.
    • Most importantly, do not buy a plant that has broken branches, is yellowing, or is really leggy and thin.


In the following couple of weeks, I hope that I can provide steps that will help you to have a smooth and easy experience with growing your tomatoes.  I know that planning when to seed and then when to plant tomatoes is much like a salsa dance. Much like dance, if we relax and let our heads follow without thinking too much we will succeed.

Garden fresh salad with home grown tomatoes


Cansanity…

Picking tomatoes


As I gaze out into my backyard this first day of January 2020, I daydream of warm summer days where I can pick my garden fresh veggies. It seemed fitting that I would introduce my new canning website and blog Cansanity today. Hope you enjoy the information and recipes that get posted in the days and years that follow!